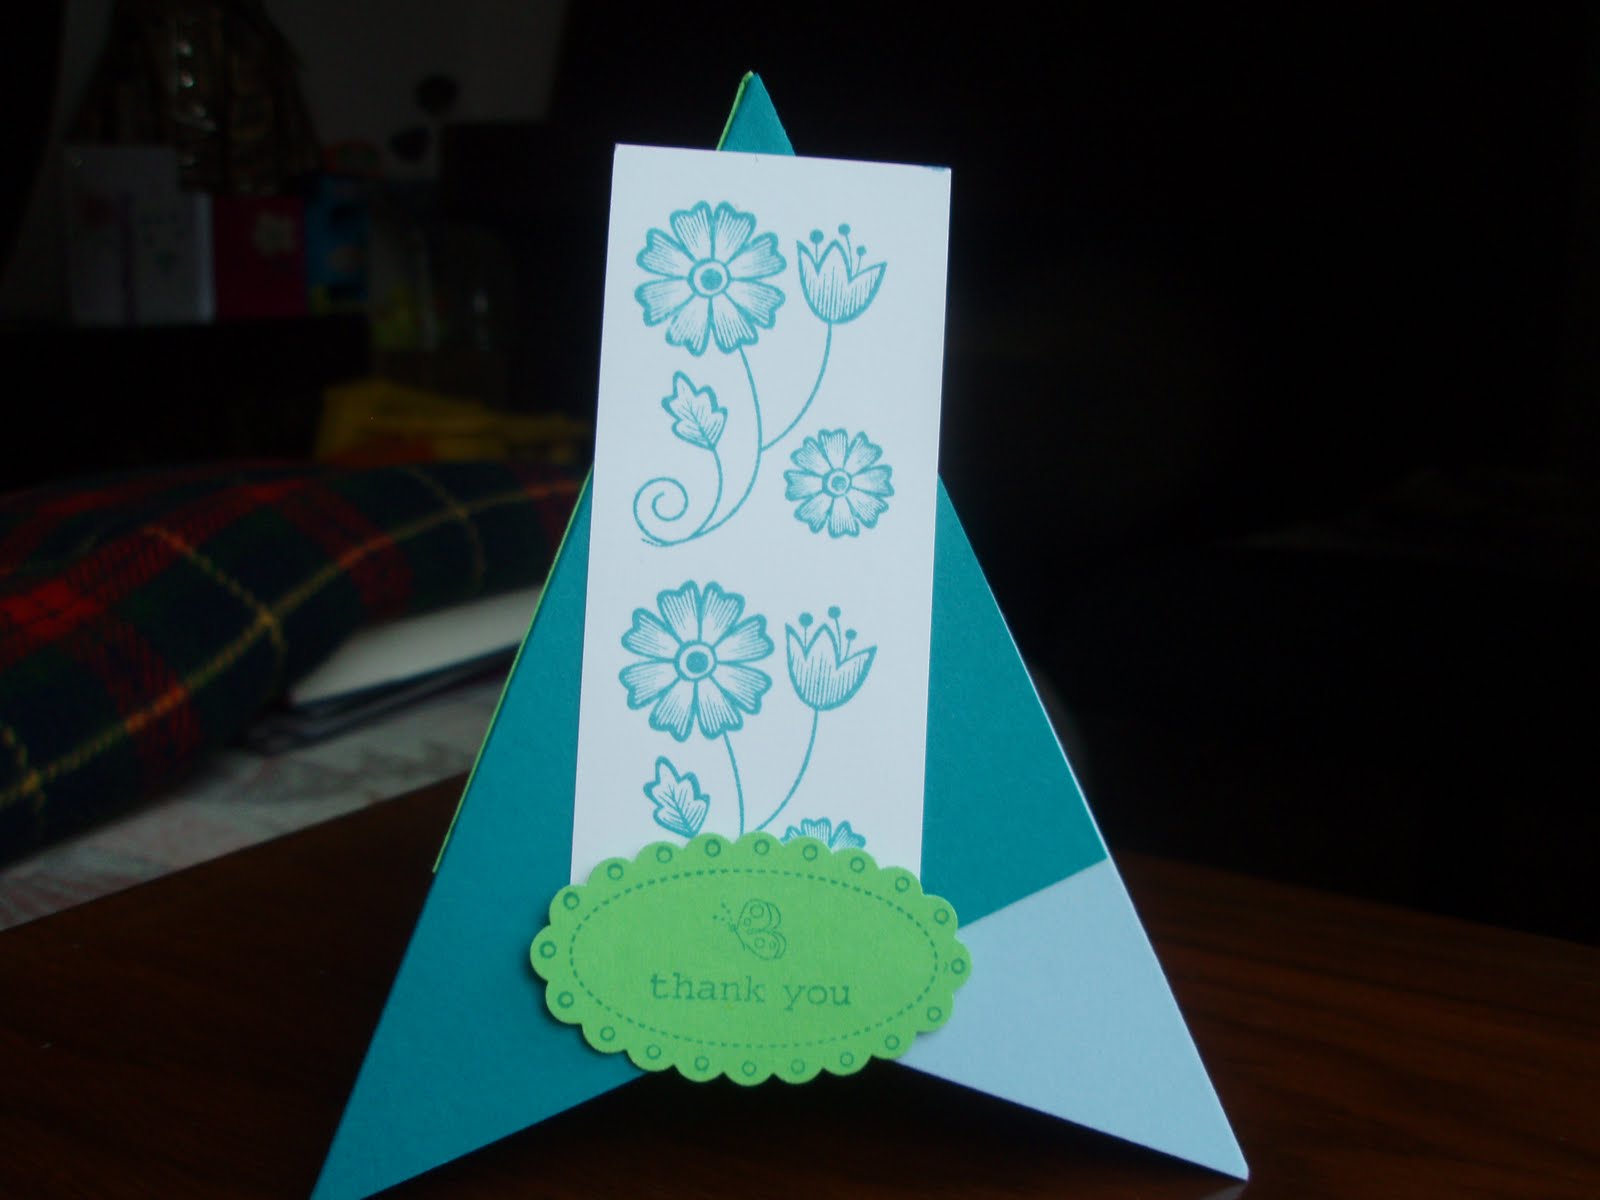
Pyramid Card – Mr & Mrs. This is another card we made. It was inspired by my team mate, Sam. The pyramid card is a fun fold using the Mr & Mrs stamp set and the card is much easier to make than it looks!

Cutting guide
- Cut 3 pieces of coordinating card stock 4″ x 4″ (10 cm x 10 cm). 1 in Bashful Blue, 1 in Taken with Teal and 1 in Green Galore.
- Score diagonally opposite corner to opposite corner.
- Cut a 3 ½” x 3 ½” co-ordinating Rainbow Sherbet Designer Series square and cut in half diagonally.
- Scrap of Whisper White to stamp on for front of card.
- Punch a scalloped oval label in Green Galore to stamp greeting.

Assembly instructions
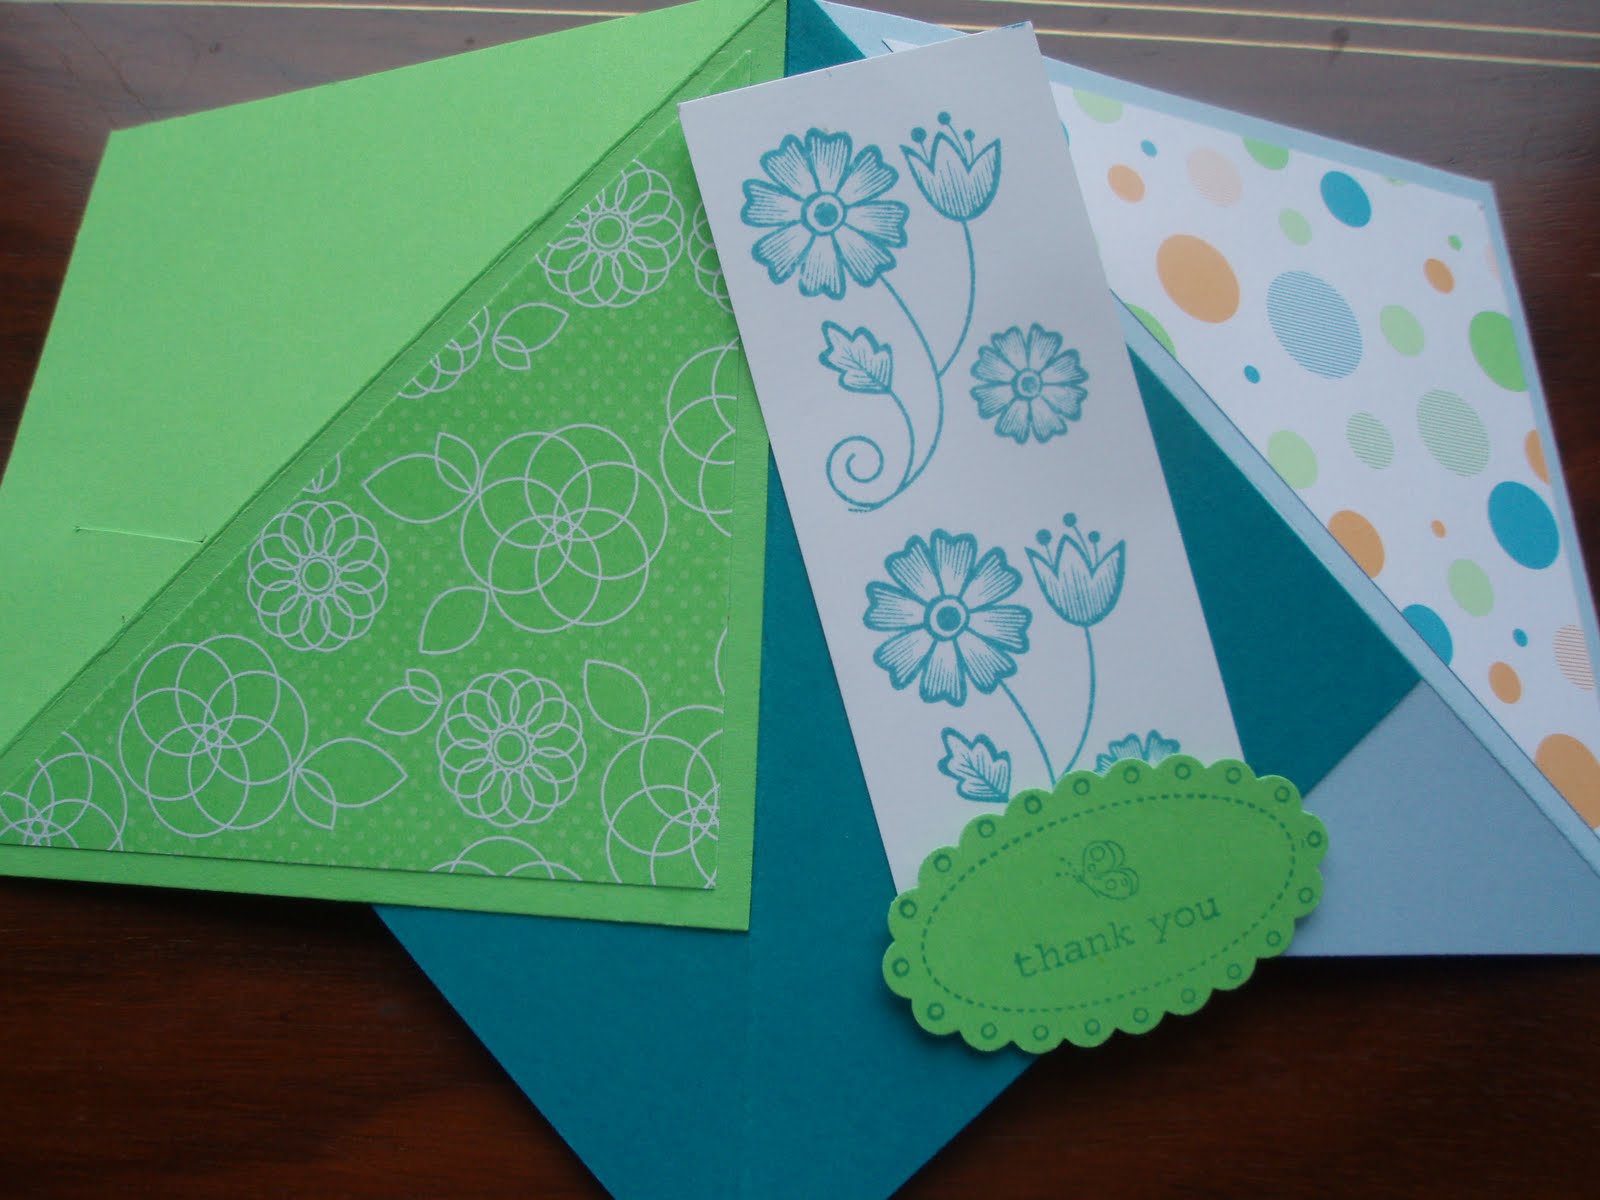
- Place darkest colour (Taken with Teal) in the centre with the score line oriented vertically.
- Overlap Green Galore on top as shown in photo.
- Then overlap Taken with Teal on top of Bashful Blue.
- Adhere triangles to the Green Galore and Bashful Blue squares on exposed sides of pyramid.
- Ink the Floral motif from “Mr & Mrs” stamp set in Taken with Teal ink and stamp on Whisper White piece.
- Adhere to the centre panel.
- Ink the sentiment from “Ovals All” in Taken with Teal. Stamp on Glorius Green punched Scallop Oval
- Adhere oval to the bottom of the “Mr & Mrs” floral image.

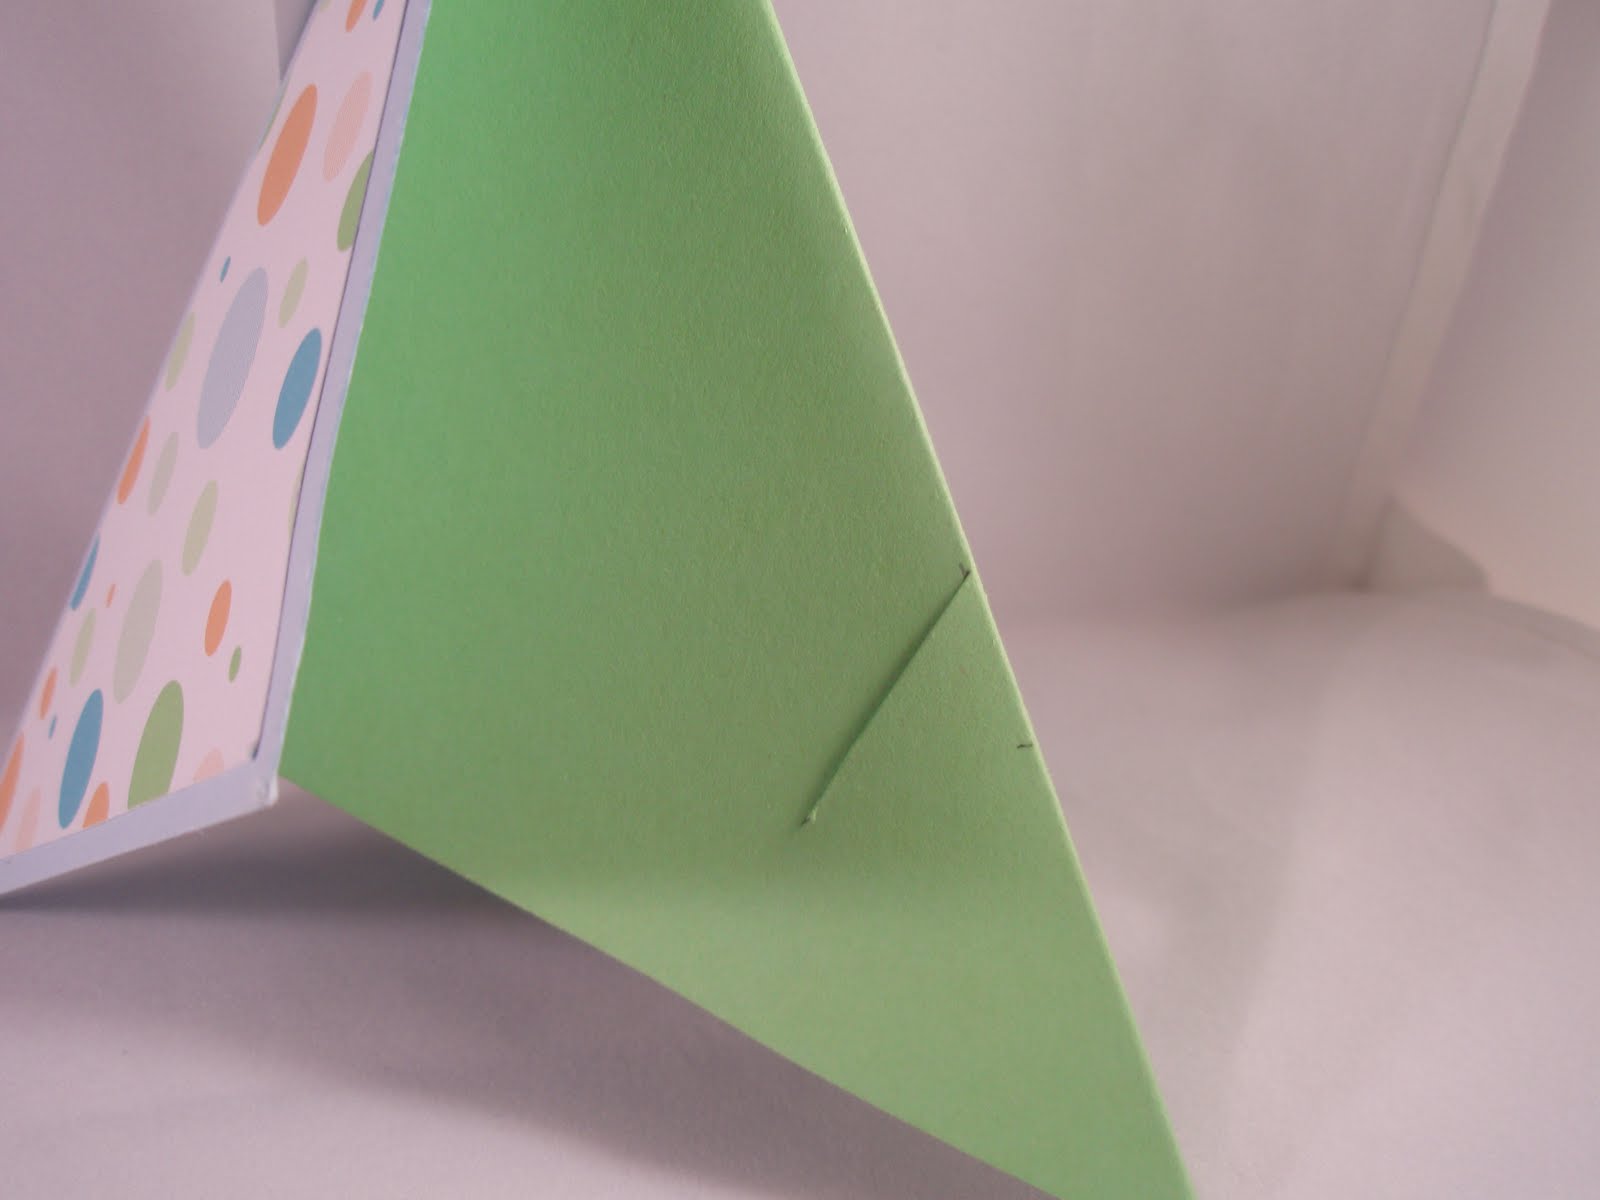
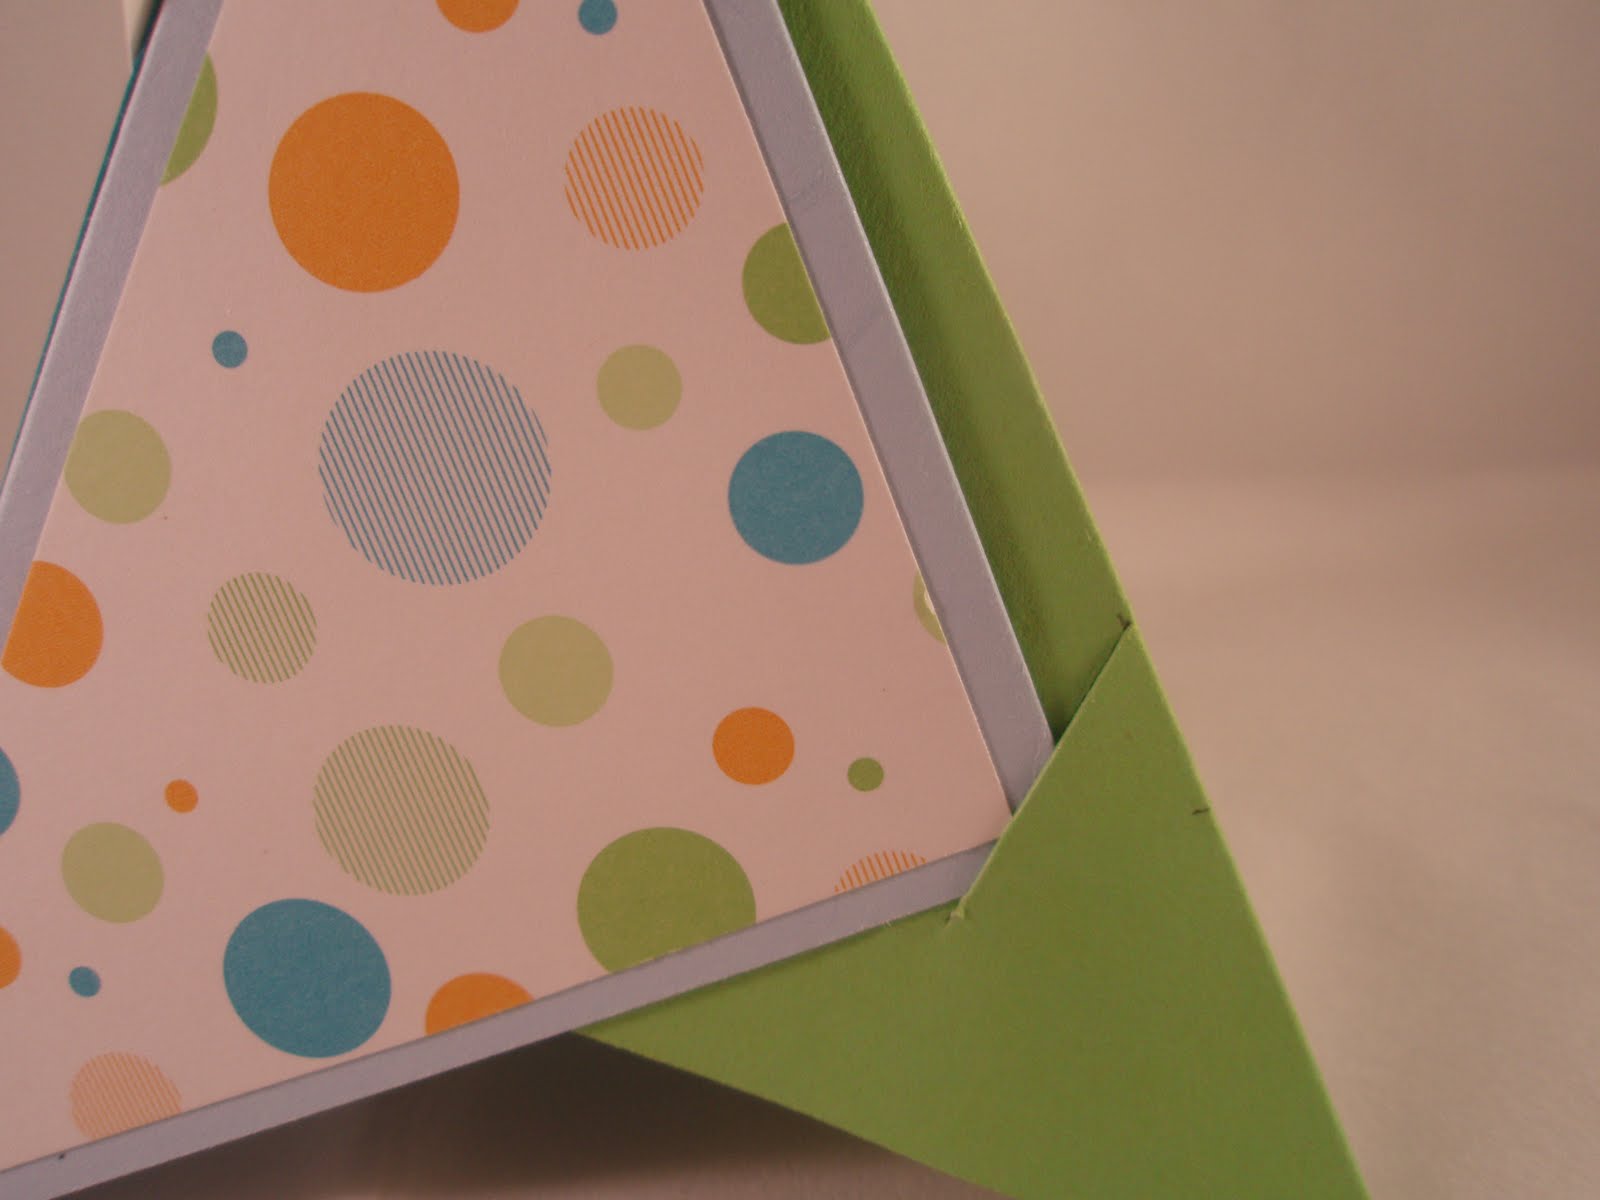
This is the tricky bit. When you fold the card along the score lines, this will resemble a pyramid. On the last flap, make a pencil mark at the bottom of the triangle about 1 cm up from bottom edge and 4.5 cm in on the right hand side (where the fold is) as illustrated. Cut a slot parallel to the left edge of the square right up to the score line and tuck in flap.

Finally tuck flap in to form the pyramid. I hope you enjoyed today’s card. Thanks for stopping by.

- SHOP ONLINE – EARN 10% REWARDS ON ALL PURCHASES OVER £20
- PURCHASE A STARTER KIT : Get £155 worth of products for only £99. Choose from current catalogues and any specials available. Free Shipping. Read more
- Subscribe to my Video Tutorials – click here
