
It just had to be done! I’d already made an Easter card project for today, but what with the surprise that Stampin’ Up! sprung on us by releasing the Ornate Garden Suite products a month early, I had to make another in the Ornate Garden Specialty DSP of course and impatiently had to wait for it to be delivered before I could proceed!
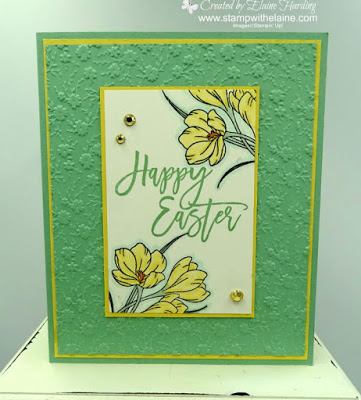
Here’s the front, which looks like something quite ordinary until you open it to reveal…..

…a double zig zag panel inside. The bunnies from Wildly Happy were just perfect for the Easter theme.
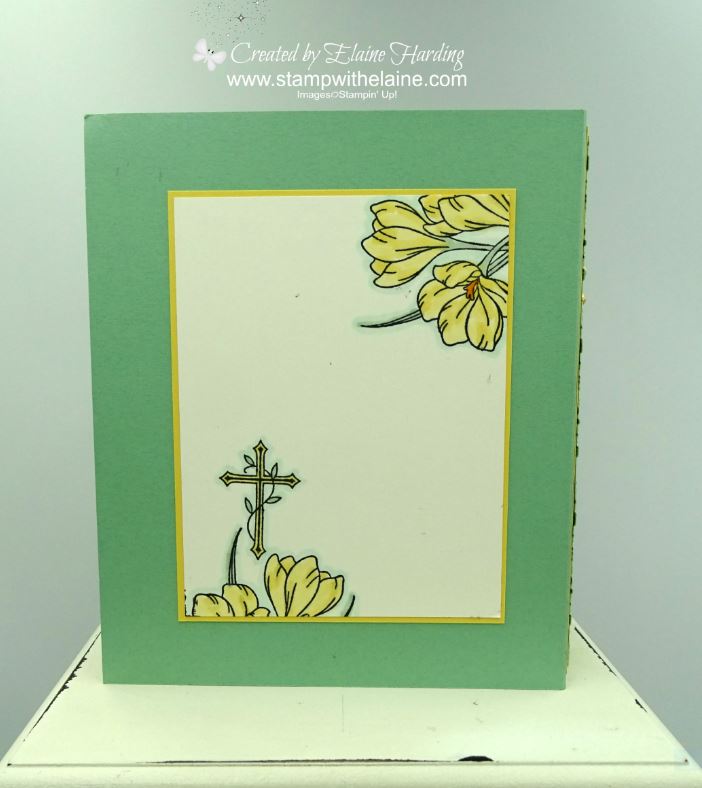
You’re probably wondering where does one sign? I solved the problem by adding a piece at the back .
Video tutorial
Press play to see how this seemingly complicated card came together. I’ve included a cutting guide to make it easier for you so you can separate the sections and work on them methodically. I love card that look challenging, but when it actually comes down to the making, it’s not really difficult at all! Just a little patience with all the pieces to cut and glue, but I think you’ll find it’s really worth it!
|
QTY
|
DESCRIPTION
|
MEASUREMENT
|
|
1
|
Card Base – Mint Macaron card stock
| 10” x 6”, long side on top, score at (25.4 x 15.2 cm, and folded in half)5” |
|
1
|
*Ornate Garden Specialty DSP (A) for
large internal panel [Mint Macaron with gold foiling] | 12” x 6”, long side on top, score at (30.5 cm x 15.2 cm, long side on top, score at 5, 10.2, 15.2, 20.2, 25.4 cm)2”, 4”, 6”, 8”, 10”. |
|
1
|
Ornate Garden Specialty DSP (B) for
small internal panel [Whisper White with gold foiling) | 8” x 4”, long side on top, score at (20.2 x 10.2 cm, long side on top score at 5, 10.2, 15.2 cm)2”, 4” 6” |
- Position (A) in trimmer, short side on top – align right edge at 1 ½” and cut verticallly from 2″ down to 10″ and repeat cut so it mirrors your previous cut between the first and last scored lines.
- Rotate DSP (A) with long side on top, align DSP at 2″ in cutting groove, cut from 1 ½” to 4 ½” (between the horizontal cut lines. Rotate DSP 180 degrees and repeat. Remove this centre section to create an aperture leaving a 2″ border all round.
- Long side on top, align left edge of DSP at 3″, create ½” incisions top from 1″ to 1 ½”, and from 4 ½” to 5″ so that (B) can be inserted so that it will concertina in the opposite direction to the main card base.
- Align left edge of DSP to 5″ and repeat step 3.
- Then align left edge of DSP to 7″ and repeat step 3.
- Align left edge of DSP at 9″ and repeat step 3.
Card Front
- So Saffron Layer 1 – 5 ¾” x 4 ¾” (14.6 x 12.1 cm)
- Mint Macaron Layer 2 – 5 ⅝” x 4 ⅝” (14.3 x 11.7 cm)
- So Saffron Layer 3 – 4 ⅛” x 2 ¾” (10.5 x 7 cm)
- Basic White for stamping Layer 4 – 4″ x 2 ⅝” (10.2 x 6.7 cm)
Inside card
- Mat layer 1 : Cut 4 pieces Mint Macaron at 2 ⅞” x 1 ⅞” (7.3 x 4.8 cm)
- Basic White Mat layer 2 : cut 4 pieces 2 ¾” x 1 ¾” (7 x 4.4 cm)
Back of card
- Mat layer 1 : So Saffron cut at 4 ½” x 3 ½”(11.4 x 8.9 cm)
- Basic White mat layer 2 : 4 ⅜” x 3 ⅜” (11.1 x 8.6 cm)
Supply list
Listed below is the supply list. Just click on the picture to take you directly to the item in my online store.
")


- SHOP ONLINE – EARN 10% REWARDS ON ALL PURCHASES OVER £20
- PURCHASE A STARTER KIT : Get £155 worth of products for only £99. Choose from current catalogues and any specials available. Free Shipping. Read more
- Subscribe to my Video Tutorials – click here