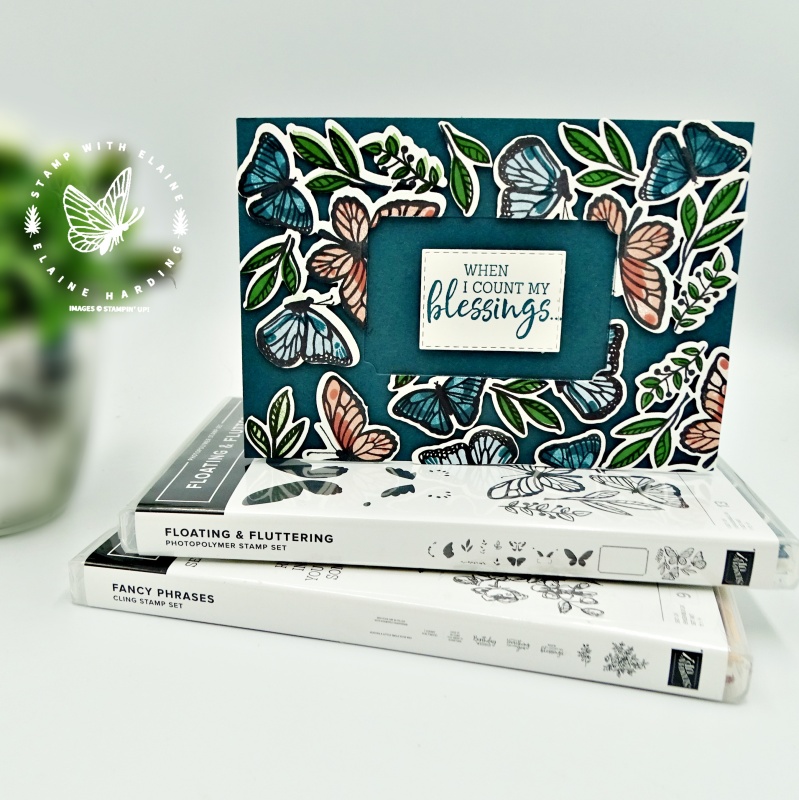
Last Wednesday I made this card and promised to show you another floating technique card with butterflies from the Floating & Fluttering bundle. You’ll find the bundle on page 61 of the January-June 2021 Mini which will be retiring on 30 June, so I’m making the most of it while I can!
Stampin’ Up!’s stamp positioning tool is invaluable for projects like this. It’s a joy to use knowing you’ll get perfect results without the need for guess work. The butterfly stamps are grouped together as one single stamp. Its coordinating die also cuts them in one piece – even better!
For my card last week, the “floating” element were the two front Basic white panels. In today’s card, the butterflies will be “floating” on the card front instead. Stampin’ Up! created and manufactured these stamps so that it would make creating floating cards easy and time efficient. There are solid stamps to fit inside the butterflies to add colour and another one to add more detail on the butterfly wings. We call this 3-step stamping.

How to 3-step stamp
- First, stamp with outline image
- Second, stamp with solid image inside outline image
- Third, stamp with accents stamp on top of solid image inside the outline image.
New to stamping? Confused? Watch the video tutorial!
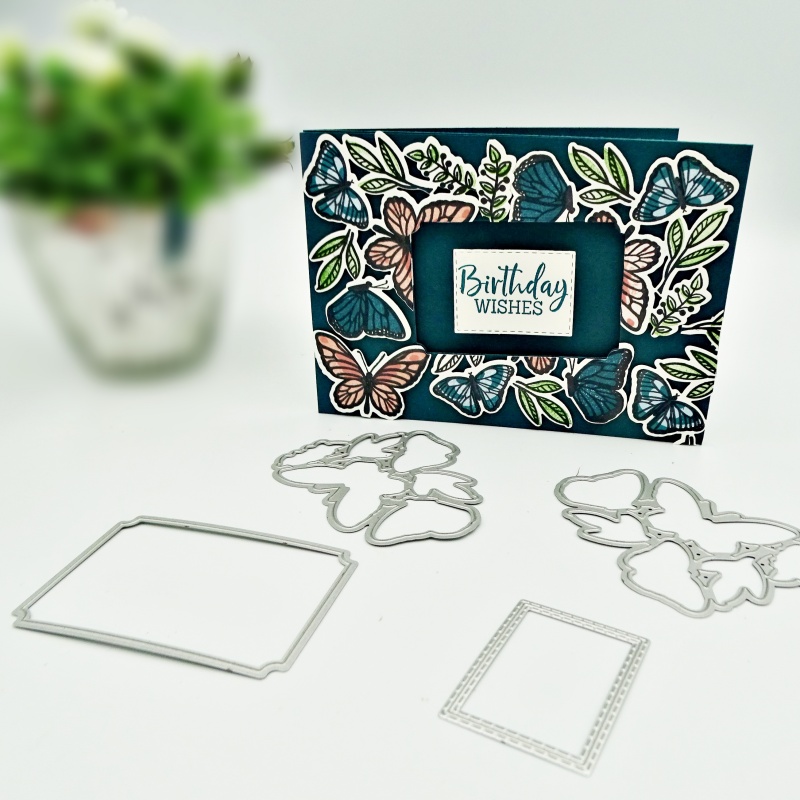
With the label die, you can cut out the centre to accentuate the fact that the butterflies are floating. Stamp and die cut a smaller label to sit inside the frame leaving a border all round. You can see I’ve changed the sentiment to make it into a birthday card.

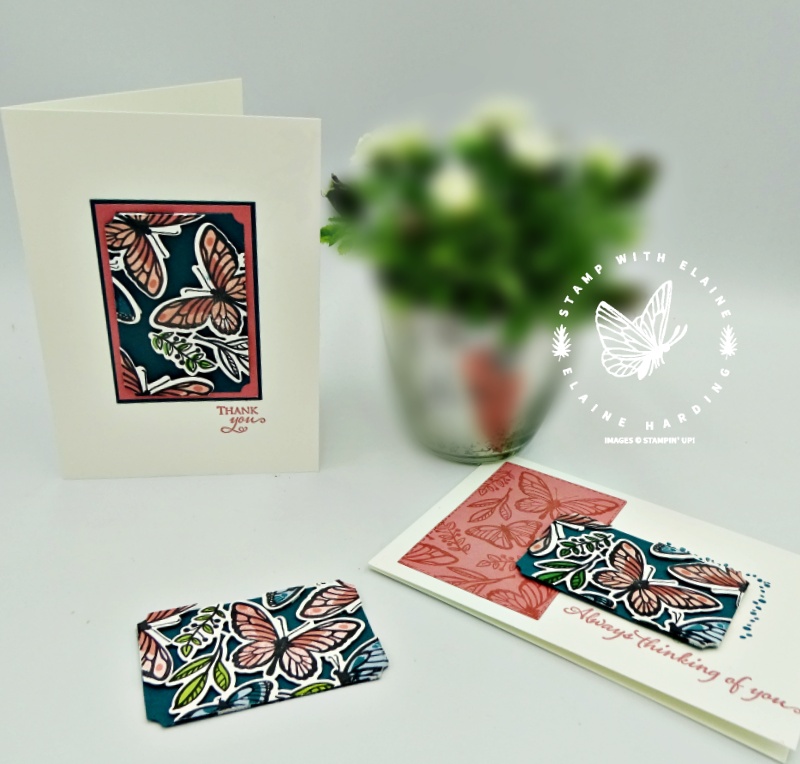
Great thing about doing this technique is that when you cut out the centre, the negative piece can be used to create a second card! These are the alternative cards I’ve created.

List of supplies:
Product List
- SHOP ONLINE – EARN 10% REWARDS ON ALL PURCHASES OVER £20
- PURCHASE A STARTER KIT : Get £155 worth of products for only £99. Choose from current catalogues and any specials available. Free Shipping. Read more
- Subscribe to my Video Tutorials – click here


