I am so excited to be sharing how to apply Soft Pastels – Part 2 with even more ways to apply Stampin’ Up!’s Soft Pastel Assortment. In today’s video, I cover five more ways you can apply pastels so altogether there are ten! Extra non-Stampin’ Up! tools involve a grater, and a different kind of blending tool paper stumps! You will also need baby wipes and a container filled with a little tap water.
In part 1, I spoke about a Pastel fixative. Mine came in an aerosol can. A word of caution, when using the fixative, please ensure you use it in a well ventilated room away from naked flames as it is highly inflammable. The pastels will rub off on completion of your project unless you spray it with a fixative to preserve it.
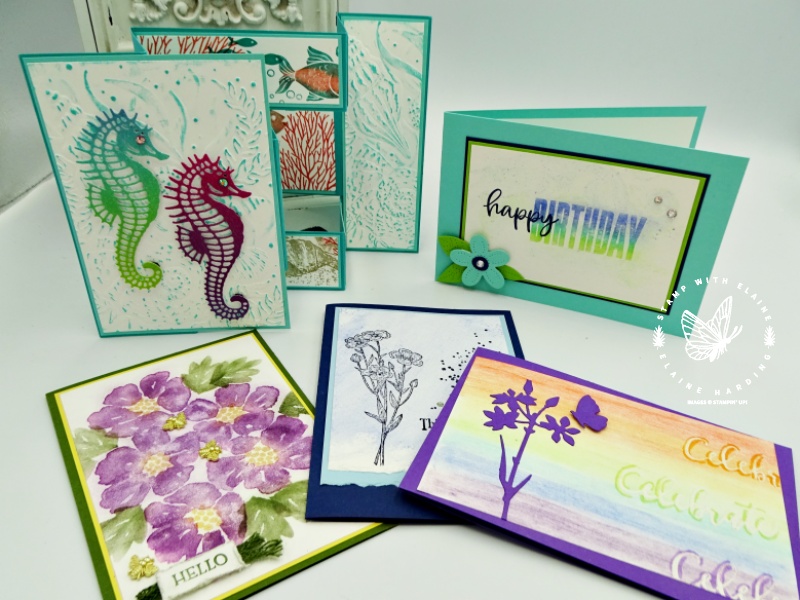
I used different soft pastel applications for these cards and the video tutorial shows you the techniques used, but not the card construction. The video is right at the end of the post as I tagged the supply list directly below each card featuring the various techniques.
6. Popping Pastels
This technique requires a solid image stamped in Versamark. I used basic white card stock as no water is involved. Scrape some pigment onto an acrylic block or palette and use a sponge dauber to apply the colour. If you’re working with more than one colour, do not stamp the entire “scene” all at once. Work on individual areas eg., petals first, flower centres next, and leaves last.
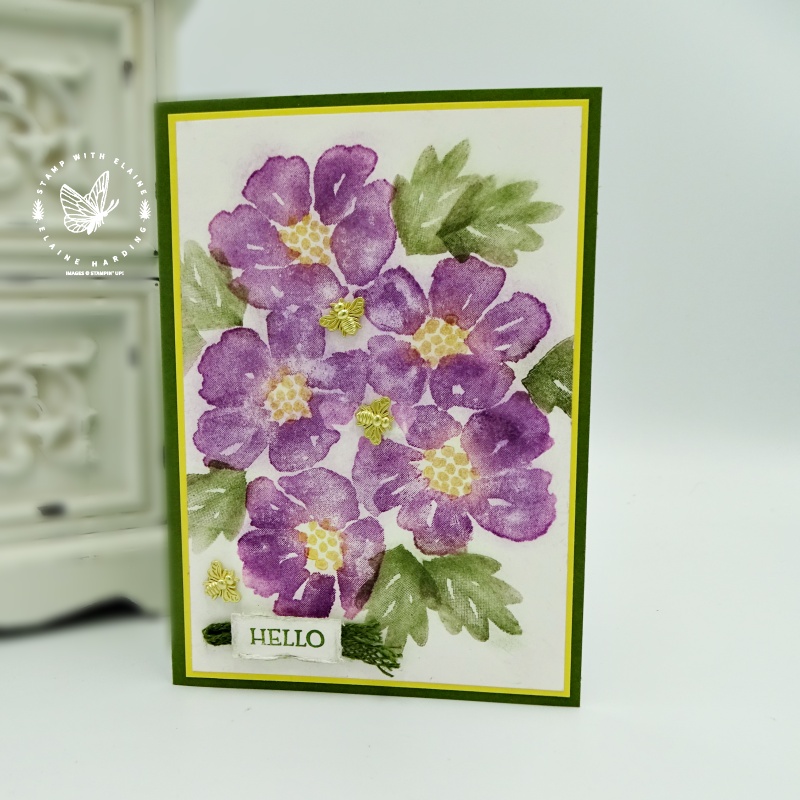
List of supplies for Popping Pastels
Product List7. Applying Soft Pastels to Embossing Folders
Use a detailed embossing folder on Basic White, or Very Vanilla card stock. Run the side of the pastel stick across the image, or the tip end to accentuate the embossed areas. Spray with a Pastel fixative to prevent the chalk from rubbing off.
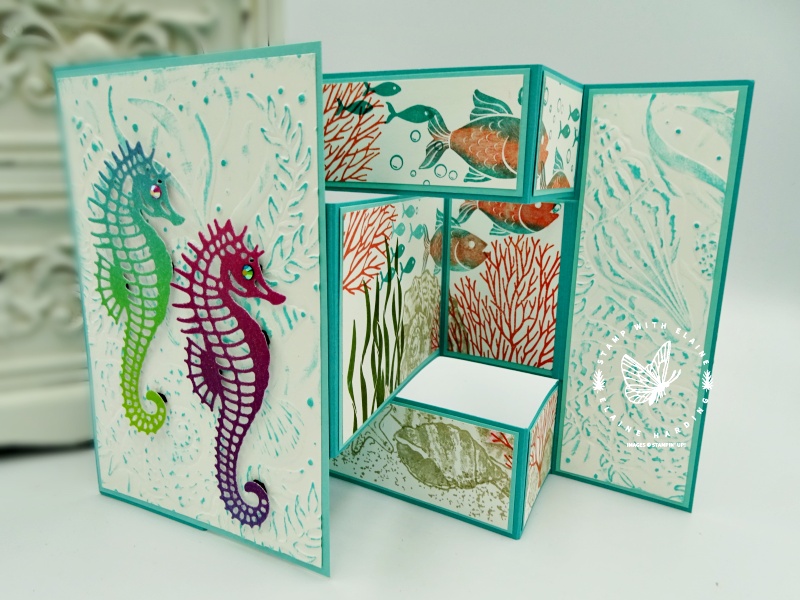
List of supplies for applying soft pastels to Embossing Folder
Product List8. Baby wipe technique
You’ll need Fluid 100 water colour paper and some baby wipes. Use the side of your soft pastel stick to apply colour to the water colour paper. Use the damp baby wipe to spread the colour to create a colour washed background. If you want to add more colour, dry the paper with a heat tool first before adding more colour before repeating the process. This technique provides a lovely background to stamp on.
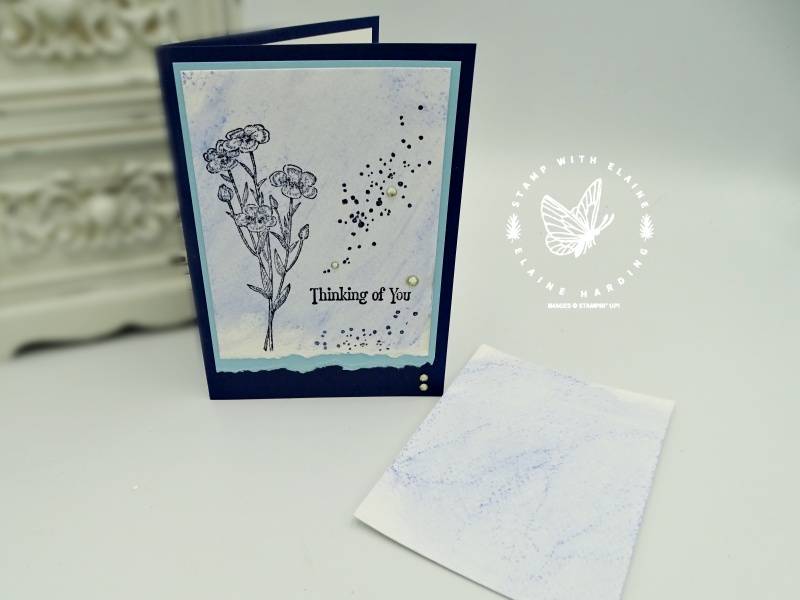
List of supplies for baby wipe technique
Product List9. Remove chalk from a dry blended background with a stamp inked in Versamark
Phew – what a mouthful! However, it does describe the technique. I used a rainbow for my blended background with a paper stump, if you don’t have one, then use your finger instead! Make sure you wash your hands to prevent accidentally smudging your project. Once blended, use a stamp inked in Versamark. Stamp on card stock which will lift the colour off. Sprinkle with white embossing powder ( you can use other colours of embossing powder eg gold, silver). To make it “pop” as an added optional step, you can create shadows with a stampin’ blend marker.
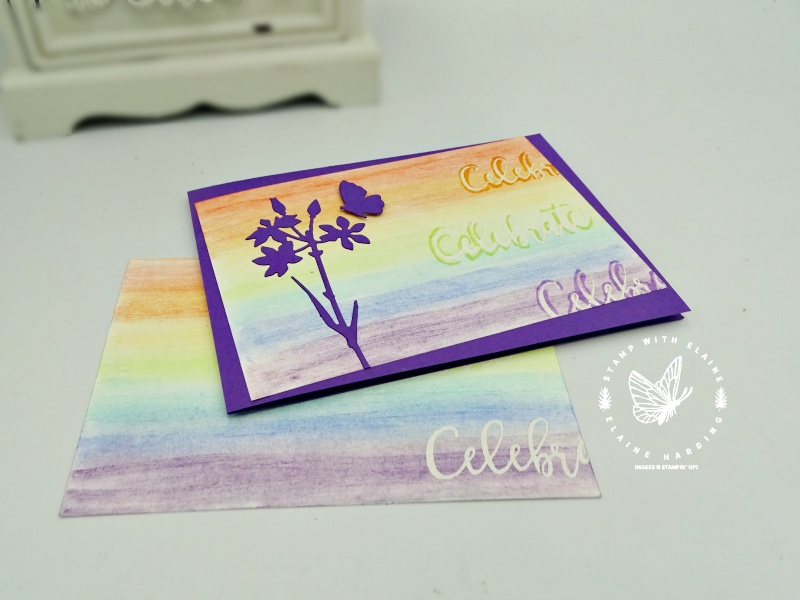
List of supplies for removing pigment from dry blended background
Product List10. Marbling background
You’ll need a small amount of water in a waterproof container, a flat grater and some shimmery white card stock and some kitchen towels. You have to work quickly before the grated pastel pigment sinks to the bottom. Grate a small amount of pigment randomly over the surface of the water using 3 complimentary colours. Any more will muddy your background. Drop your shimmery white card stock into the water and pick it up immediately. Lay it on the kitchen towel to soak up excess moisture. Speed up drying process with a heat tool. Card stock must be dry before you stamp on it.
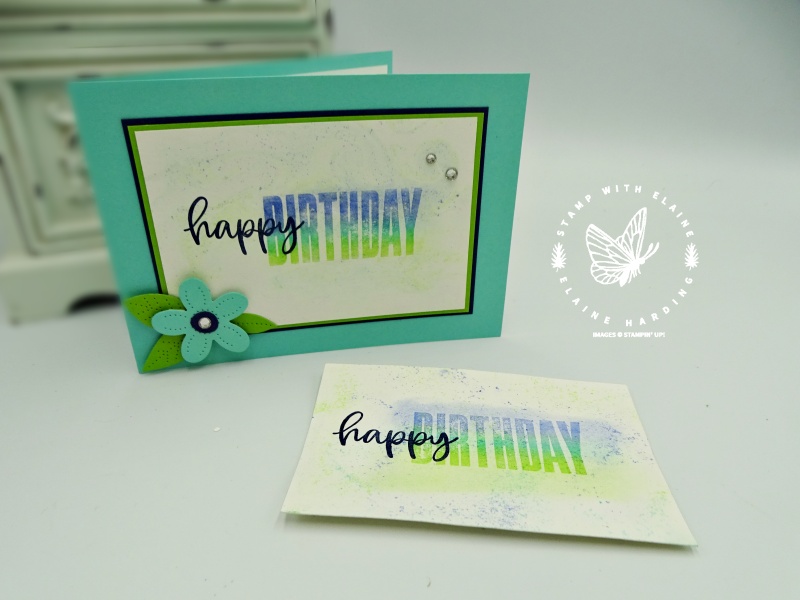
List of supplies for marbling technique
Product ListHere’s the video tutorial.
If you missed Part 1 click HERE to see the first five applications. Thanks for visiting.

- SHOP ONLINE – EARN 10% REWARDS ON ALL PURCHASES OVER £20
- PURCHASE A STARTER KIT : Get £155 worth of products for only £99. Choose from current catalogues and any specials available. Free Shipping. Read more
- Subscribe to my Video Tutorials – click here


