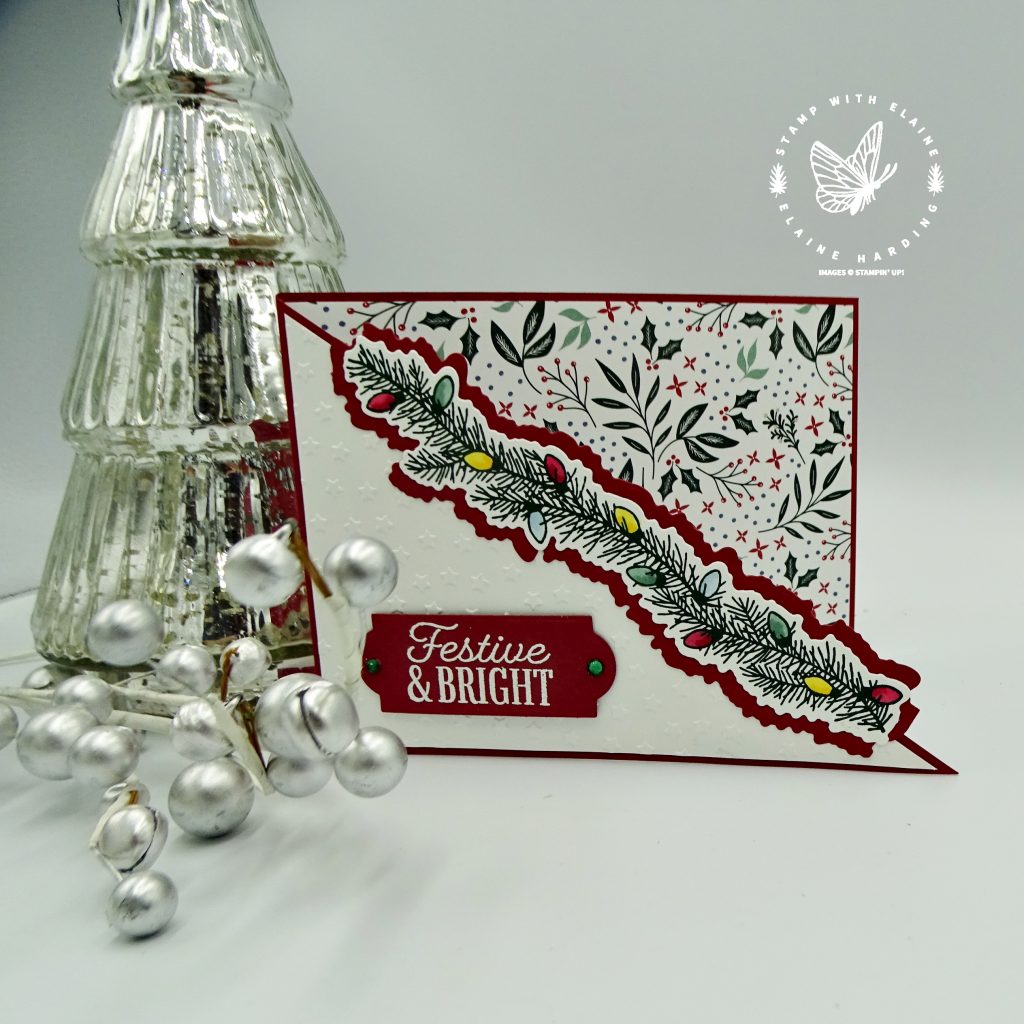
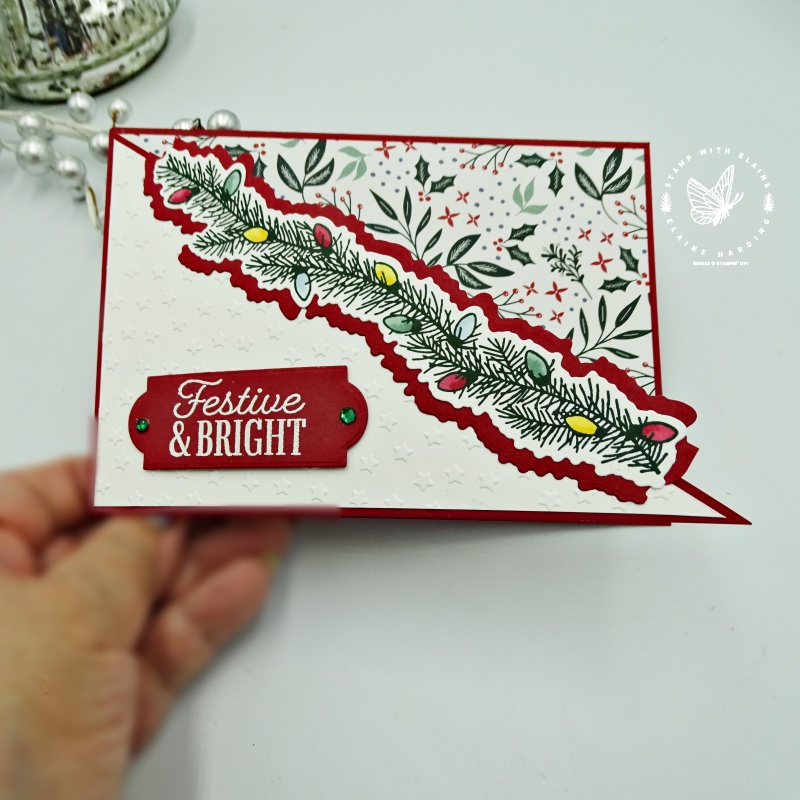
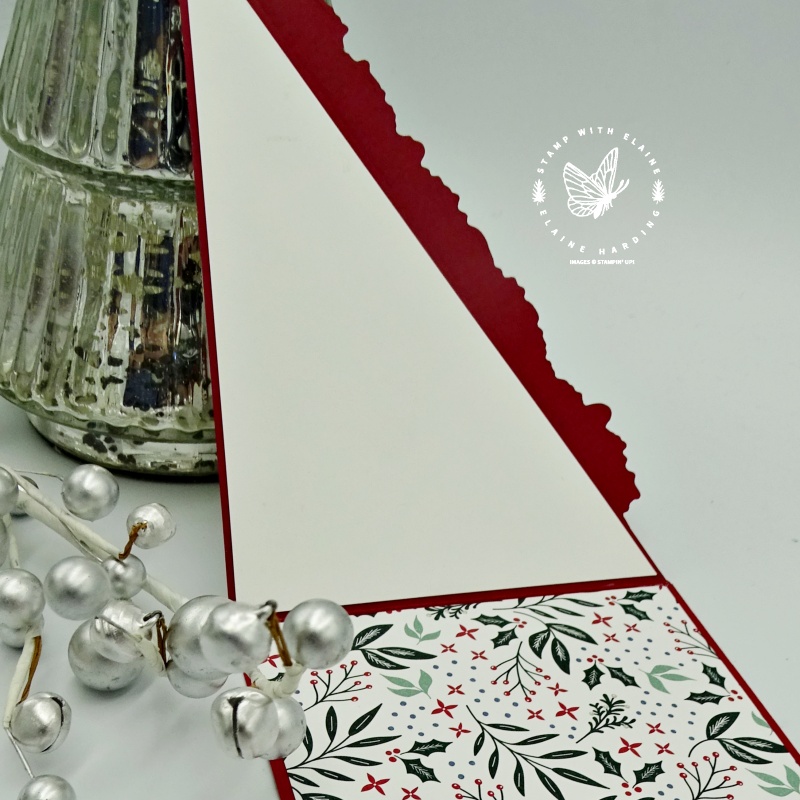
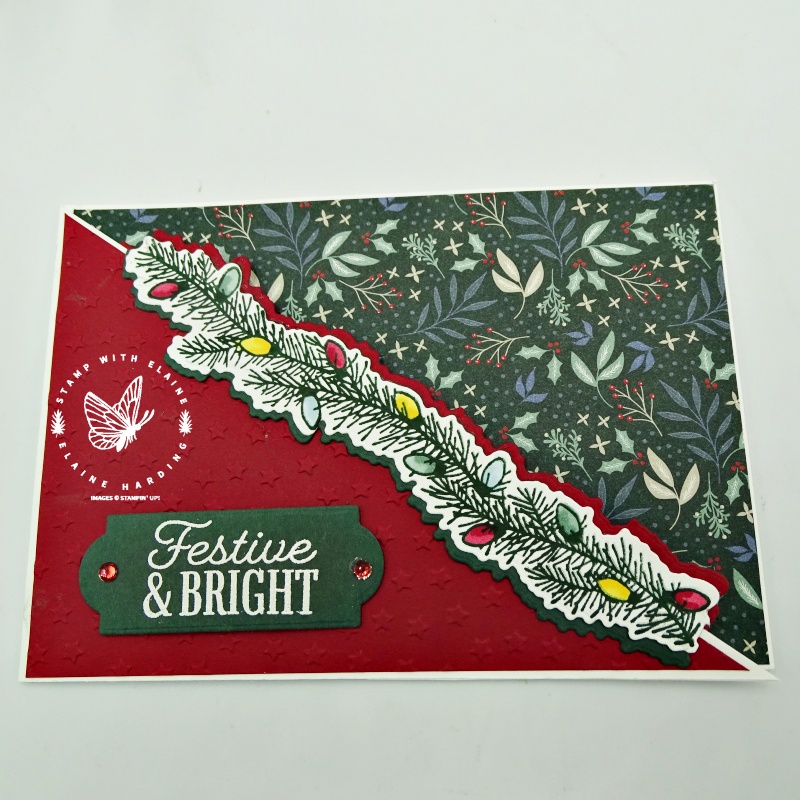
Welcome to Week 3 of my 12 week Christmas Countdown series and this week’s triangular fold card with the Festive & Bright Bundle. It is super quick and easy. It only entails a simple diagonal cut on the card front to create the triangular fold. This will then expose the inside of the card which has patterned paper adhered to it. A little stamping with the Festive & Bright stamp set and you’re done!
Festive & Bright Bundle
The Festive and Bright bundle has three photopolymer border stamps to choose from. There is a pair of co-ordinating dies with each border to create the garland pictured below. I’ve added a mat layer by using the same dies but spaced further apart in Cherry Cobbler to make the stamped border “pop”.

Here’s a close up of the card so that you can see the Star Crossed embossing folder detail. This is a rather unusual standard embossing folder as it has two patterns on the same embossing folder split diagonally. One half, as shown on this card has stars, and the other half has squares.

I adhered the other half of the Basic White triangle to the inside of the card. On the opposite side, I adhered a piece of patterned paper from Tidings of Christmas 6″ x 6″ DSP pack. This size is ideal for card fronts.

To create the triangular front, I simply aligned the top left corner of the card front with the bottom right corner and cut diagonally. This left a Cherry Cobbler triangle which I used for a second card in Basic White Thick. There’s very little waste. If you intend making multiples of this style card, they’re quick and easy to produce.

Video tutorial
Without further ado, press play on the video tutorial. A visual aide is so much easier to follow.

- SHOP ONLINE – EARN 10% REWARDS ON ALL PURCHASES OVER £20
- PURCHASE A STARTER KIT : Get £155 worth of products for only £99. Choose from current catalogues and any specials available. Free Shipping. Read more
- Subscribe to my Video Tutorials – click here


