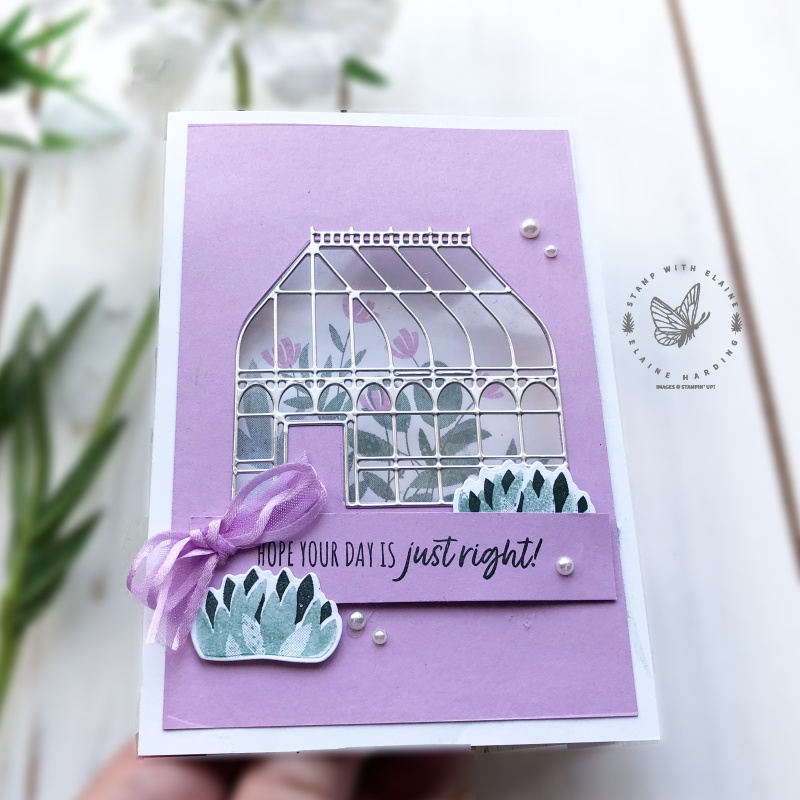
Today I’m sharing a window card made with Garden Greenhouse. I couldn’t resist simulating the glass for the Greenhouse by adding a window sheet.
Don’t make the mistake I made! In order for the aperture on the card front and card base to match, it’s really vital you attach the card front to the card base securely with washi tape before you start die cutting the greenhouse aperture! Ask me how I know …. lol!
It’s also a good idea to use adhesive sheets to back the Silver Foil you die cut with. Wet adhesive has a habit of smearing window sheets and it will ruin the project as you can’t wipe off the glue without leaving smudges everywhere!

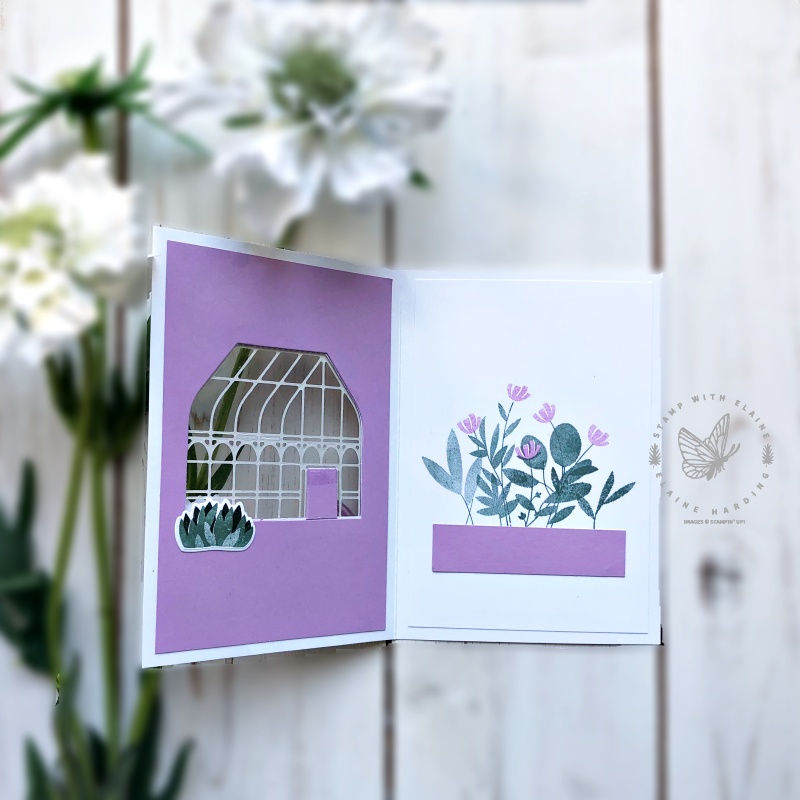
I loved how this eventually turned out. The Greenhouse Die was die cut with silver foil and adhered on top of the window sheet. The inside of the card also had a piece of coloured card stock adhered to hide the window sheet. Of course I had to snip off the “door” and reposition it as depicted below.

Another tip is to trace through the aperture of the greenhouse first to ascertain where you should stamp the floral image before you adhere all your bits down!
It would look pretty wierd if I’d left the stamped image inside just hanging there, so I adhered a tiny rectangle on top of the stamped image to resemble a “window box”. Ensure that the “window box” is below the eye line of the greenhouse when the card is closed!
For my finishing touches I added a bow and pearls. Hope you like it!
Enjoy your weekend!
Supply list
Listed below is the supply list. Just click on the picture to take you directly to the item in my online store.
Product List
- SHOP ONLINE – EARN 10% REWARDS ON ALL PURCHASES OVER £20
- PURCHASE A STARTER KIT : Get £155 worth of products for only £99. Choose from current catalogues and any specials available. Free Shipping. Read more
- Subscribe to my Video Tutorials – click here


