
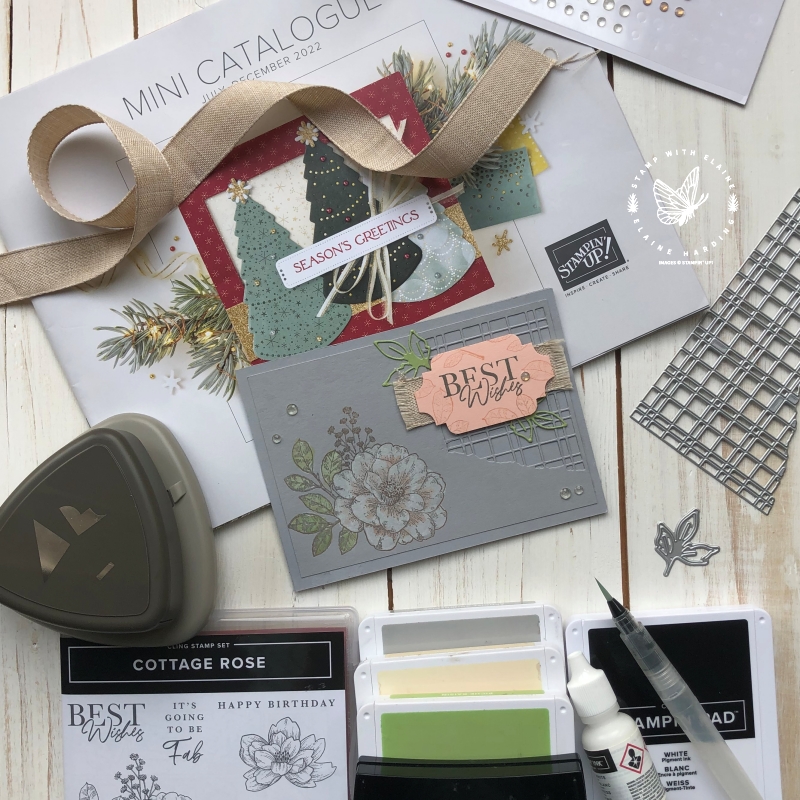
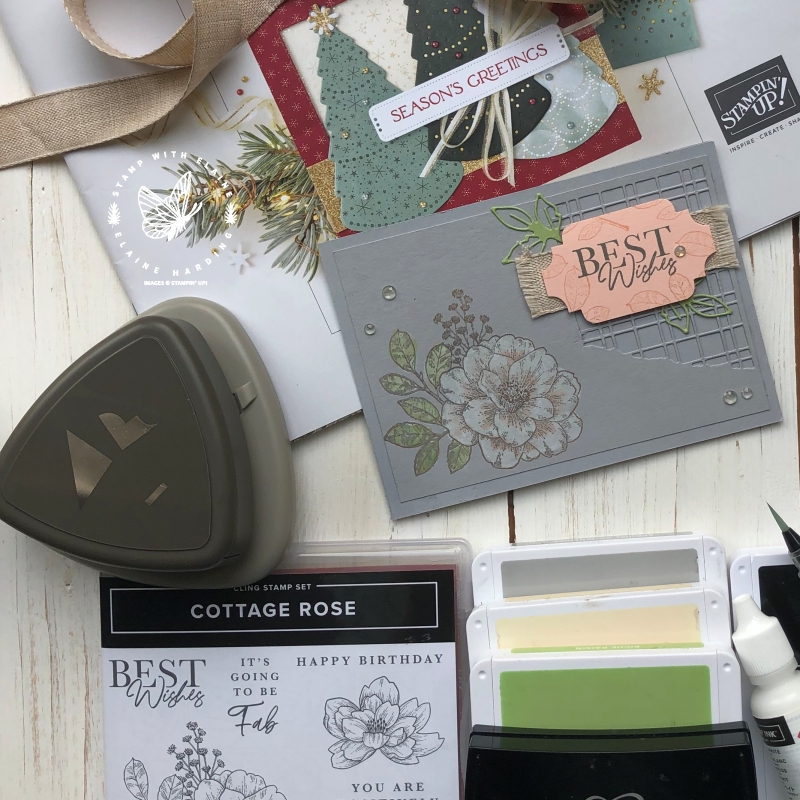
Today I have whitewash technique with Cottage Rose as well as a sneak peek! Intrigued? Read on! The Cottage Rose stamp set and Cottage Flowers dies are from the Abigail Rose Suite on pages 57-58 of the 2022-23 Annual Catalogue. There is a sample using the whitewash technique in the catalogue which inspired today’s card.
Whitewash technique
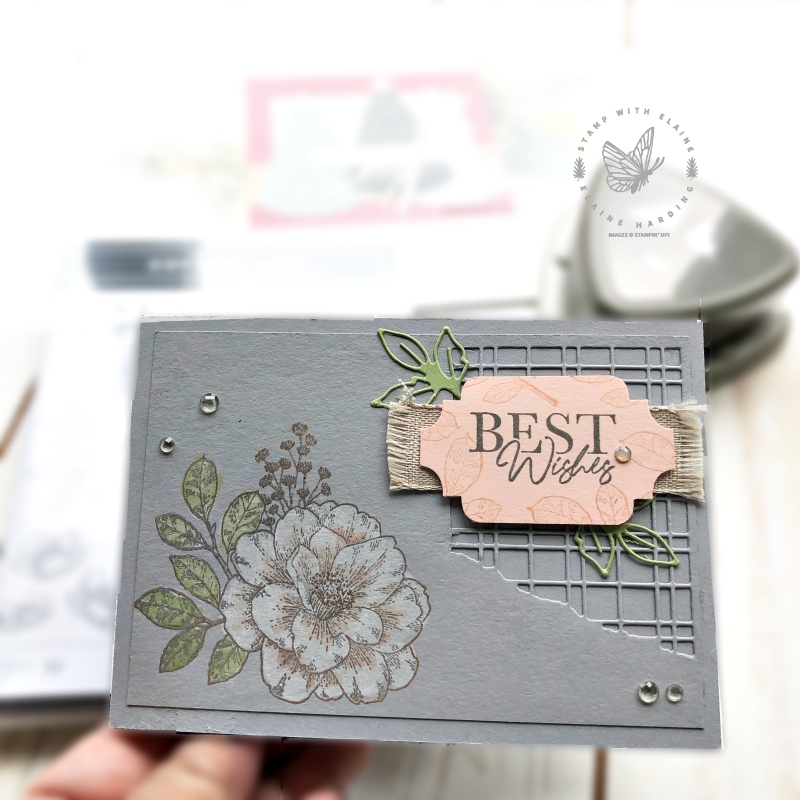
A floral stamp with a linear image is the ideal medium for this technique. You simply stamp it on a medium to dark coloured card stock and then use a paintbrush to pick up a pigment white craft ink to colour within the image lines. Sounds easy, doesn’t it?
From experience, when you start laying down the white ink with a wet brush, the image outlines and details can lose its definition. Clear embossing powder is the key.
I ink up my stamp with Versamark ink first, then I ink it up with the coloured ink of my choice before stamping onto the card stock. After stamping, I sprinkle clear embossing powder over the stamped image and heat set it with a craft heating tool (note: NOT a hair dryer!). This way, when the paper gets wet whilst you’re laying down the white ink, your image will not be affected and will remain crisp. It makes whitewashing a cinch!
You can, of course do it without embossing powders, but it means you have to take so much more care not to smudge the stamped image. I’m all for an easy life, so embossing makes the task fail-safe and I don’t have to worry about keeping within the lines inside the image. There is a further advantage with an embossed image. It creates a barrier so that the ink won’t seep past the outline if you keep within the inner confines of your stamped image.
Landscape orientation tip
In days of yore, I had simply turned a standard card on its side to orient it in landscape and it would resemble a tent fold. Unfortunately, once you add layers and embellishments, they would never stay upright and gradually slide and flop.
Consequently, since time immemorial, I have cut my card stock 11-3/4″ x 4-1/8″ (29 cm x 10.5 cm), scored on the long side at 5-⅞” (14.5 cm) and folded in half to orient my card in landscape. This way I don’t have that problem anymore.
Video tutorial
They say a picture speaks a thousand words. Even better – a video speaks volumes!
Sneak peek
I have used a new punch called the Very Best Trio punch. It punches two types of corners and a ribbon hole. You can see it in action on the Best Wishes label I created. As this item is not available until July, 1 2022, I am unable to provide the link to the supply list.
Supply list
Listed below is the supply list. Just click on the picture to take you directly to the item in my online store.
Product List")
")


- SHOP ONLINE – EARN 10% REWARDS ON ALL PURCHASES OVER £20
- PURCHASE A STARTER KIT : Get £155 worth of products for only £99. Choose from current catalogues and any specials available. Free Shipping. Read more
- Subscribe to my Video Tutorials – click here