Hello, I hope you all had a lovely Christmas – back today with a sneak peek of the Seaside Bay Bundle from the forthcoming January-April 2023 Mini. Also, it will be Sale-a-bration. Sale-a-bration’s time line has changed it will only run from 5 January to 28 February, so be prepared!
This card is not for the faint hearted. It’s not difficult, but it is time consuming because there are a lot of layers and it’s really one that calls for being delivered in person. It is rather bulky to post – but you’ll expect to pay through the nose for a large letter or it could even be classified under a small package category!

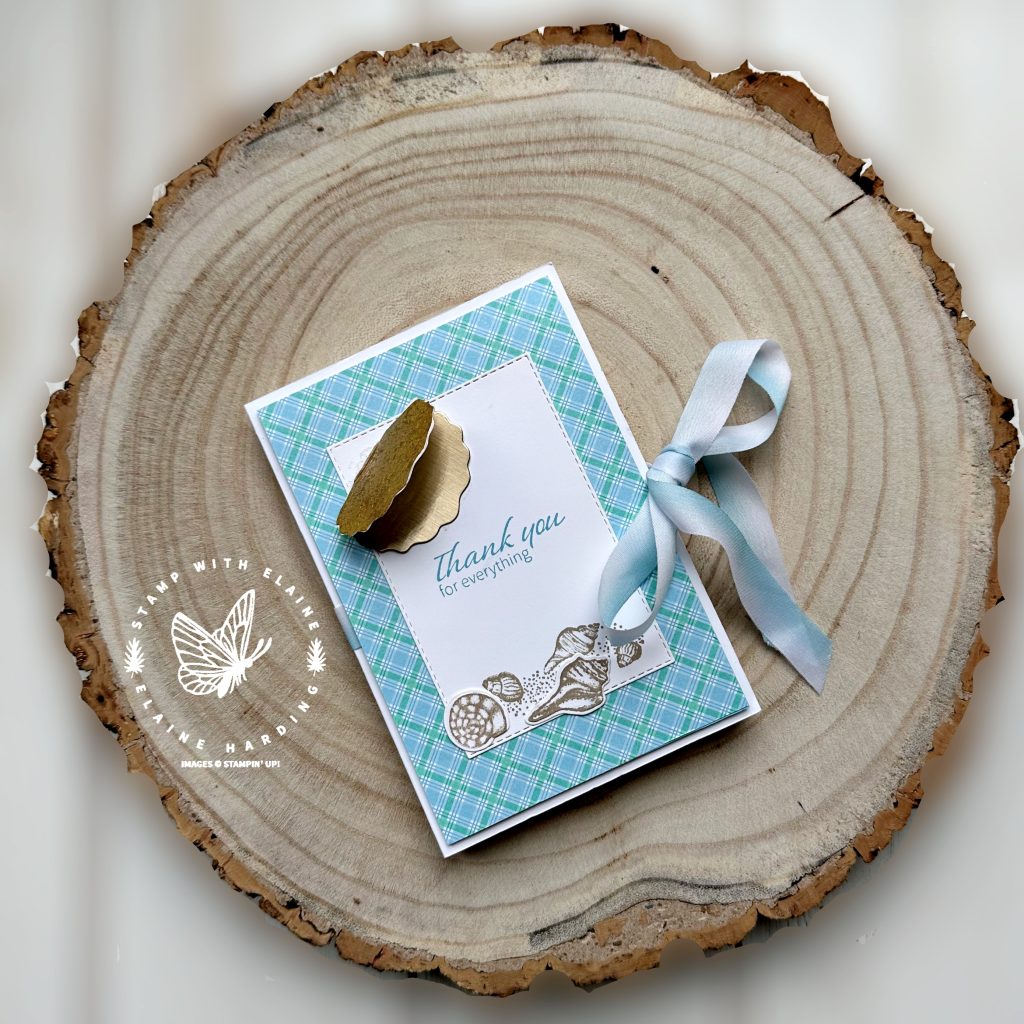
This is the card closed with the clam shell closed when it’s in the envelop. When you take it out of the envelop, the clam shell opens and you can see the pearl inside. The Dandy Delight 12″x 12″ (30.5 x 30.5 cm) Designer Series Papers were free subject to a qualifying order of £90 excluding shipping/handling during Sale-a-bration.

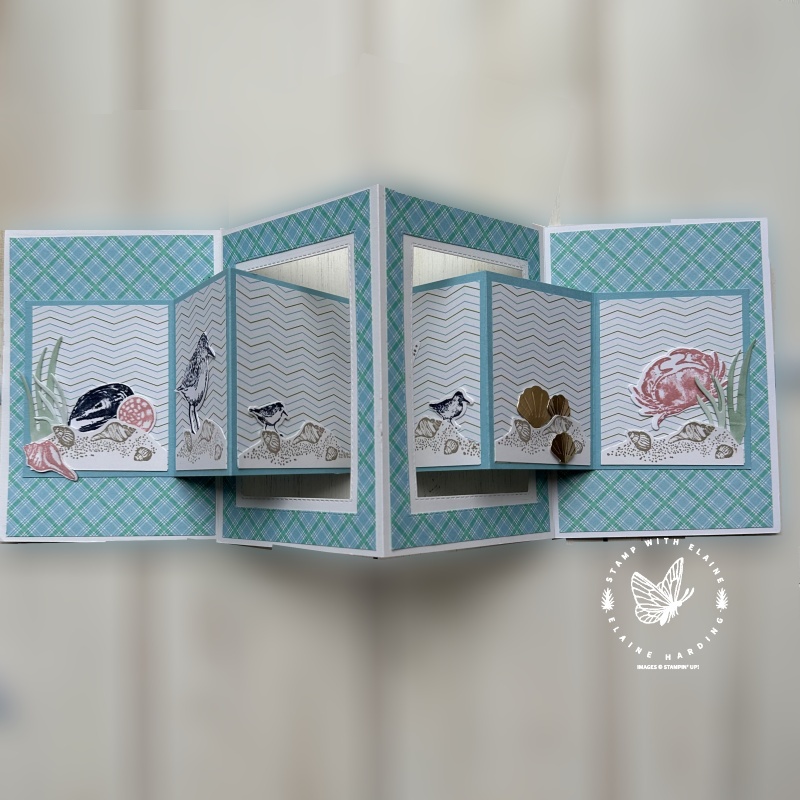
Untie the bow, and it opens up like an accordion. The centre two panels has a rectangular aperture through which a smaller accordion card is attached at either end of the base card. In order to make the math work, the accordion card base had to be extended. Each panel is 4″ wide, and consequently, to include the fourth panel, I had to add on an extension. Cutting guide is below.

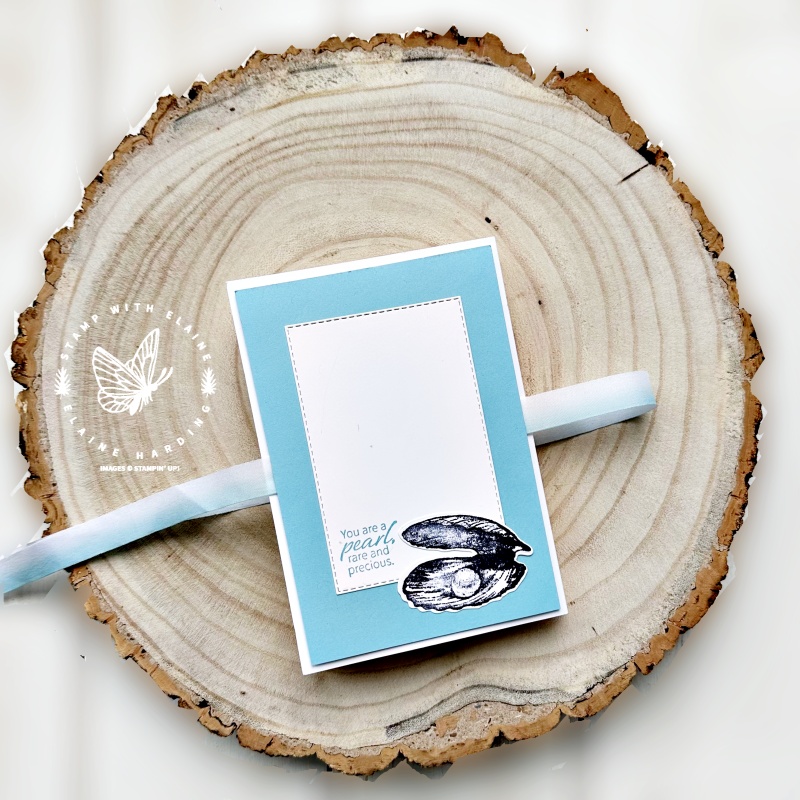
This is the back of the card and this is where I would write the recipient’s name and say who it’s from.
Cutting guide
Card Base and Interlocking pieces
- First section card base : Basic White 5 ¾” x 12″ (14.5 cm x 30 cm). Long side on top score at 4″and 8″ (10 cm and 20 cm)
- Second section card base : Basic White 4 ½” x 5 ¾” (11.5 cm x 14.5 cm) Short side on top score at 1/2″ (1.5 cm)
- Interlocking section 1 : Balmy Blue 3 ¼” x 8 ½” (8.5 cm x 21.5 cm). Long side on top score at 2 ¾” and 5 ½” (7 cm and 14 cm)
- Interlocking section 2 : Balmy Blue 3 ¼” x 9″ (8.5 cm x 23 cm). Long side on top score at 2 ¾”, 5 ½” and 8 ½” (7 cm, 14 cm and 21.5 cm).
Designer Series Paper
- Designer Series Paper Pattern “A” : Cut 5 pieces 5 ½” x 3 ¾” (14 cm x 9.5 cm) This also includes one piece for the card front.
- Balmy Blue front and back : Cut 2 pieces 5 ½” x 3 ¾” (14 cm x 9.5 cm). Adhere one of the “A” DSP pieces to one of the Balmy Blue c/s of same size for front of card.
- Pattern “B” DSP : Cut 4 pieces 2 ½” x 3″ (6.5 cm x 7.5 cm)
- Cut 2 slightly larger pieces Pattern “B” : 2 ¾” x 3″ (7 cm x 7.5 cm)
Additional card stock
- Scrap of Basic White for additional stamping of all the elements for die cutting
- Scrap of Brushed Metallic Gold Foil
- Scrap of Distressed Gold Specialty paper
Video tutorial
For further instructions on assembly please watch video
Supply list
Listed below is the supply list. Just click on the picture to take you directly to the item in my online store.
Thanks for visiting, hope you enjoyed this sneak peek!

- SHOP ONLINE – EARN 10% REWARDS ON ALL PURCHASES OVER £20
- PURCHASE A STARTER KIT : Get £155 worth of products for only £99. Choose from current catalogues and any specials available. Free Shipping. Read more
- Subscribe to my Video Tutorials – click here

This is the most beautiful card I have ever seen.
Thank you so much, glad you like it.
Love thus card. My husband is 70 this year and will attempt thus for his special day, albeit with a more masculine stamp set. Question? Do you actually need the ribbon?
The ribbon helps keep the card closed – you could use a natural ribbon and simply tie a flat knot rather than a bow to keep it masculine or if you have several strands of linen thread that could work. Another alternative is to create a belly band out of card stock to keep the card close. Hope that helps.
thank you for the reply. I like both of those alternative ideas ?