
Shaker card – Unbounded Beauty Suite. The Unbounded Beauty Suite has two bundles. One with just floral images and the other contains words only. Flowers of Beauty dies coordinate with the Flowers of Beauty stamp set. There are 2 dies which incorporate die cutting multiple flowers with just one pass through the die cutting machine. Ideal for making shaker cards!
The other bundle is Unbounded Love stamp set which contains all the sentiments. Unbounded Love die set has some interesting shapes to create labels which coordinate with the sentiments. They are perfect for creating apertures through which you can view the shaker elements.
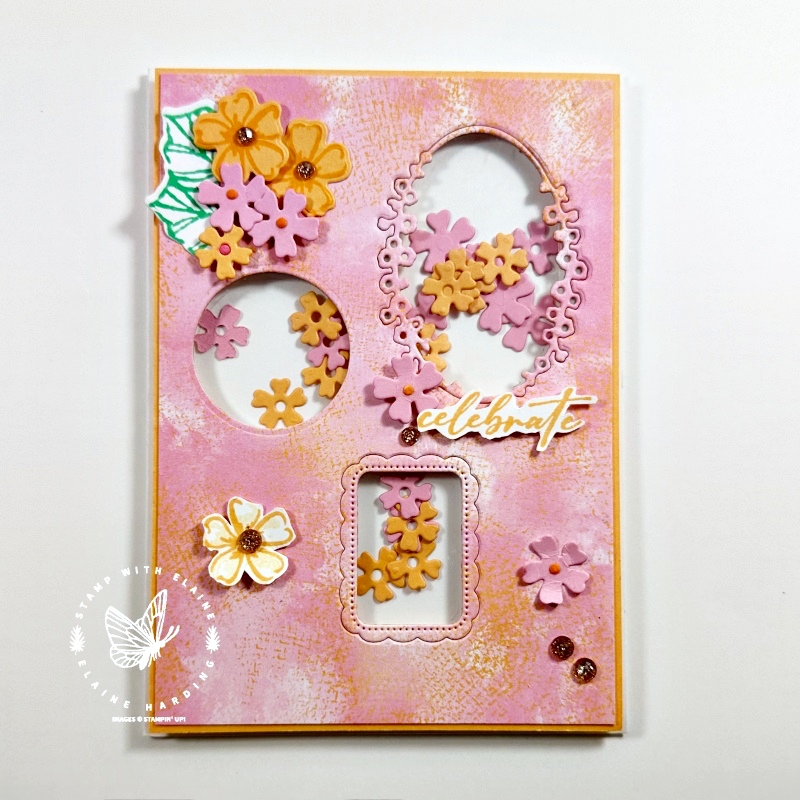
Three apertures were cut with a variety of the label dies from Unbounded love – you can see how pretty and elegant they are. The shaker elements were cut from the floral dies in the die set. One die cuts several flowers with just one pass through the die cutting machine. I salvaged the centres from the smaller flower and re-worked them for both the large and small flowers.
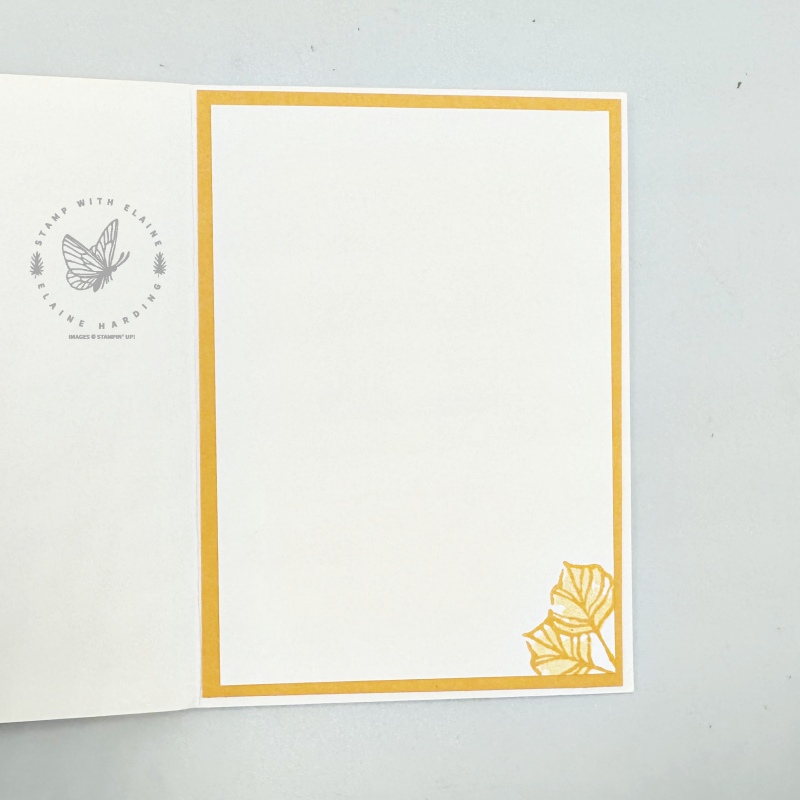
Inside card
I added a Peach Pie mat layer to balance out the weight of the card and used a second mat layer in Basic White ¼” smaller.
How to create shaker card
We’ll need to cut the card base separately, then tackle cutting the cover piece to create the shaker card.
Card base
- Basic White card base cut 5 ¾” x 8 ¼” (14.5 cm x 21 cm) folded in half.
- Inside card : Mat layer #1 Peach Pie 4″ x 5 ⅝” (10 cm x 14 cm)
- Mat layer #2 in Basic White cut at 3 ¾” x 5 ⅜” (9.5 cm x 13.5 cm)
Shaker cover
- Cut a Peach Pie mat layer 4″ x 5 ⅝”. Use a trimmer to cut a ¼” frame on all four sides and remove the centre. This is so you can expose the Basic White card base underneath.
- Designer Series Paper and Peach Pie mat layers cut 1 each 3 ⅞” x 5 ⅜” (9.8 cm x 13.7 cm). Apply adhesive thoroughly to the DSP and adhere to Peach Pie layer. Allow to bond properly.
- Select three different aperture dies from the Unbounded Love dies and die cut apertures.
- Place die cut piece centred on card front of card base and trace round apertures. Use foam adhesive strip and adhere to outside trace lines. Erase trace lines after you’ve attached foam adhesive strip. Set aside.
- Next attach Window sheet – cut at 3 ¾” x 5 ¼ ” (9.5 cm x 13.3 cm) and adhere this to the back of the DSP and Peach Pie die cut cover and adhere double sided tape on all four sides. Set aside.
Assembly instructions
- Die cut floral shaker elements out of Peach Pie and Pretty in Pink card stock. Some smaller ones, and some larger ones. Reserve the centres of the smaller die cut flowers to adhere to the larger flowers. Fill each aperture with a few flowers. Be careful not to over fill, otherwise the flowers will not move.
- Remove the backing tape from all the foam adhesive strips and the Shaker card cover. Carefully adhere on top leaving an even border all round.
- Stamp and die cut some flowers and leaves on Basic White and Peach Pie card stock in Peach Pie and Shy Shamrock ink.
- Also stamp and fussy cut the sentiment in Peach Pie on Basic White.
- Arrange and adhere on card front as pictured.
- Add Adhesive-backed sparkle gems as desired.
- Use the two-step stamping method with leaf stamps in bottom right corner on Mat layer #2 Basic White piece for inside of the card.
- Adhere this to the Peach Pie mat layer and adhere both to inside of card leaving an even border all round to complete card.
Supply list
Listed below is the supply list. Just click on the picture to take you directly to the item in my online store.
Product List
")
 Designer Series Paper")


This card is aimed at an avid crafter, but anyone can have a go. It will take a little longer because there are a lot of steps. The final result is so worth it. Thanks for visiting. Stampin’ hugs.

- SHOP ONLINE – EARN 10% REWARDS ON ALL PURCHASES OVER £20
- PURCHASE A STARTER KIT : Get £155 worth of products for only £99. Choose from current catalogues and any specials available. Free Shipping. Read more
- Subscribe to my Video Tutorials – click here