
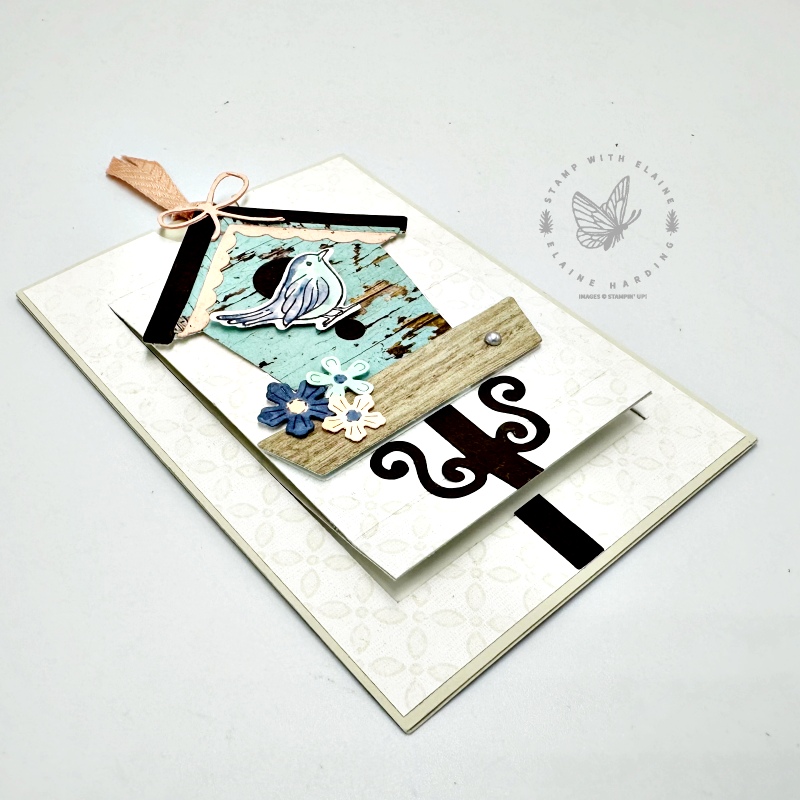
Fun slider pop-up card : Country Birdhouse. I promised you I’d be back with a fun pop-up card using the Country Birdhouse bundle. It’s been ages since I made one and works on the same principle as the one I made way back in 2020 which you can see in the post HERE. You can refer to the video tutorial in this post to get an idea at how it was assembled. Bear in mind that the measurements for today’s card has a few minor adjustments.
It folds flat for posting. Where the ribbon is, if you pull it will activate the slider mechanism to reveal a hidden message underneath.
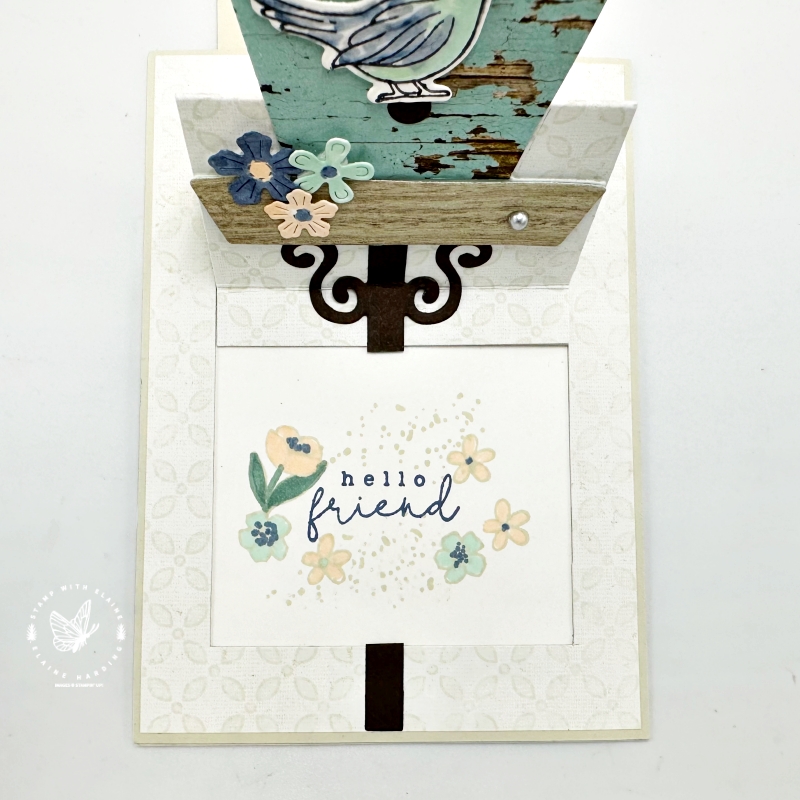
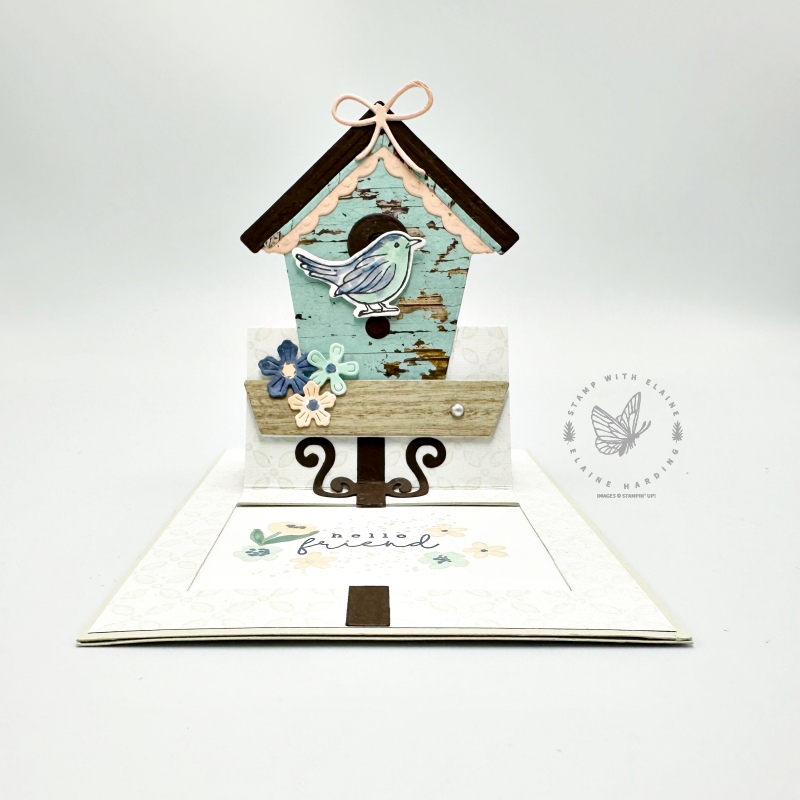
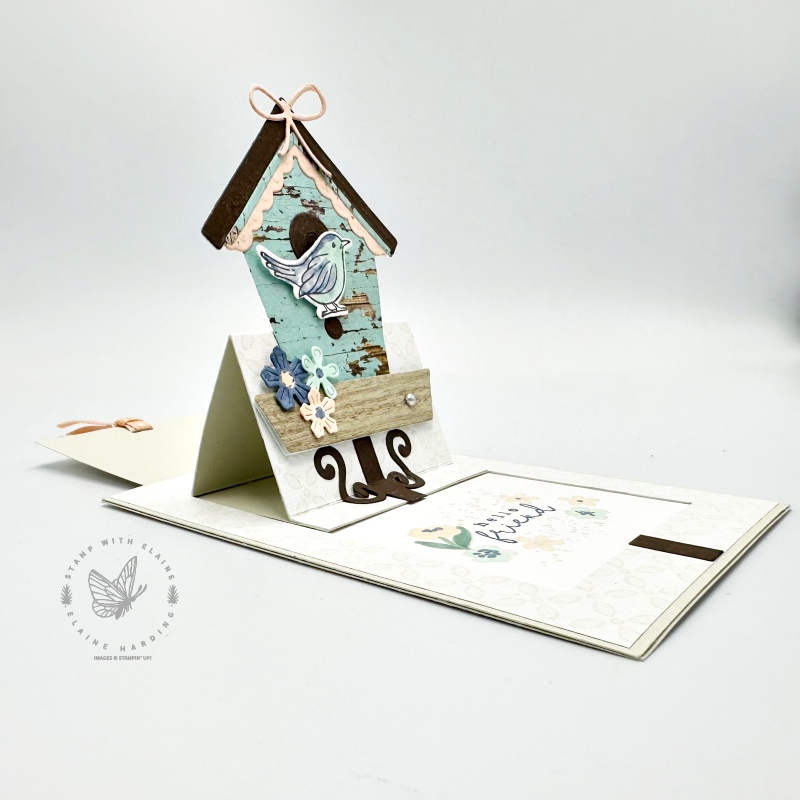
Front elevation view on the left and a side elevation on the right pictured below. The slider mechanism is adhered only to the narrow scored section of the bottom of the cut piece on the front of the card. As you pull, the message underneath is revealed. The first fold is a Valley fold, the middle is a Mountain fold and the third fold is a Valley fold.
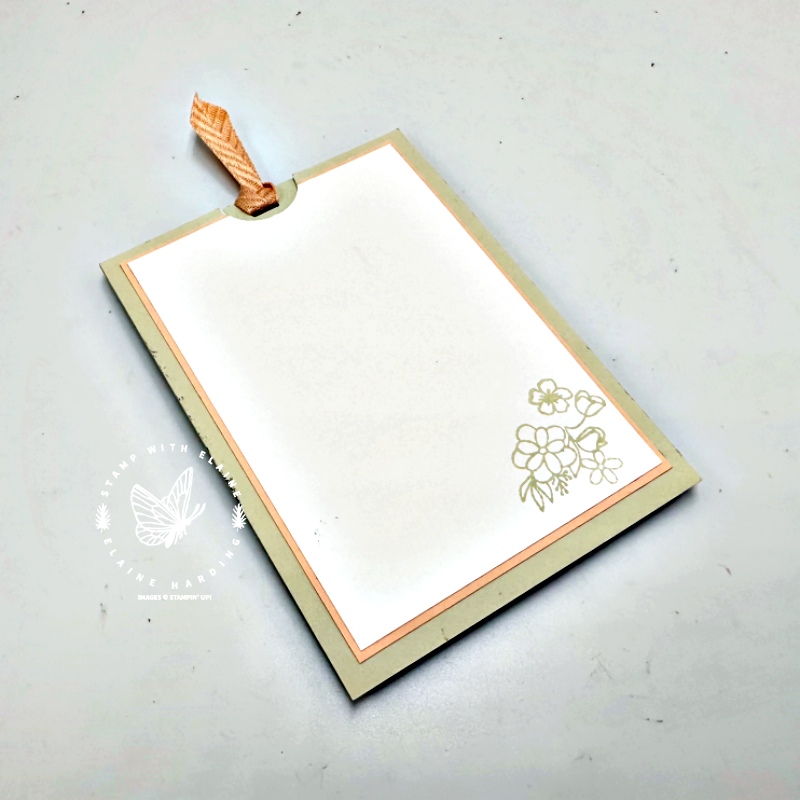
Back of card
This is the back of the card. I added a Basic White layer so that there is somewhere to pen a few lines to the recipient and add a signature to say who it’s from.
Cutting guide
- Card base Basic Beige, cut 2 pieces : 4 ⅛” x 5 ¾” (10.5 cm x 14.5 cm)
- Inside layer Basic White cut 1 piece : 4″ x 5 ⅝” (10.2 cm x 14.2 cm). Adhere this to one of the Basic Beige card base.
- *DSP to be adhered to a Basic Beige card base piece : 4″ x 5 ⅝” (10.2 cm x 14.2 cm). Ensure you apply adhesive all over as this is the piece you’ll have to cut and score. Once it’s glued together, find centre and punch a finger hole with a 1″ circle punch or similar. This will form the front of your card. Use this as a template to punch a finger hole for the remaining card base and Basic White piece.
- Slider mechanism in Basic Beige : 2 ⅞” x 5″ (7.3 cm x 12.7 cm). Note the bottom of this piece is adhered to the bottom of the DSP and Basic Beige cut flap before you adhere the card front to the card base. Only attach double sided tape to the two sides and bottom. Otherwise, the slider mechanism will not move freely.
- Petal Pink mat layer back of card base : 3 ⅜” x 5 ⅜” (8.6 cm x 14.3 cm)
- Basic White mat layer back of card base : 3 ¼” x 5 ¼” (8.2 cm x 13.3 cm)
Scoring for Step 3 piece
Cutting instructions for Step 3 : *Short side on top, align right edge to right of cutting groove at ⅝” and cut from ¾” down to 5″ (metric: align to right of cutting groove at 1.5 cm and cut from 2 cm down to 12.7 cm). Rotate c/s 180 degrees and repeat cut. Rotate c/s a quarter turn clockwise and cut in between 2 lines. You should have 3 cut lines altogether.
Now for the scoring instructions. FYI using a trimmer or Simply Scored Scoring tool is slightly different between the two tools.
- On a trimmer – orient c/s so that the long side is on top and the cut flap is on the right. Align right edge to right of cutting groove at 1 ¼” (3.2 cm) and score in between cut lines. Slide c/s to right and align left edge at 2 ⅜” (6 cm) and score in between cut lines. Lastly align left edge at ¾” (2 cm) and score between cut lines. Burnish score lines on both sides to make it easier to slide.
- On Simply Scored Scoring Tool – orient c/s on long side into top left corner of score board. Score ¾”, 2 ⅝“, 5″(2 cm, 6.5 cm, 12.5 cm).
Supply list
Listed below is the supply list. Just click on the picture to take you directly to the item in my online store.
Product List")
 Designer Series Paper")

 Diagonal Trim Combo Pack")


Thanks for visiting, give me a thumbs up if you liked today’s card. Enjoy the rest of your weekend.

- SHOP ONLINE – EARN 10% REWARDS ON ALL PURCHASES OVER £20
- PURCHASE A STARTER KIT : Get £155 worth of products for only £99. Choose from current catalogues and any specials available. Free Shipping. Read more
- Subscribe to my Video Tutorials – click here