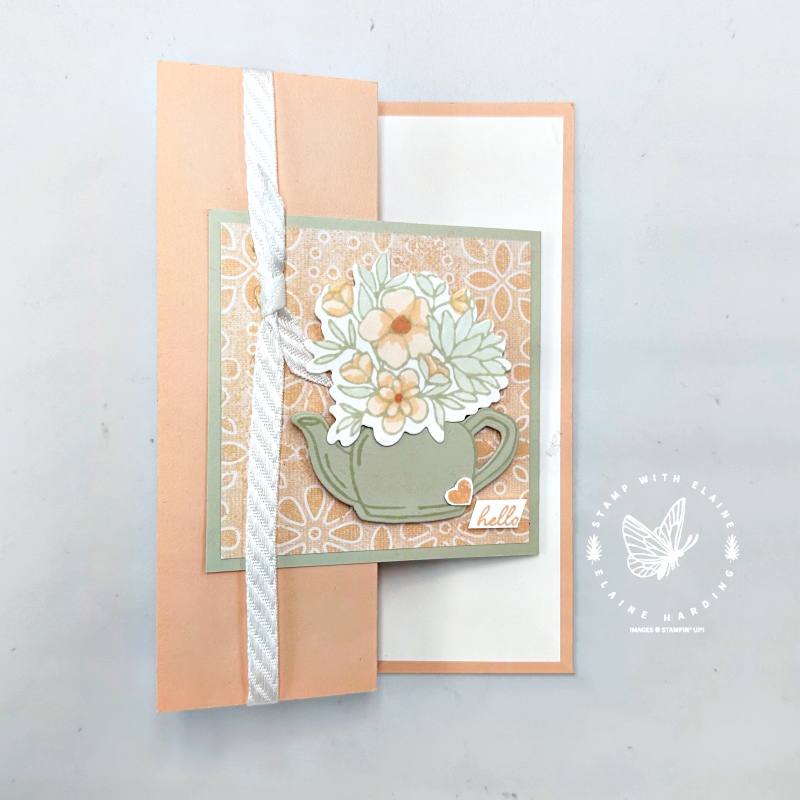
Fancy concertina fold – Country Flowers. Today I’m featuring the other bundle in the Country Woods Suite Collection from the 2024-25 Annual Catalogue. You’ll find it on pages 48-51. The fancy concertina fold is made up of two sections. You can use a 12″x 12″ piece of card stock, but I didn’t have any in the colour I wanted. Consequently I cut my card base from an A4 sheet. More on that later in the cutting guide.


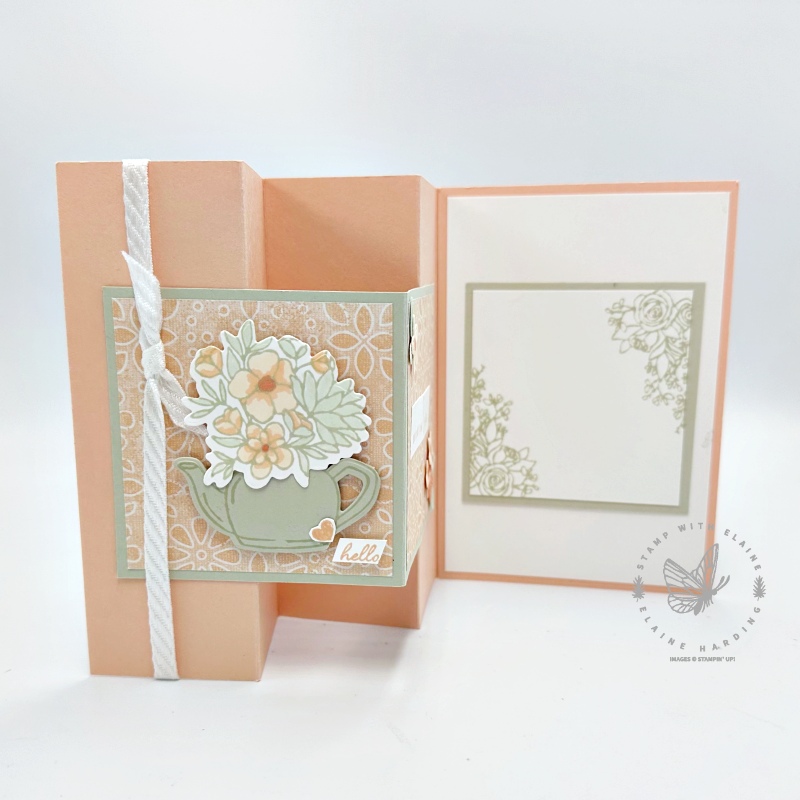
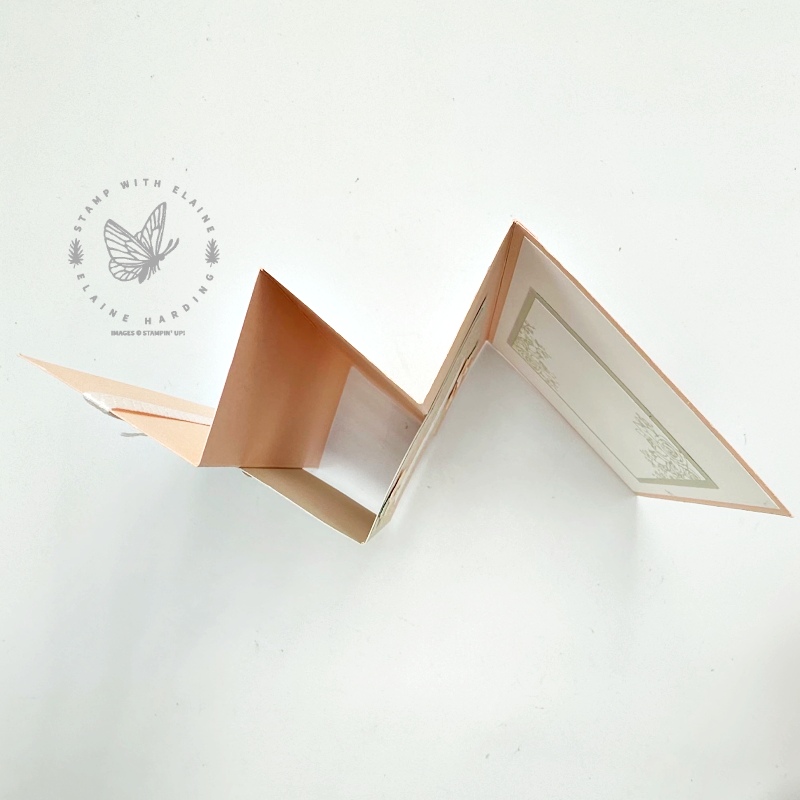
The first photo shows the card closed so that it will fit in the envelop. In the middle, this shows the card open for display. The third photo shows a view from above so you can see the concertina folds. Incidentally, the card is not designed to lay completely flat because of the decorative piece in the middle.
Decorative panels
This is the Basic Beige piece which measures 3 ¼” x 6 ½” scored long side at 3 ¼” which has been centred and adhered to the concertina section of the card. I used the Country Lace 12″x 12″ (30.5 x 30.5 cm) Designer Series Papers to decorate the panels. The flowers and leaves were die cut from Basic White card stock and I coloured them with Petal Pink, Soft Sea Foam and Calypso Coral Stampin’ Blends combos. Arrange the various elements as shown in photos and attach them with adhesive and/or dimensionals.
Finishing touch
Tie a ribbon round the first concertina panel with a flat bow. The little heart and “hello” sentiment were stamped in Petal Pink on Basic White card stock. Both these come from the Keeping Tabs photopolymer stamp set.
Inside card
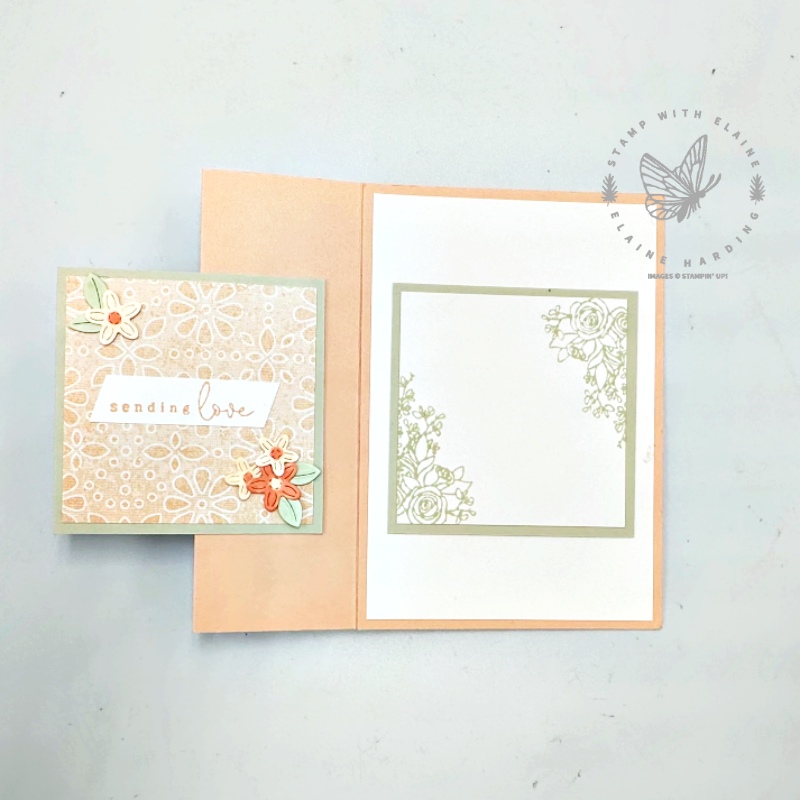
This is the extended Petal Pink base which has been adhered to the concertina section. I added a Basic White piece ¼” (0.5 cm) smaller all round to adhere to the base. Next adhere a Basic Beige square same size as the Decorative Panel footprint when closed to decorate inside of the card. Lastly, add a Basic White layer ¼” (0.5 cm) to adhere on top of the Basic Beige square.
How to attach decorative piece to Concertina section

Open the concertina section so that it lies flat on the left and the inside of the card is on the right. Place the Basic Beige square on top of the Decorative piece section. Align all four sides and apply adhesive on top. Keep it firmly in place while you close the back of the card on top and allow it to bond.
Cutting guide
- Concertina section Petal Pink : 5 ¾” x 8 ¼” (14.5 x 21 cm). Long side on top score at 2″, 4″, 6″, 8″ (5 cm, 10 cm, 15 cm, 20 cm)
- Back Panel (inside of card) Petal Pink : 4″ x 5 ¾” (10 cm x 14.5 cm)
- Decorative piece Basic Beige 3 ¼” x 6 ½” – long side score at 3 ¼” (8 x 16 cm – long side score at 8 cm)
- Country Lace DSP : 2 pieces 3″ x 3″ (7.5 cm x 7.5 cm)
- Mat layer Back Panel inside of card Basic White : 3 ¾” x 5 ½” (9.5 cm x 14 cm)
- Inside card Basic Beige square : 3 ¼” x 3 ¼” (4 cm x 4 cm)
- Basic White mat layer for square : 3″x 3″ (3.5 cm x 3.5 cm)
- Scraps of Basic Beige and Basic White for stamping and die cutting images
Supply list
Listed below is the supply list. Just click on the picture to take you directly to the item in my online store.
Product ListI hope you’ve been inspired by today’s project. Thanks for visiting.

- SHOP ONLINE – EARN 10% REWARDS ON ALL PURCHASES OVER £20
- PURCHASE A STARTER KIT : Get £155 worth of products for only £99. Choose from current catalogues and any specials available. Free Shipping. Read more
- Subscribe to my Video Tutorials – click here


