
Masking with Frosted Forest. One of the new online exclusives available in July is the Frosted Forest Bundle. The Frosted Forest bundle not only includes the stamp set and dies, but also the decorative masks. At time of writing this, the photo depicting the bundle in the online store only shows the stamp set and dies, but not the masks, but they ARE included. Don’t make the mistake of buying the masks separately, I made that mistake myself! So be aware! I ended up with 2 sets of masks!
I used the Grassy Grove cling stamp set for the grass. This set has co-ordinating dies and it is still available to purchase as a bundle to save 10% if bought together.
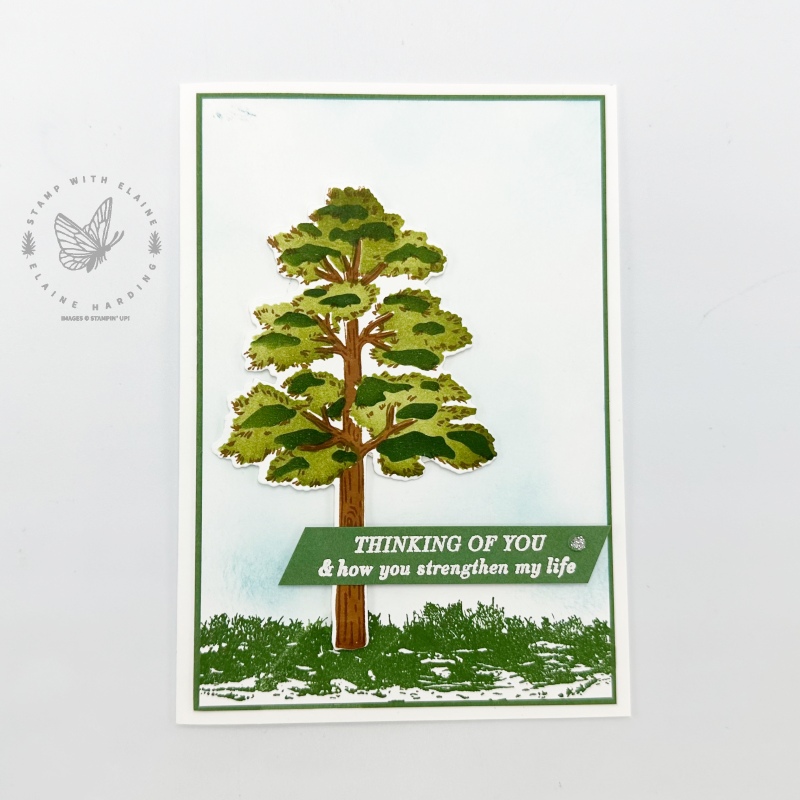
Stamped/mask card
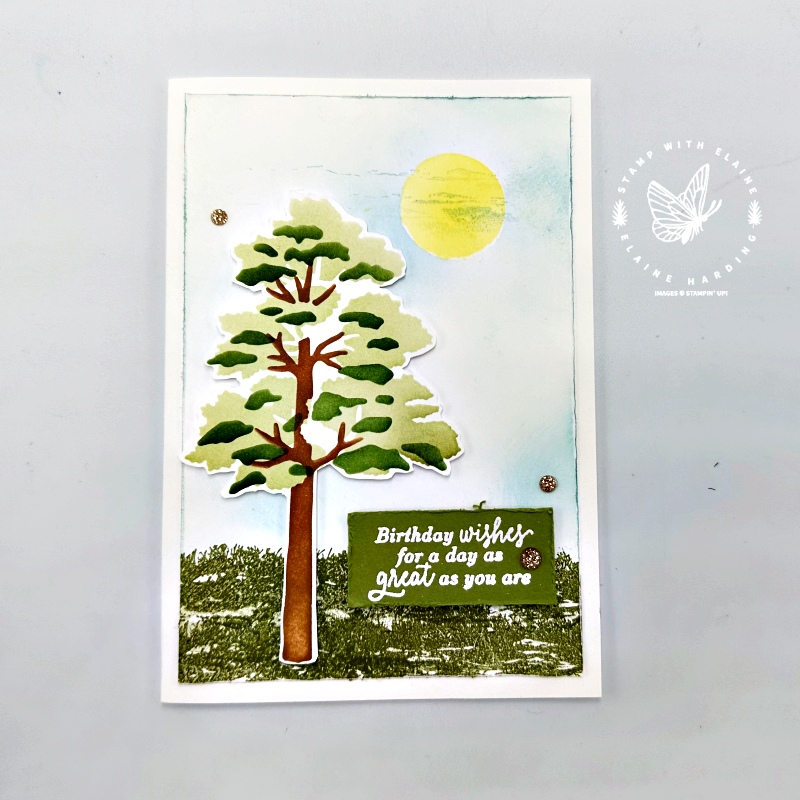
I made two cards to show the difference between the stamped version and the unstamped version. The photos below show the stamped version and has much more detail in the bark for the tree trunk and leaf outlines.
Mask version without stamping
Only the masks were used to create this card which is much softer. I punched a circle mask for the sun and used a blending brush to colour in the sky in Balmy Blue. The sun was coloured in with Lemon Lolly and I used the bottom of the Grassy Grove stamp to stamp across the sun in Balmy Blue. Which do you prefer – stamped or simply just masked only?
Decorative Masks
The decorative masks for the tree are numbered “1”, “2” and “3”. Incidentally, there is a second set of decorative masks marked “A”, “B”, and “C” for the pine tree.
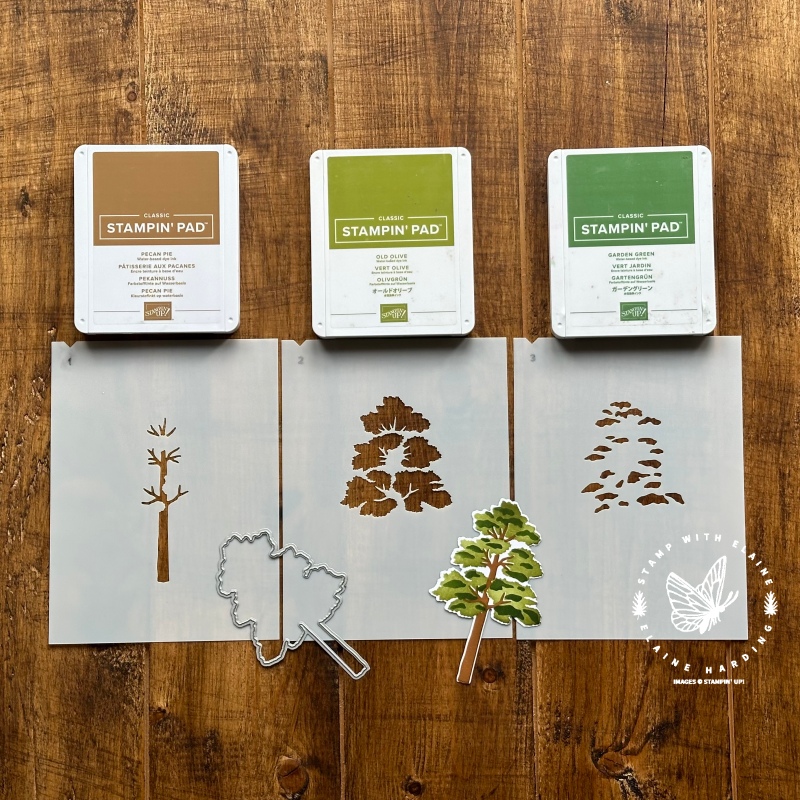
Tip : Scribble a black Sharpie marker on the letters and numbers on each mask . Use Stazon Cleaner to clean the excess off with a tissue. This makes the letters and numbers on each mask more visible.
Card details
- Both cards are standard cards which is half an A4 sheet folded in half.
- If you wish to add a layer, cut it ¼” smaller than the card front in coloured card stock.
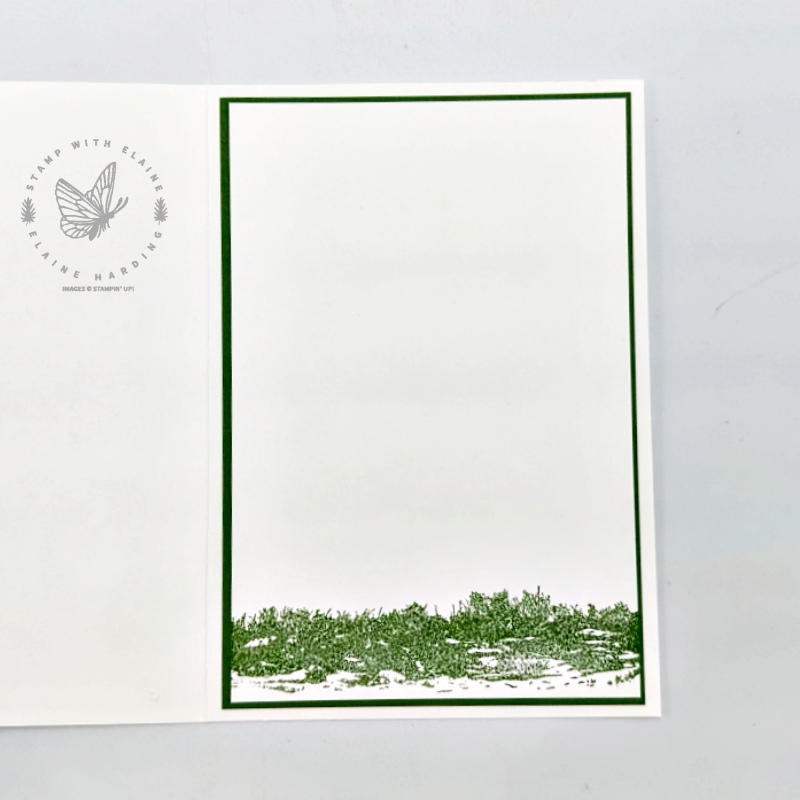
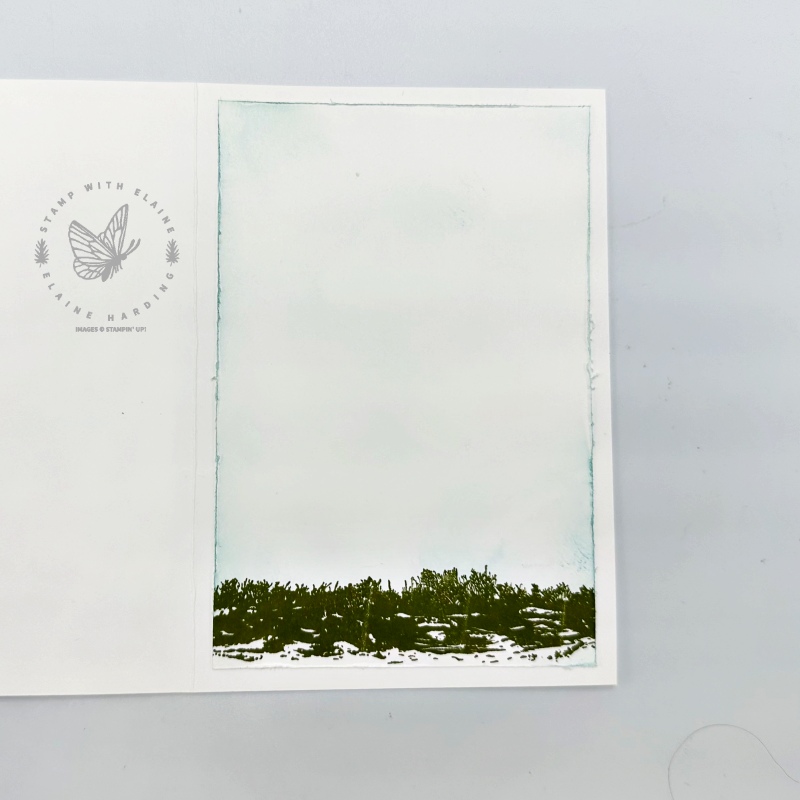
- Next layer in Basic White ⅛” smaller than the previous layer. Stamp the Grassy Grove stamp at the bottom in Garden Green or Old Olive.
- Use a blending brush to lightly fill in the sky in Balmy Blue. It doesn’t matter if the colour is uneven because it is meant to represent a whispy, cloudy sky.
- To create the tree : Cut a piece of Basic White the same size as the decorative mask or larger so you can make a “V” mark for placement purpose and use blending brushes to lay down the colour for the tree trunk, foliage, and a deeper colour for the accent foliage.
- On coloured card stock tap the embossing buddy over card stock to prevent static, stamp sentiment in Versamark and sprinkle white embossing powder over it. Then heat set with heat tool and trim it to the size and shape as desired. If you wish to step it up, use label dies in your stash to die cut a pretty label.
- Die cut the tree and assemble the card.
Supply list
Listed below is the supply list. Just click on the picture to take you directly to the item in my online store.
Product List")
")


- SHOP ONLINE – EARN 10% REWARDS ON ALL PURCHASES OVER £20
- PURCHASE A STARTER KIT : Get £155 worth of products for only £99. Choose from current catalogues and any specials available. Free Shipping. Read more
- Subscribe to my Video Tutorials – click here