
Retro card with Tune In. The Tune In stamp set features an image of an old fashioned TV from the 50s. You’ll find the bundle in the 2024-25 Annual Catalogue on page 67. If you recall those TVs, and grew up in that era there weren’t any remote controls back then. As a child, we were the “remote controls” – if Mum or Dad wanted to change channel (not many either to choose from) more often than not, the children were despatched to turn the dial !
This kicked off a trip down memory lane so I’ve made a few to show how I used all the dies.
Crumb Cake card
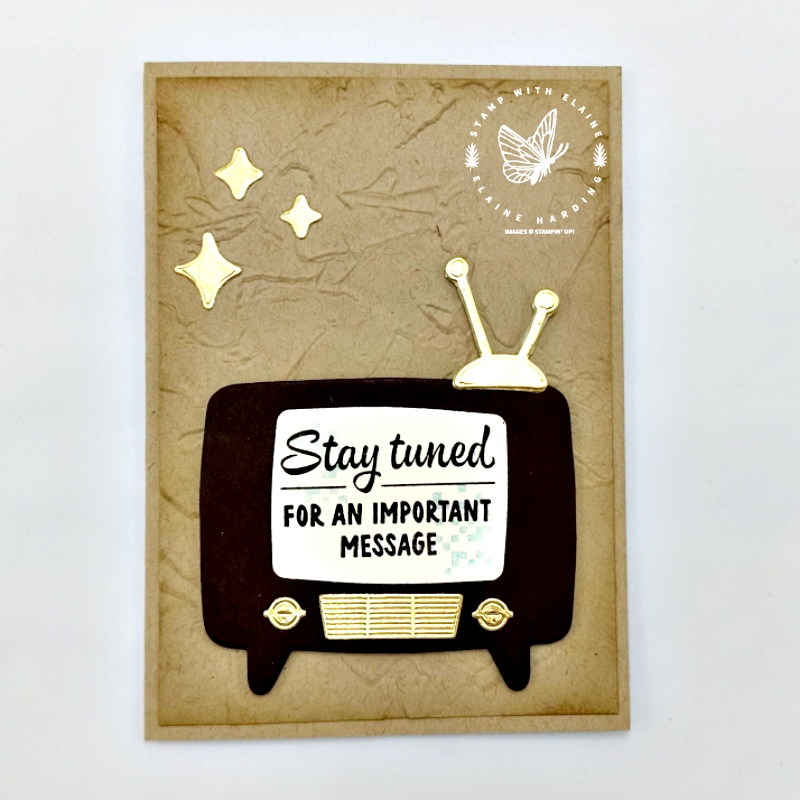
- Standard card size half an A4 sheet in Crumb Cake
- Mat layer ¼” (0.5 cm) smaller than card front. Emboss with Painted Texture 3D embossing folder and darken the edges with blending brush in Crumb Cake.
- Die cut TV in Early Espresso
- Very Vanilla – die cut screen and stamp greeting
- Gold foil – die cut the cluster of rhomboid shapes, TV control dials and speaker grill and aerial
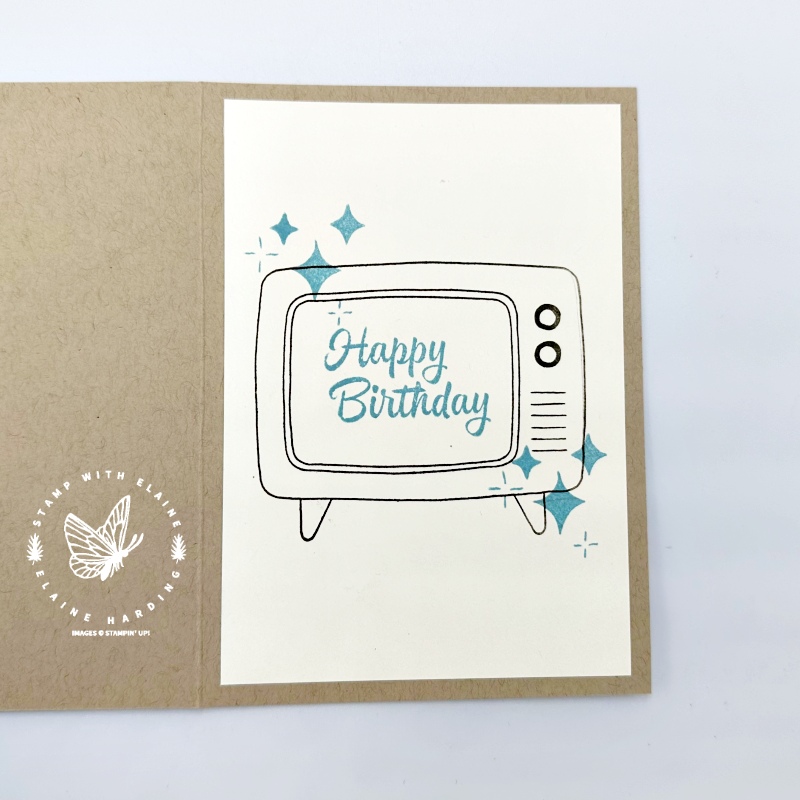
- Inside Card – Very Vanilla piece ¼” (0.5 cm) smaller than card base inside. Stamp TV in Early Espresso and the greeting in Balmy Blue.
Test pattern card

- Standard card base with half A4 sheet in Basic White
- Smoky Slate ¼” (0.5 cm) smaller than card front. Adhere to card front.
- Peach Pie ¼” (0.5 cm) smaller than Smoky Slate layer. Colour bottom quarter of this layer with Peach Pie Stampin’ Blends. Adhere on top of Smoky Slate
- Scrap of Basic White to stamp TV, lightening flashes, aerial and greeting and an extra blank screen.
- Colour the TV and aerial with Smoky Slate Stampin’ Blends. Adhere TV to Peach Pie layer with dimensionals and aerial adhered directly to Peach Pie layer behind TV as shown.
- Die cut the strips from Full of Life 6″x 6″ DSP for rainbow effect and adhere to Basic White blank screen. Adhere TV screen on top of TV screen with dimensionals.
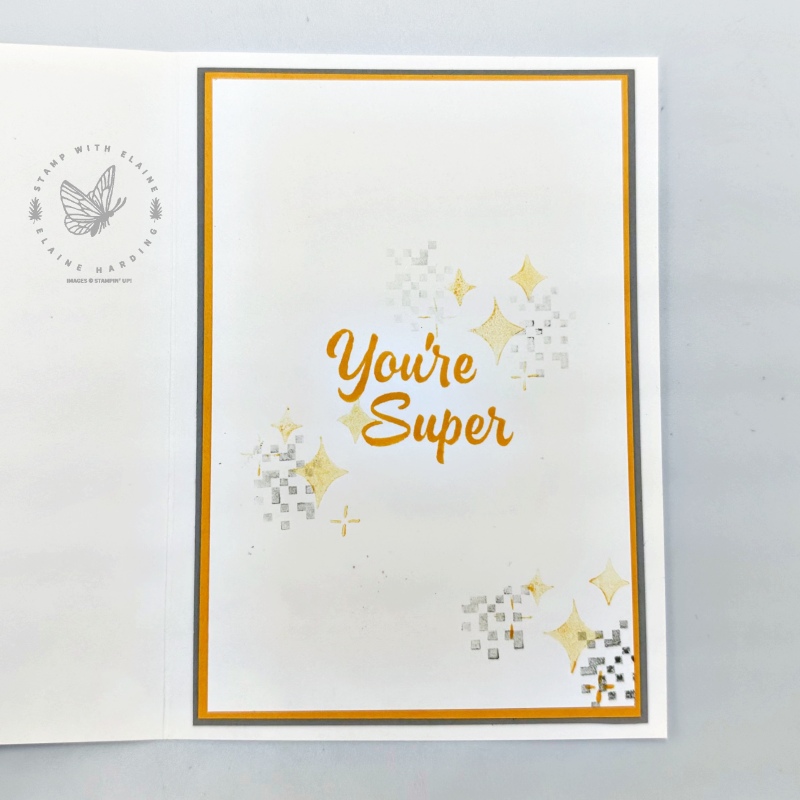
- Inside card cut layers ¼” (0.5 cm) smaller than the previous layer starting with Smoky Slate, followed by Peach Pie and lastly Basic White.
- Stamp basic white layer as pictured or as you wish.
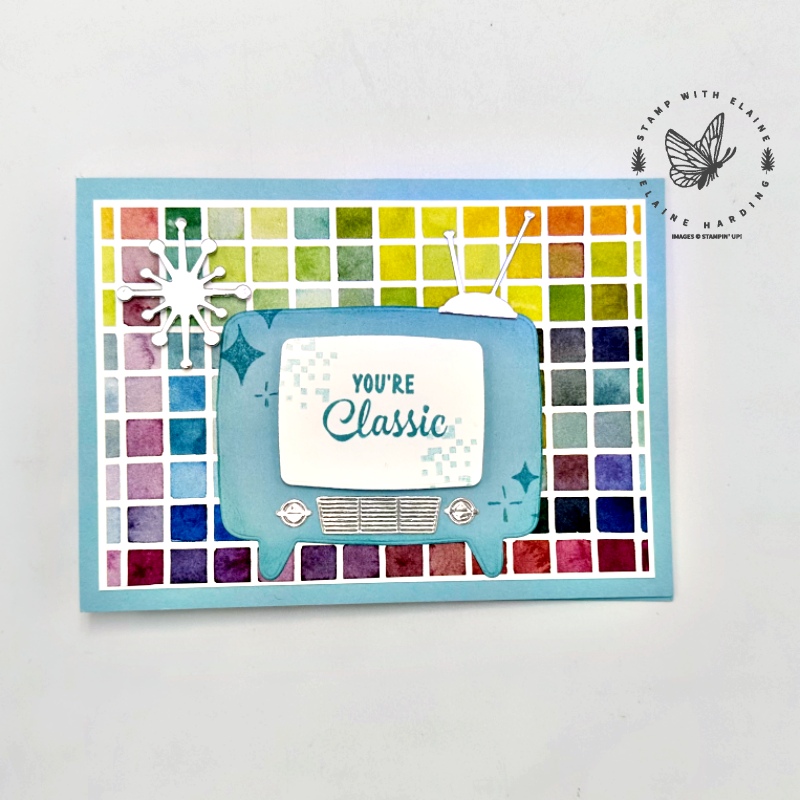
Balmy Blue z-fold
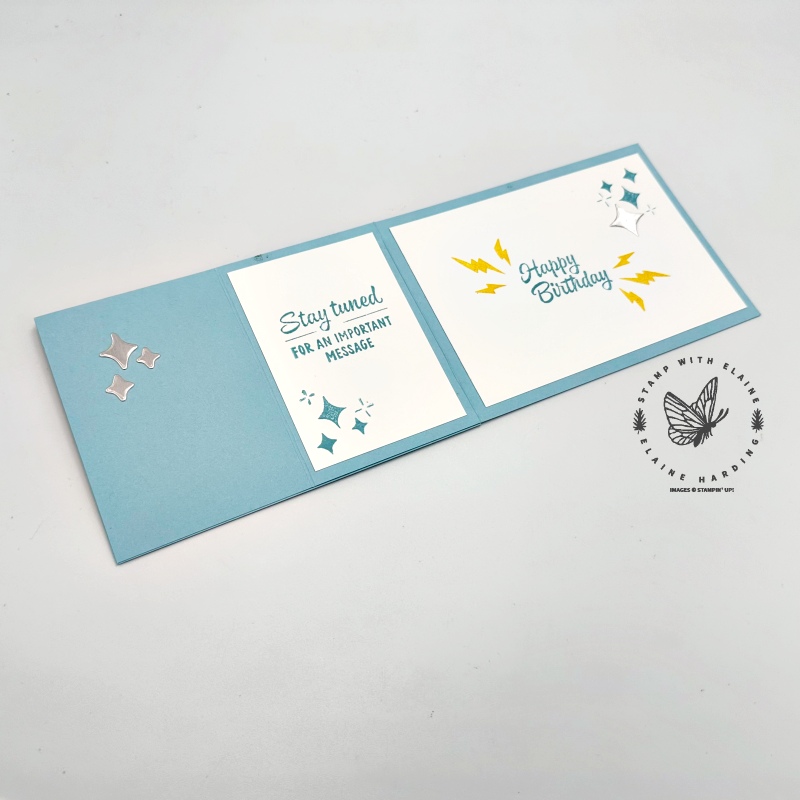
- Cut an A4 sheet in Balmy Blue in half lengthways – in Europe this will measure 4 ⅛” x 11 ½” (10.5 cm x 29 cm). Long side on top, score at 2 ⅞” and 5 ¾” (7.25 cm and 14.5 cm)
- From remaining half, cut it in half so that it is a ¼ of an A4 sheet. You may need to trim it so that it measures 4 ⅛” x 5 ¾” (10.5 cm x 14.5 cm)
- Cut 2 pieces Basic White mat layer for card front and inside at 3 ¾” x 5 ½” (9.5 cm x 14 cm).
- Centre panel inside card Basic White 2 ⅞” x 3 ¾” (7.3 cm x 9.5 cm)
- DSP I used Full of Life 6″x 6″ (15.2 cm x 15.2 cm) DSP. Cut 3 ½” x 5 ¼” (8.9 cm x 9.3 cm) glue on top of Basic White layer for card front.
- Scrap of Balmy Blue to die cut TV.
- Silver foil – die cut large star, antenna, speaker grill, dials, rhomboid shapes
- Stamp the different sections with Balmy Blue ink and Daffodil Delight as shown.
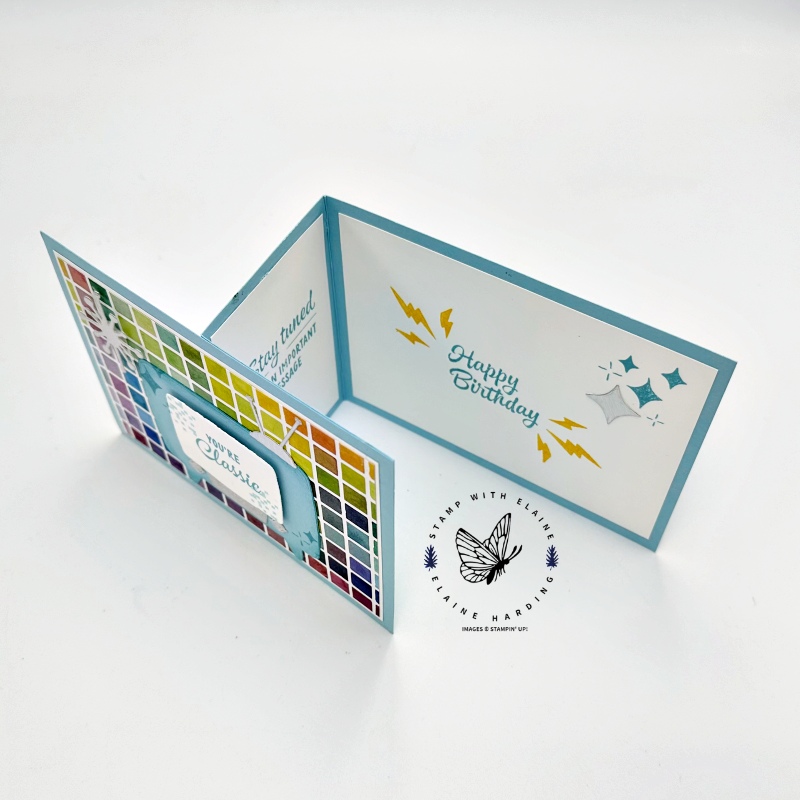
Assembling z-fold
- Take the card base and fold back the 2 ⅞” (7.25 cm) score line in a mountain fold and the 5 ¾” (14.5 cm) score line in a valley fold.
- Apply adhesive to the folded back half of the card base.
- Adhere the separate ¼ A4 sheet on top to create the z-fold (picture on the far right).
- Arrange all the stamped and die cut elements as shown to complete card.
Supply list
Listed below is the supply list. Just click on the picture to take you directly to the item in my online store.
Crumb Cake Card
Product List")


Test Pattern card
Product List Designer Series Paper")


Balmy Blue z-fold
Product List


- SHOP ONLINE – EARN 10% REWARDS ON ALL PURCHASES OVER £20
- PURCHASE A STARTER KIT : Get £155 worth of products for only £99. Choose from current catalogues and any specials available. Free Shipping. Read more
- Subscribe to my Video Tutorials – click here