Make 3 cards with Happiest Day. Happiest Day is a stand alone stamp set. If you wish to step it up, you can use whatever dies you have in your stash. The samples created by Stampin’ Up! featured how the stamp set was used for scrapbooking layouts. As with any stamp set, you can use it to make cards too.
All the cards I created are a standard size so half an A4 sheet. Consecutive layers are ¼” smaller.
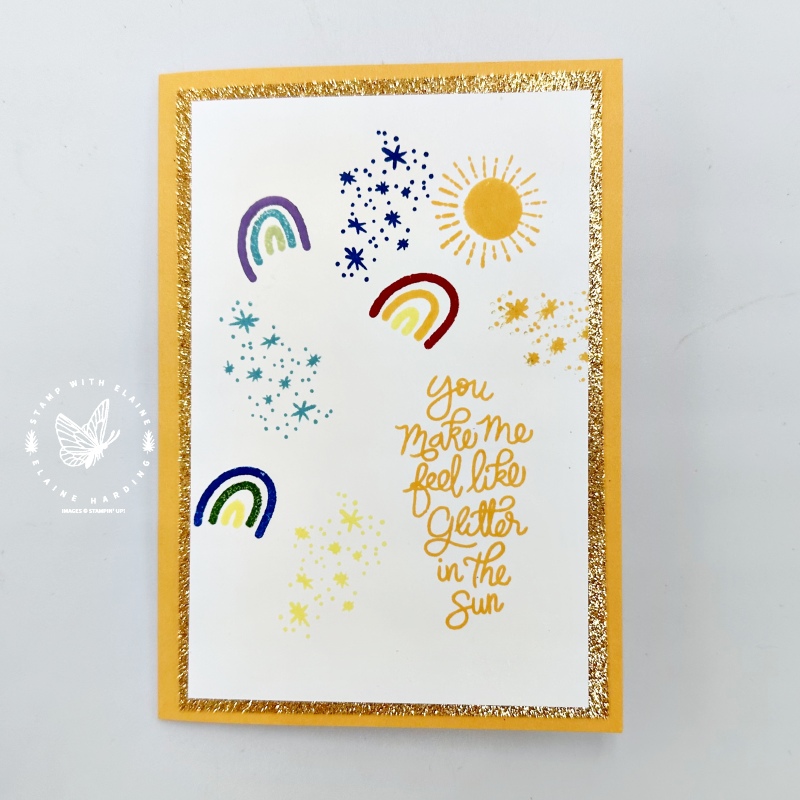
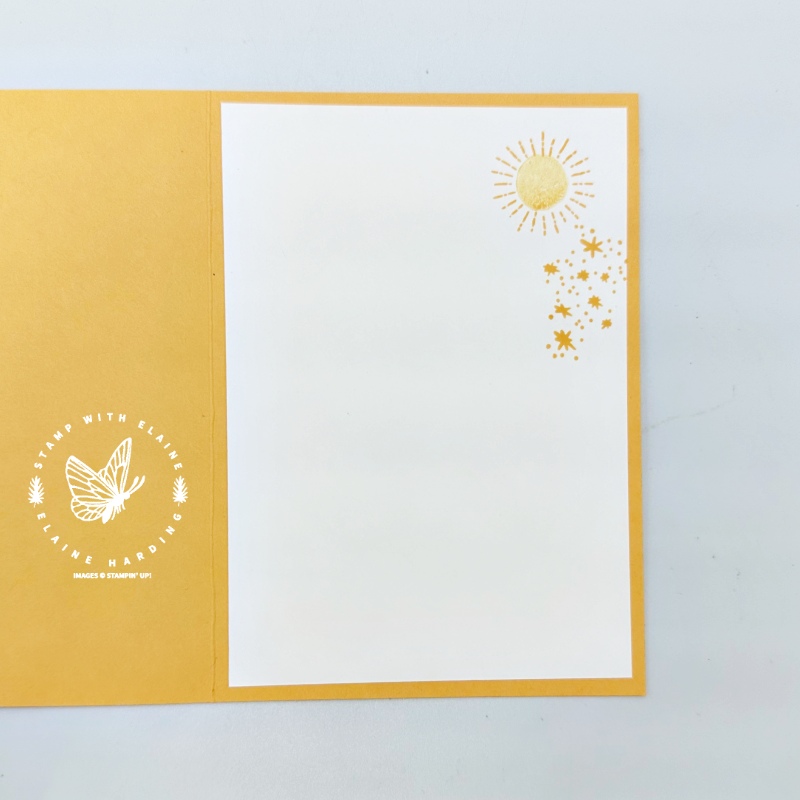
Peach Pie Rainbow card
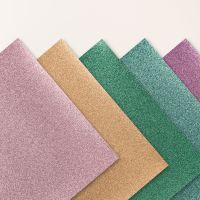
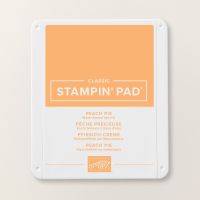
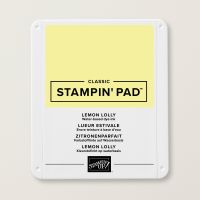
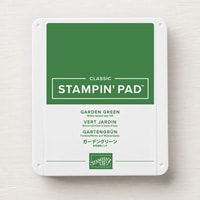
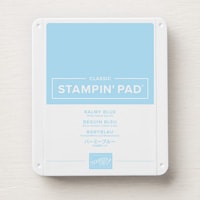
Because the sentiment says “you make me feel like glitter in the sun”, it prompted me to use the Peach Pie Glimmer paper from the 2024-2026 In Color Glimmer 12″x 12″ Specialty DSP pack. I wanted to conserve the glimmer paper so I gutted the inside of the glimmer paper by cutting a 1/2″ frame. Colours used : Peach Pie, Highland Heather, Balmy Blue, Soft Sea Foam, Blueberry Bliss, Garden Green, Lemon Lolly and Real Red.
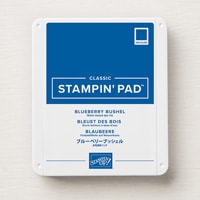
Blueberry Bliss card with Unbounded Love Dies
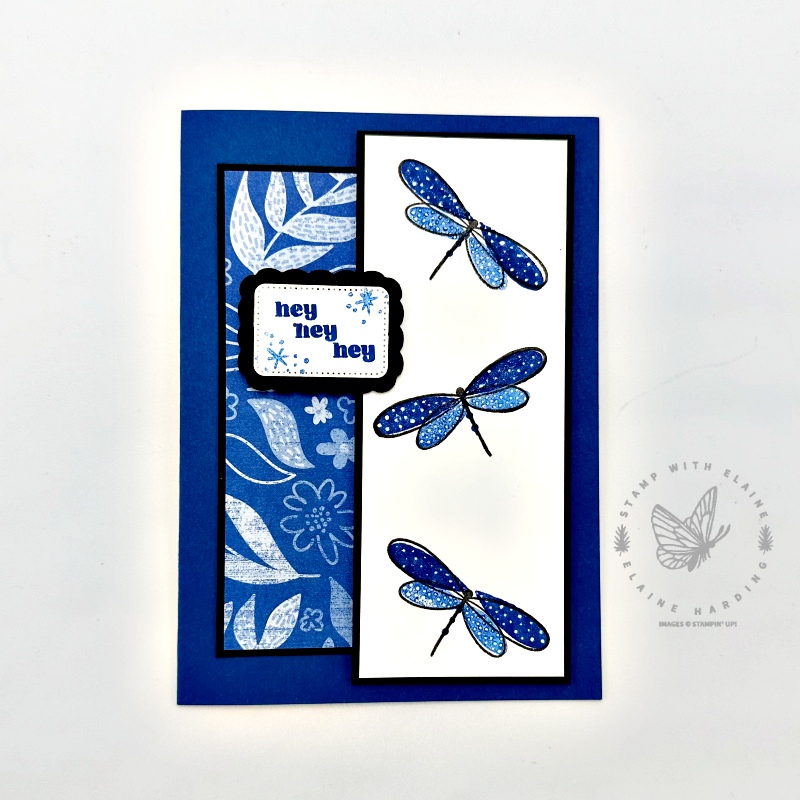
The Blueberry Bliss card needs a little more explanations so I’ve included a cutting guide for the various layers.
Cutting guide
- Cut Basic White piece at 2″ x 5 ¼” (5 cm x 13.5 cm) and its mat layer in Basic Black at 2 ⅛” x 5 ⅜” (5.4 cm x 13.7 cm).
- Brights DSP 6″x 6″ pack : 1 ⅞” x 4 ⅝” (4.8 cm x 11.7 cm) and its mat layer in Basic Black at 2″ x 4 ¾” (5 cm x 12.1 cm)
- Die cut 1 x Basic Black and 1 x Basic White scalloped label frame with Unbounded Love dies.
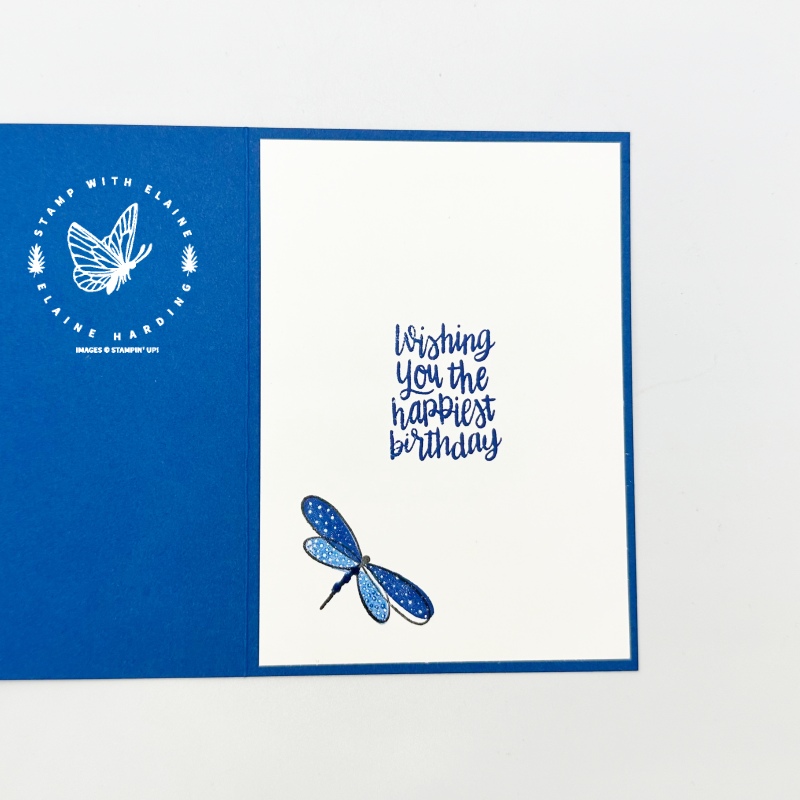
- Inside card : Basic White layer 3 ⅞” x 5 ½” (9.8 cm x 14 cm)
Assembly tips
- Adhere Blueberry Bliss DSP to corresponding Basic Black Mat layer and centre and adhere to card base to the left of card front.
- Stamp the dragonflies in Tuxedo Black Memento ink on Basic White c/s. Stamp first generation ink on larger wings in Blueberry Bliss, and second generation Blueberry Bliss on smaller wings. Allow ink to dry then lightly colour with Clear Wink of Stella Glitter brush.
- Adhere to corresponding Basic Black mat layer then adhere on top of DSP layer.
- Stamp sentiment “hey” as shown in Blueberry Bliss first generation ink and the star cluster in second generation Blueberry Bliss ink
- Adhere label to card base with dimensionals.
- Stamp greeting and dragonfly on inside as shown and adhere to inside of card.
Pretty Peacock card with Everyday Details Dies
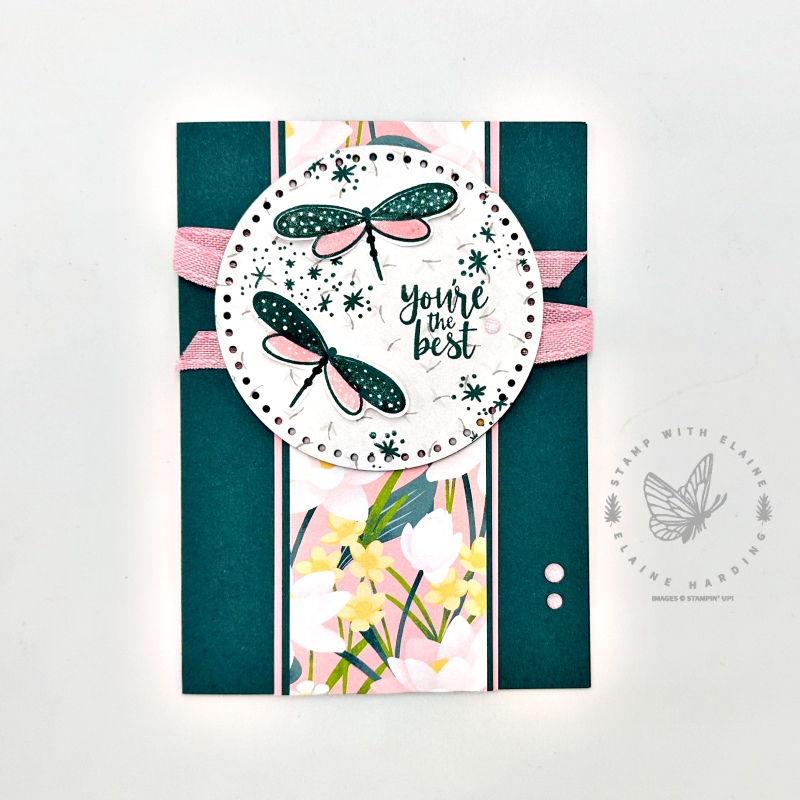
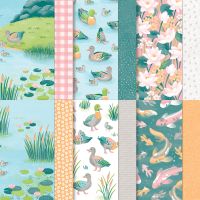
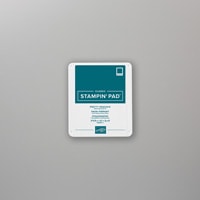
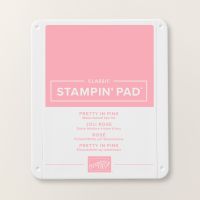
Card base is Pretty Peacock with layers in Pretty in Pink and Basic White. Dragonflies are usually found near riverbanks, ponds and lakes or even in canals and ditches so it seemed logical to use the Lily Pond Lake papers. No guesses then that the inks I used are Pretty in Pink and Pretty Peacock!
Cutting guide
- Pretty in Pink : 2 ¼” x 5 ¾” (5.7 cm x 14.6 cm)
- Pretty Peacock : 2 ⅛” x 5 ¾” (5.4 cm x 14.6 cm)
- Lily Pond Lane 6″x 6″ (15.2 x 15.2 cm) DSP : 2″ x 5 ¾” (5 cm x 14.6 cm)
- Die cut 1 x Pretty Peacock and 1 x Lily Pond Lane DSP with largest Everyday Details circle die.
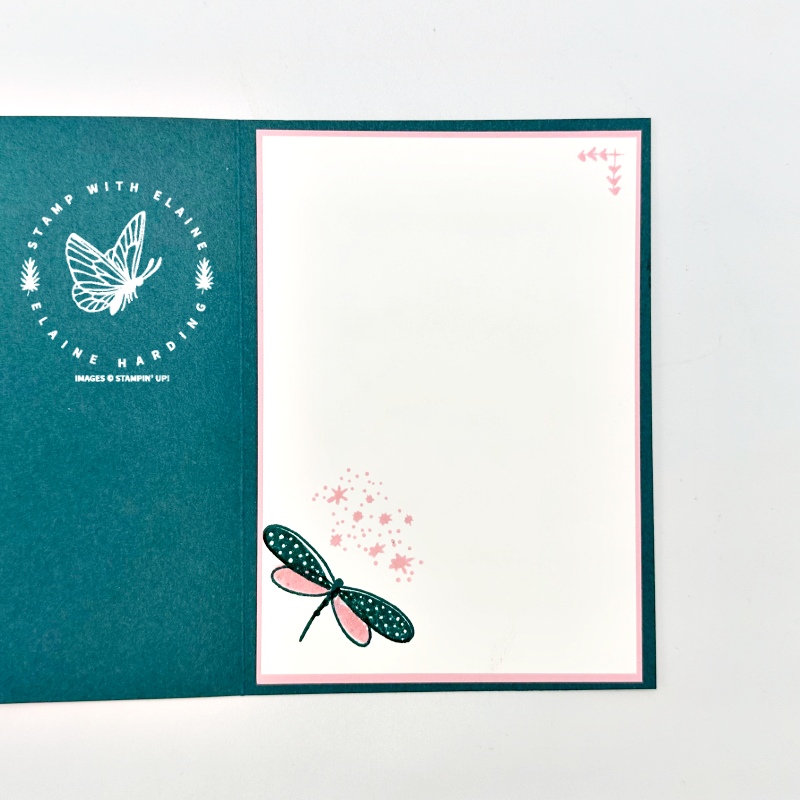
- Inside card : Pretty in Pink 3 ⅞” x 5 ½” (9.8 cm x 14 cm)
- Basic White layer inside card : 3 ¾” x 5 ⅜” (9.5 cm x 13.7 cm)
- Scraps of Basic White to stamp and fussy cut dragonflies.
Assembly tips
- Adhere the Pretty in Pink strip first to the card base in the middle.
- Next adhere the Pretty in Peacock layer followed by the Lily Pond lane piece.
- Stack the Dragonfly pattern circle (cut from Lily Pond Lane DSP pack) on top of the Pretty Peacock largest Everyday Details die cut circle, align the holes and glue them together. You need the extra card stock because the DSP is too flimsy to layer on its own.
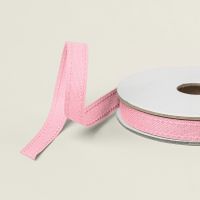
- Attach the Pretty in Pink ribbon in a zig-zag formation.
- Stamp the dragonflies as shown on Basic White scrap, body and larger wings in Pretty Peacock ink and the smaller wings in Pretty in Pink. Fussy cut them. Once ink is dry, colour the wings with Clear Wink of Stella Glitter brush.
- Apply adhesive along the body and adhere dragonflies as shown on the circles.
- Fold wings back so you can stamp the sentiment and randomly stamp the star clusters in between the spaces.
- Apply dimensionals to back of circle piece then centre and adhere over ribbon.
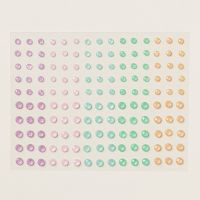
- Embellish with 2024-2026 In Color Shimmer Gems.
- Adhere Pretty In Pink mat layer to inside of card followed by Basic White layer.
- Stamp the inside as shown to complete card.
Supply list
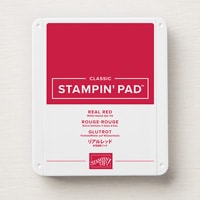
Listed below is the supply list. Just click on the picture to take you directly to the item in my online store.
I’ve listed the supplies for all 3 cards together rather than separately this time.
Product ListI hope you’ve been inspired by my creations. Any questions, pop them in the comments box. Thanks for visiting.

- SHOP ONLINE – EARN 10% REWARDS ON ALL PURCHASES OVER £20
- PURCHASE A STARTER KIT : Get £155 worth of products for only £99. Choose from current catalogues and any specials available. Free Shipping. Read more
- Subscribe to my Video Tutorials – click here





Pingback: How to make a Get well card - Stamp with Elaine