
Masculine card – Greatest Adventure an online exclusive stamp set. In this stamp set there’s just a single image of a locomotive. The sentiments are spaced out so that they can be used with Stampin’ Up! colouring tools or Masking Paper and it’s perfect for card fronts and scrapbooking. It’s also ideal for creating a perspective of the train in motion.
How to create a perspective illusion
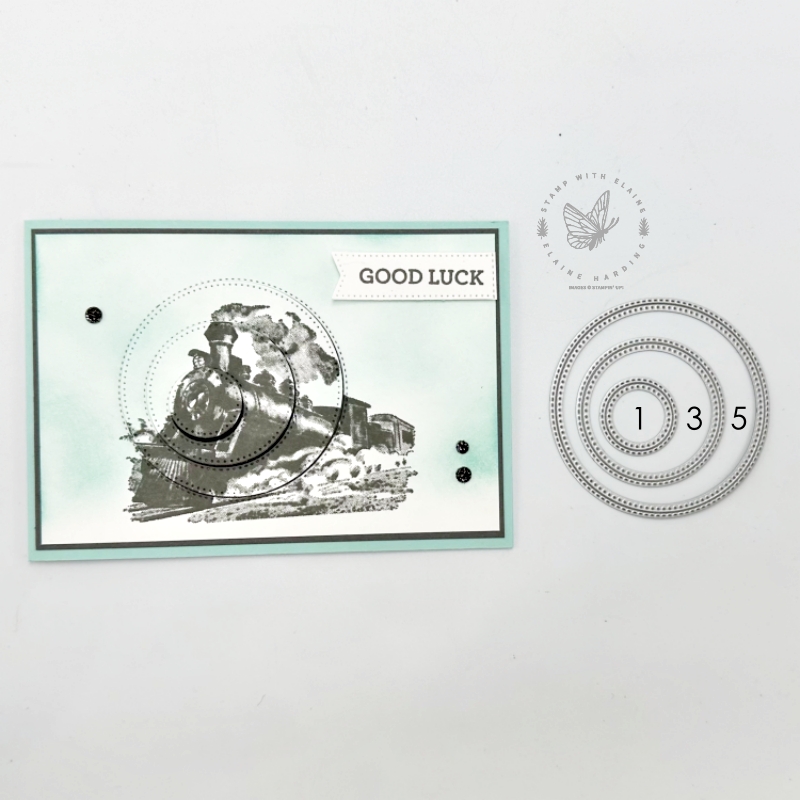
What is perspective? This is a term which refers to creating a realistic impression of depth in three dimensional objects or spaces in two dimensional artworks. On this train image which is a distinctive stamp, you can use circular dies to create the perspective. Simply stamp the image, then off set 3 circle dies in decreasing sizes on the image and run it through the die cutting machine. Re-assemble the image by raising largest circle with 1 layer of dimensionals, the second circle with a double stack of dimensionals and the smallest circle with a triple stack thus creating different heights to create the perspective.
I used the Stylish Shapes Dies – there are 6 nested circle dies. No. 1 being the smallest and 6 being the largest you require circles 1, 3 and 5.
Masking sentiment
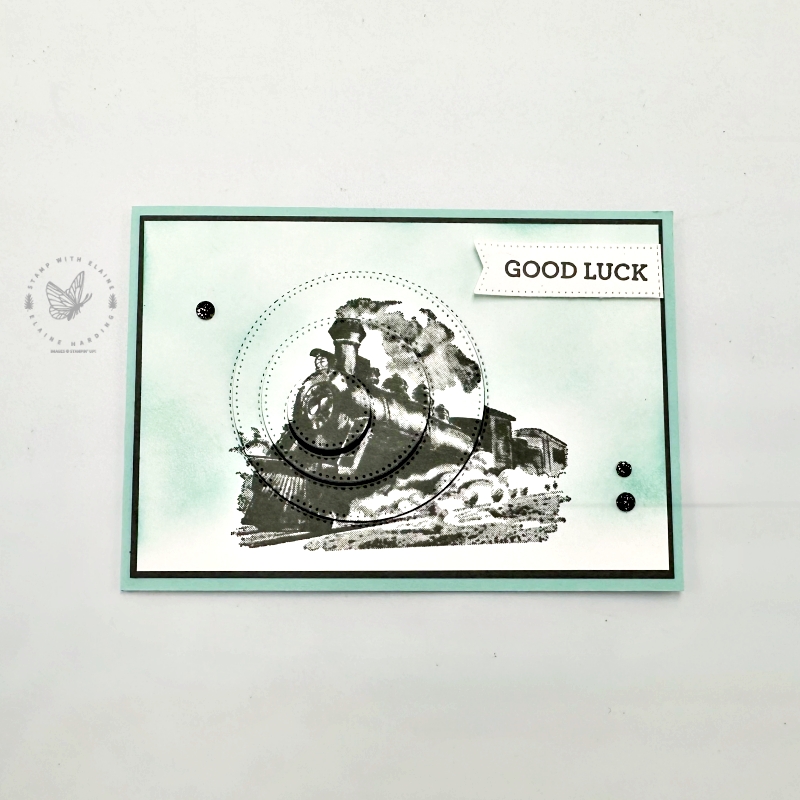
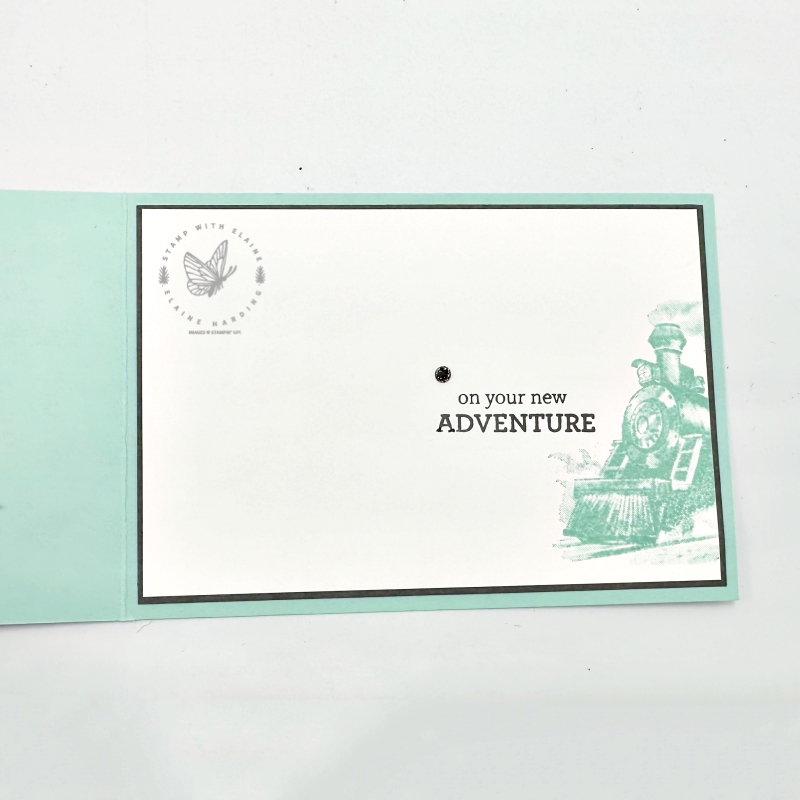
To break up the “Good Luck on your new Adventure”, I masked the lower half of the stamp before inking it up, then removed the mask to stamp “good luck”. Similarly, to ink up the lower half of the sentiment, I masked the upper portion of the stamp. Then remove mask, and stamp inside the card.
Cutting guide
- Card base : Pool Party 4 Card base : Pool Party 4 ⅛ ” x 11 ½” (10.5 cm x 29 cm) folded in half.
- Basic Mat layer #1 card front and inside – 2 pieces Basic Gray cut at 3 ¾” x 5 ½” (9.5 cm x 14 cm)
- Card front and inside Mat layer #2 -2 pieces Basic White cut at 3 ⅝” x 5 ⅜” (9 cm x 13.5 cm)
Assembly instructions
- Stamp the train with Basic Gray ink in the middle toward the bottom of the card front Basic White layer.
- Ink up blending brush and apply colour in Pool Party on three sides, leaving the bottom in Basic White.
- Offset the no. 1, 3, 5 circle dies as shown in the picture above, secure with low tack tape. Run through die cutting machine.
- Adhere the base layer directly to Basic Gray mat layer and both layers to card base.
- Apply single stack dimensionals on largest die cut circle, double stack on middle size circle, and triple stack on the smallest circle.
- Remove backing tape and re-position circles into the aperture following the pre-stamped guidelines to re-build “picture” as a whole.
- Adhere Basic Gray mat layer #1 to inside of card.
- Ink up train image stamp with Pool Party ink and partially stamp the train on inside Basic White layer.
- Stamp sentiment and adhere on top of inside Basic Gray mat layer #2.
- Add embellishments as desired.
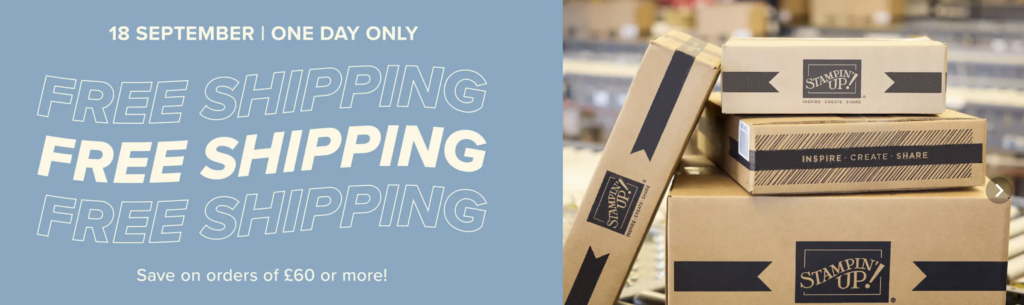
FREE SHIPPING TODAY
Don’t forget Free Shipping today on all orders of 75€ | £60 – when you reach that figure, free shipping will automatically be applied. Coupons cannot be used during free shipping as it will lower the qualifying threshold of the order. In UK/Ireland, orders must be closed by 10:59 pm tonight. Happy shopping!
Supply list
Listed below is the supply list. Just click on the picture to take you directly to the item in my online store.
Product List")


- SHOP ONLINE – EARN 10% REWARDS ON ALL PURCHASES OVER £20
- PURCHASE A STARTER KIT : Get £155 worth of products for only £99. Choose from current catalogues and any specials available. Free Shipping. Read more
- Subscribe to my Video Tutorials – click here