Sympathy card – Quiet Reflection. No-one likes to make sympathy cards, and if you’ve recently suffered a loss, in your time or bereavement it is difficult to then have to sit down and make a card to console the person/s who have suffered that loss. Why not make a few in your spare time so that they will be on hand when needed.
DistINKtive stamps
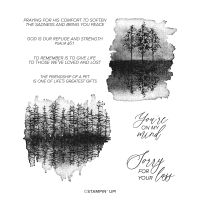
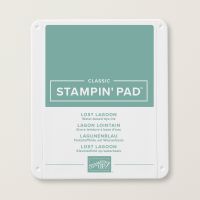
Stampin’ Up! have patented special distINKtive stamps for a while and these are usually manufactured in red rubber. The stamps carry a lot of detail so that when you stamp the image it resembles a photograph. Consequently, your ink pad has to be of the right consistency otherwise it will blur the detail on the stamp.
As a result, your ink pad needs to be neither too juicy nor too dry. This means your ink pad needs to contain just the right amount of ink. If your ink pad is juicy, use a bone folder to push the ink to one side temporarily while you ink up the stamp. Once you’ve finished stamping with the distINKtive stamp, simply use the bone folder to spread the ink evenly across the ink pad surface to re-distribute the ink for normal use.
Cutting guide
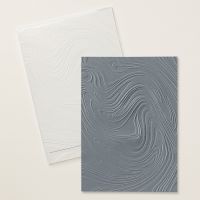
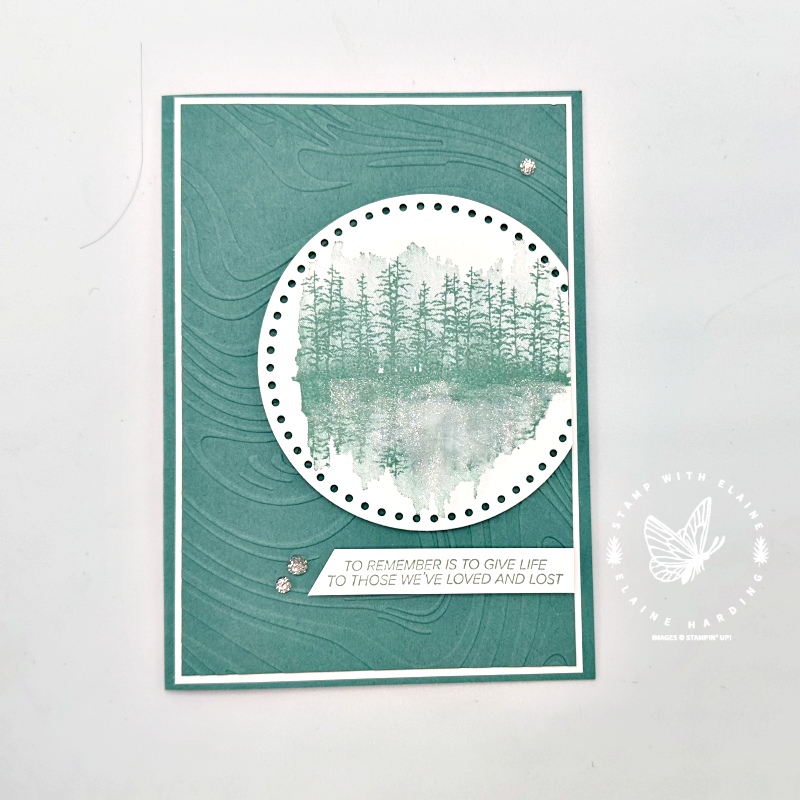
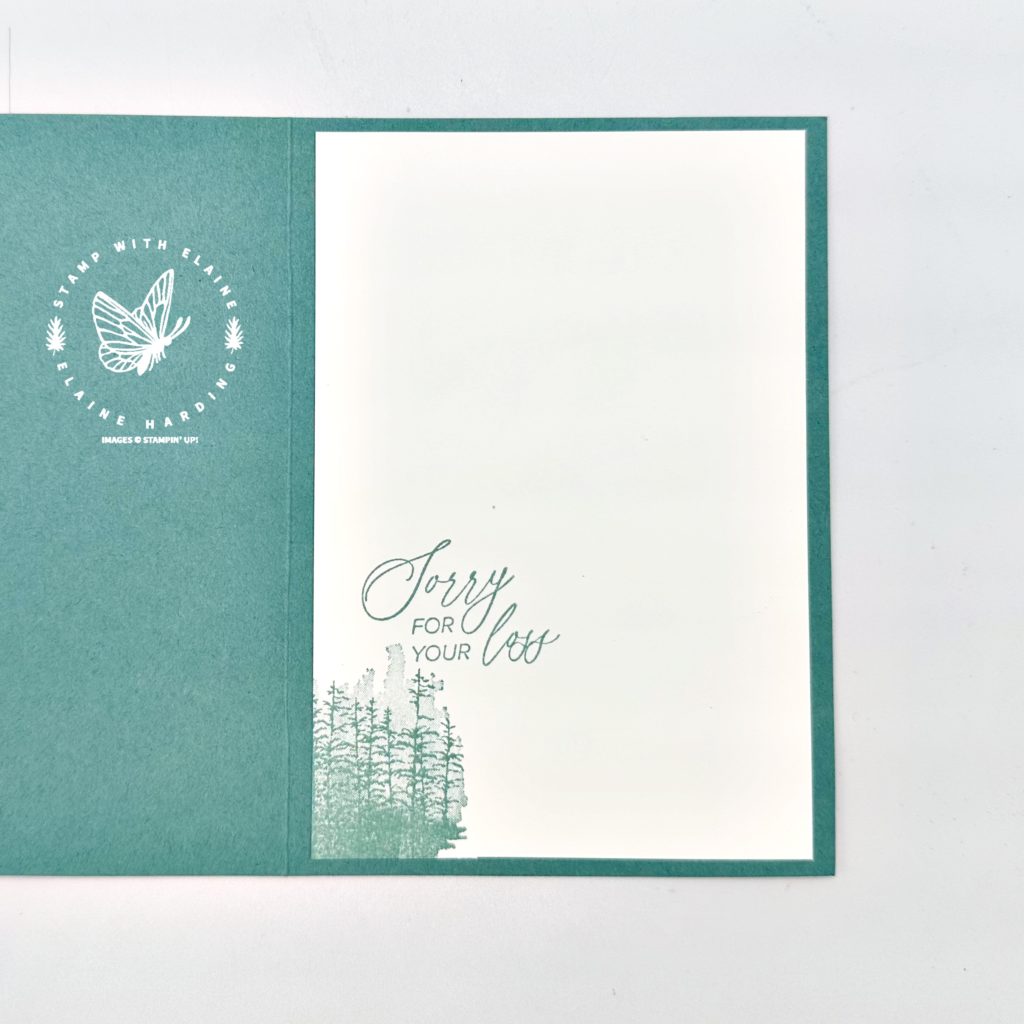
So Swirly Embossed background card
- Card base : Lost Lagoon 5 ¾” x 8 ¼” (14.5 cm x 21 cm). Fold in half.
- Mat layer #1 Basic White : 5 ⅝” x 3 ⅞” (14.3 cm x 9.8 cm)
- Lost Lagoon Mat layer emboss with So Swirly Embossing Folder : 5 ½” x 3 ¾” (14 cm x 9.5 cm)
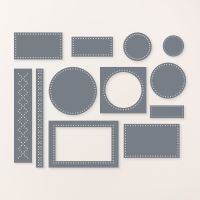
- Die cut largest Everyday Circle die with Basic White card stock. Stamp larger image in Lost Lagoon from Quiet Reflection. Trim right edge of circle and adhere to card base.
- Stamp sentiment and trim as pictured. Adhere below circle with dimensionals.
- Add embellishments.
- Inside card : Basic White 5 ½” x 3 ⅞” (14 cm x 9.8 cm) stamp and adhere to inside of card.
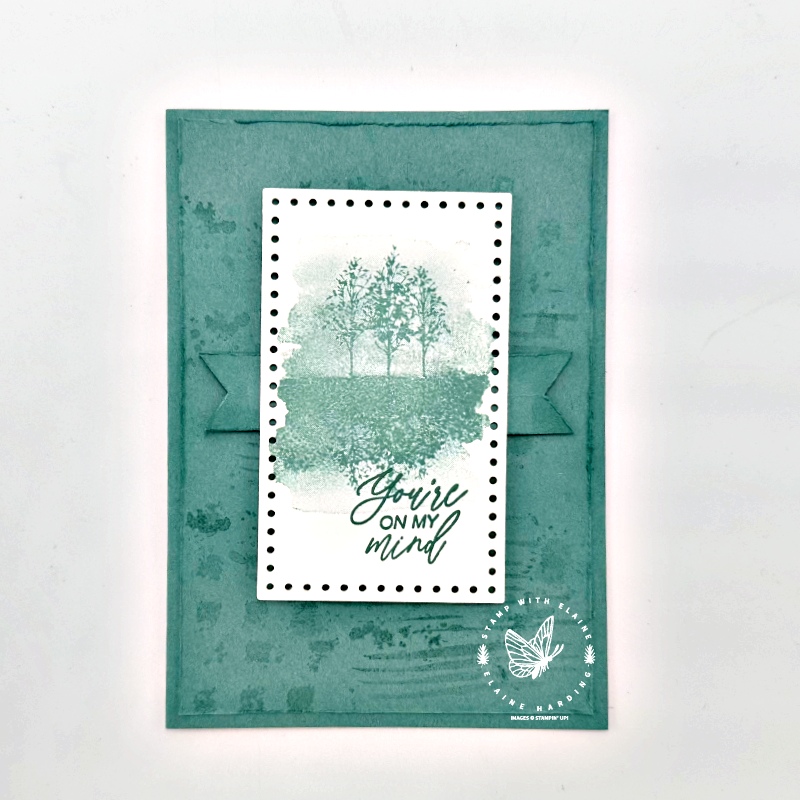
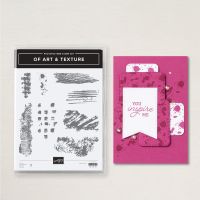
Of Art & Texture stamped background card
- Card base : Lost Lagoon 5 ¾” x 8 ¼” (14.5 cm x 21 cm). Fold in half.
- Mat layer #1 Lost Lagoon : 5 ⅝” x 3 ⅞” (14.3 cm x 9.8 cm). Stamp second generation Lost Lagoon ink with a selection of stamps from Of Art of Texture. Distress the edges with the scissor blade.
- Die cut largest rectangle from Everyday Details Dies in Basic White and stamp rectangular image in Lost Lagoon.
- Cut 2 x ¾” x 1″ (2 cm x 2.5 cm). Stack them and cut flag ends. Distress edges. Adhere with dimensionals on either side of stamped Everyday rectangle piece.
- Use a blending brush to darken edges of mat layer and flag ends.
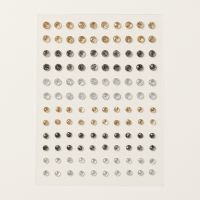
- Add adhesive-backed gems.
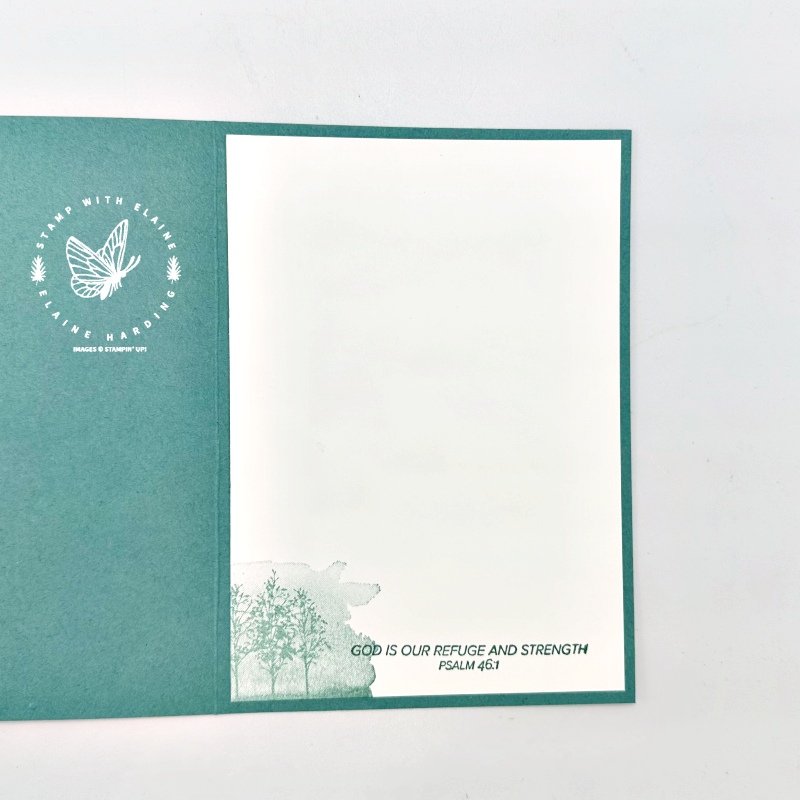
- Inside card : Basic White 5 ½” x 3 ⅞” (14 cm x 9.8 cm) stamp and adhere to inside of card.
Supply list
Listed below is the supply list. Just click on the picture to take you directly to the item in my online store.
Product ListTop tip
You don’t have to confine the images in this stamp set for sympathy cards. The fir trees could be used as a background for Christmas cards simply by pairing it with a Christmas sentiment. It’s ideal for masculine cards – you can substitute it for a birthday greeting or anniversary or congratulatory message. I hope you’ve been inspired by today’s cards.

- SHOP ONLINE – EARN 10% REWARDS ON ALL PURCHASES OVER £20
- PURCHASE A STARTER KIT : Get £155 worth of products for only £99. Choose from current catalogues and any specials available. Free Shipping. Read more
- Subscribe to my Video Tutorials – click here

