Fun fold with Rest Relax. Happy Sunday! The Rest Relax Enjoy stamp set is a stand alone stamp set on page 109 of the 2024-25 Annual Catalogue. I almost missed it. If you’re gifting a spa treatment day or a pampering day for a busy Mum or friend this is such a lovely stamp set to have.
Gift card and hidden pop-up
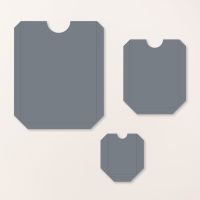
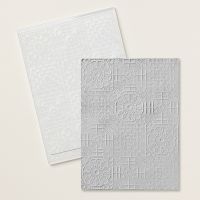
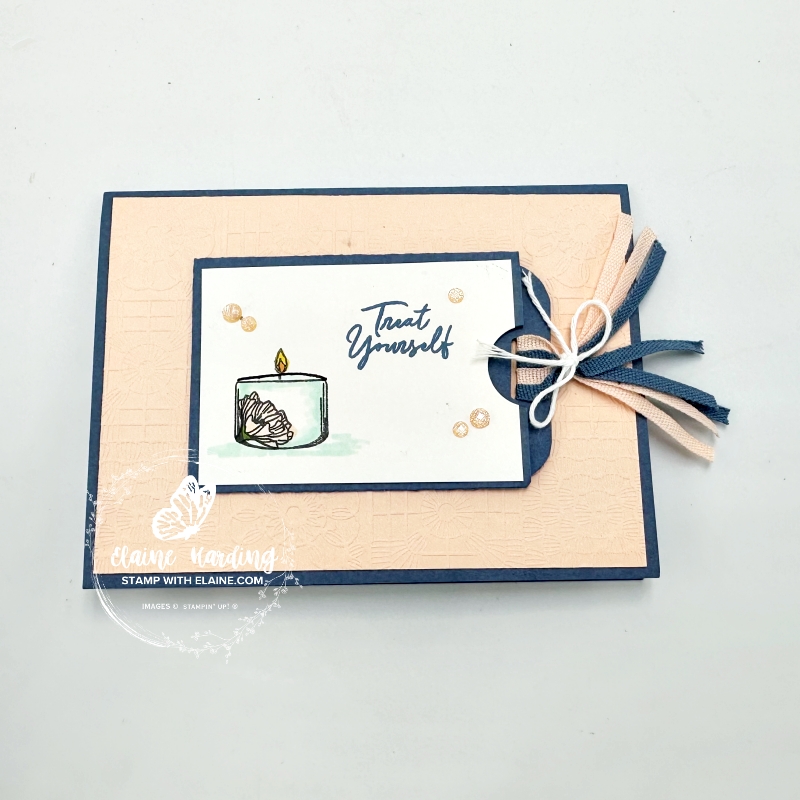
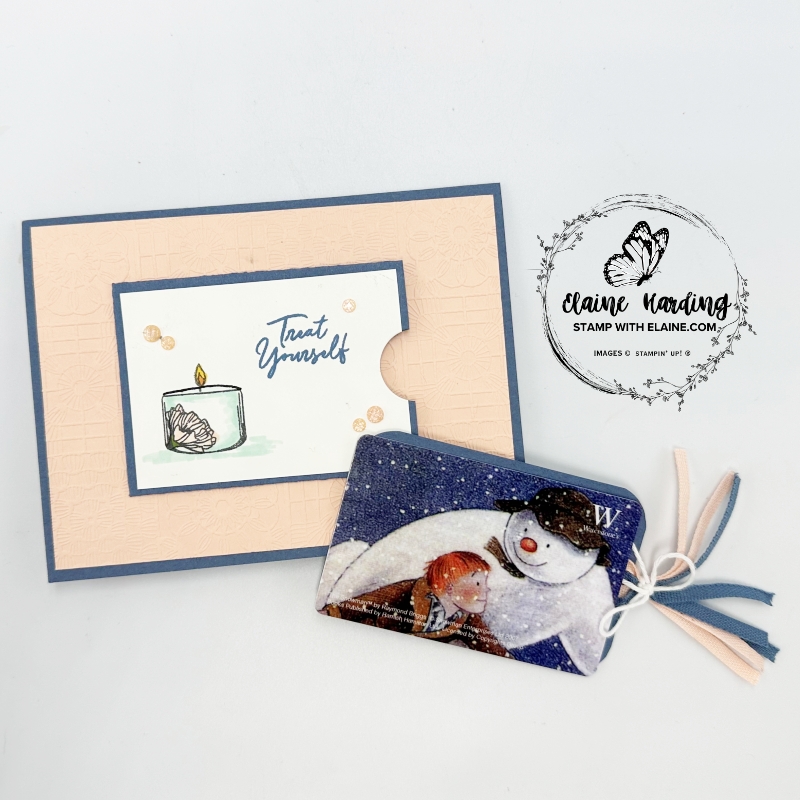
Today’s card is a fun fold with a surprise pop up element inside the card. On the front, there is a pocket where you can put a gift card in for just such an occasion. I embossed the front of the card with the Crochet 3D embossing folder and the pocket was die cut with the middle size die from the Pocket Thoughts Dies.
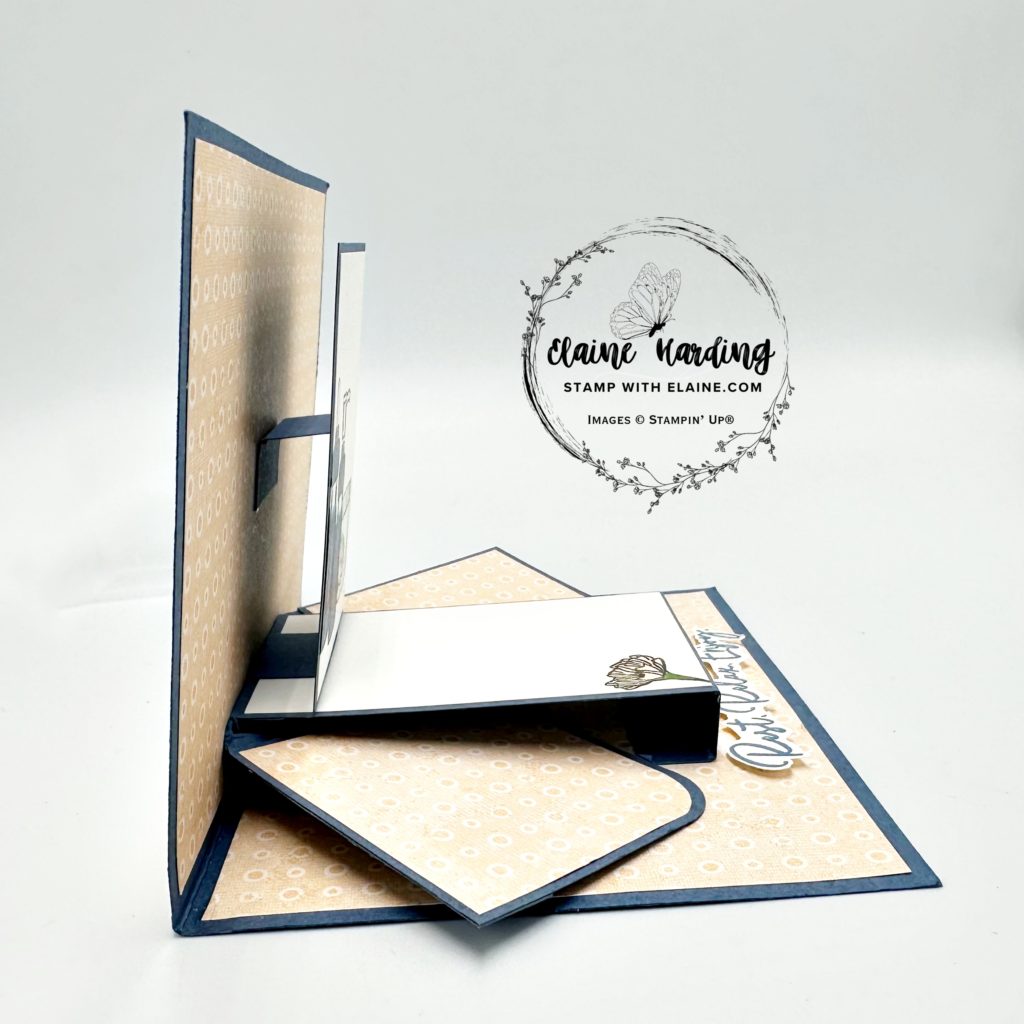
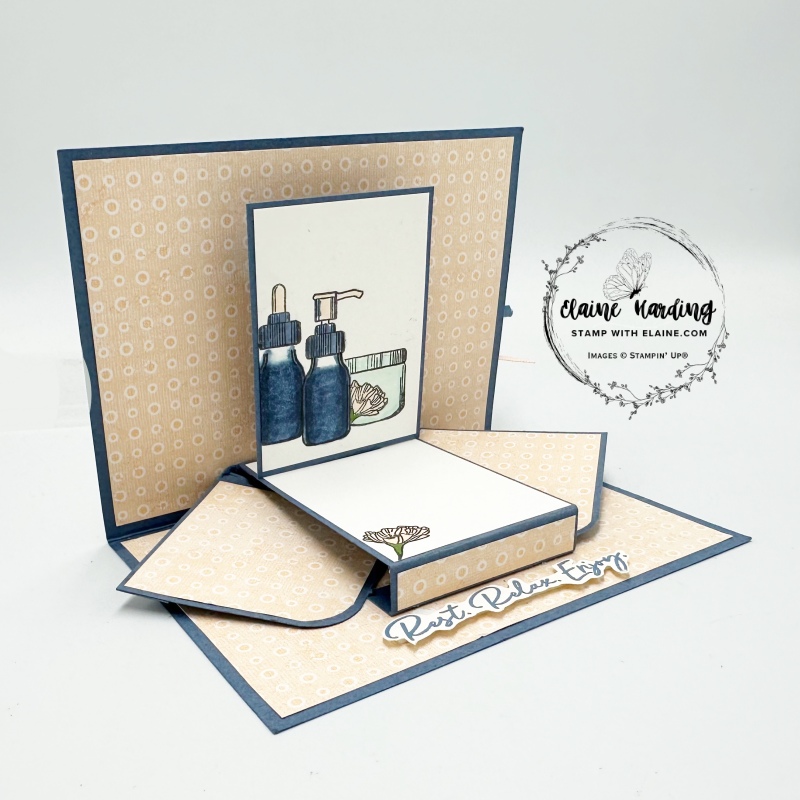
Below is a side view where you can see a second pop-up feature behind the front of the card. The card base features a centre panel that hides two pop out pieces which you can stamp on if desired.
Swing mechanism
- Cut Misty Moonlight at 7 ½” x 1 ⅜” (19 cm x 4 cm). On short side, score at ½” and 1″ (1.5 cm, 3 cm)
- Long side on top, partially score @ 2 ½” (6.5 cm) in from top edge down to first score line, skip middle, and score from 2nd score line down to bottom. Rotate card stock 180 degrees and repeat for other side. Then make a mark to right of 1st vertical score line @ ½” (1.5 cm). Along same horizontal score line mark ½” to left of 2nd vertical score line on right.
- Cut away 4 outer rectangles.
How to score diagonal lines on swing mechanism
- Next orient card stock so narrower panel is at the top on the Simply Scoring Tool and align left cut edge at the 6″ mark. I’ve highlighted that groove with a white marker pen so that it is easily visible.
- Count 5 grooves in and mark the second score line at ⅝” (1.5 cm).
- Similarly for the opposite side, align right cut edge at 6″ mark, count 5 grooves in to left of cut edge and mark second score line at ⅝” (1.5 cm).
- Orient card stock on short side and use the stylus to anchor mark in 6″ groove and swivel paper and align at 6″ groove to draw diagonal line. Repeat 3 times more. I recommend you watch video tutorial below
Cutting guide
Card base and card front
- Card base : Misty Moonlight 5 ½” x 8 ¼” (14 cm x 21 cm). Long side on top, score at 4 ⅛” (10.5 cm)
- Mat layer card front Petal Pink : 5 ⅜” x 3 ⅞” (13.7 cm x 9.8 cm). Embossed with Cute Crochet 3D embossing folder and adhere to front of card base.
- Die cut medium Pocket Thoughts Dies with Misty Moonlight card stock. Cut a second pocket in Basic White.
- Trim the tabs off the Basic White card stock and trim 1/16″ off each side. Stamp as desired and adhere to front of Misty Moonlight pocket.
- Burnish Misty Moonlight pocket tabs and centre and adhere to front of card on top of embossed Petal Pink piece.
- Cut an insert to stick a gift card to in Misty Moonlight 2 ¼” x 3 ½” (6.4 cm x 9 cm). Mark the centre and cut a slot for the ribbon with a craft knife.
- Optional – if you have a ½” corner rounder, round off all four sides. If you haven’t got one, you could just cut off the corners by eye.
Inside card base
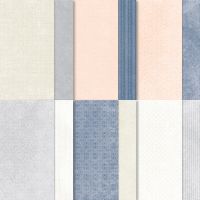
- Country Lace 12″x 12″ DSP – Cut 2 pieces 5 ⅛” x 3 ¾’ (13.5 x 10 cm).
- Adhere these pieces to inside of card base. *Note, these have to be adhered first before you can adhere Swing Mechanism.
Back of card pop up mechanism
- Misty Moonlight : 3 ¼” x 1” (8.5 cm x 2.5 cm)
- Long side on top score at ½”, 1″, and 2 ¾” (1.5 cm, 6 cm and 7.5 cm)
Cutting guide for pieces for the inside of the card
- Fold out mat layer : Misty Moonlight 2 pieces cut at 2 ⅜” x 2 ¼” (6.3 x 5.5 cm)
- Country Lace 12″x 12″ DSP : cut 2 pieces at 2 ¼” x 2 ⅛” (6 cm x 5.2 cm)
- Centre panel inside bottom of base : 2 ½” x 4 ¼” (6 cm x 12 cm). Long side on top score at ½” and 1″ (1.5 cm and 3 cm).
- Basic White piece for large section on centre panel : 2 ⅜” x 3 ⅛”
- DSP for centre panel middle section : DSP ⅜” x 2 ⅛” (1 cm x 5.5 cm)
- Mat layer Misty Moonlight for inside back of card front : 2 ¼” x 3” (6 cm x 7.5 cm)
- Basic White for Misty Moonlight inside back of card front : 2 ⅛” x 2 ⅞” (5.5 cm x 7 cm)
Video Tutorial
This card needed a visual aid so I’ve made a video to help make it easier to understand.
Supply list
Listed below is the supply list. Just click on the picture to take you directly to the item in my online store.
Product ListHappy Sunday – enjoy the rest of your weekend!

- SHOP ONLINE – EARN 10% REWARDS ON ALL PURCHASES OVER £20
- PURCHASE A STARTER KIT : Get £155 worth of products for only £99. Choose from current catalogues and any specials available. Free Shipping. Read more
- Subscribe to my Video Tutorials – click here


