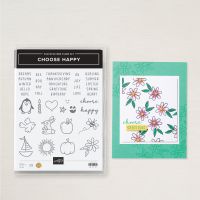
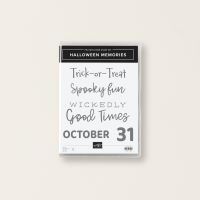
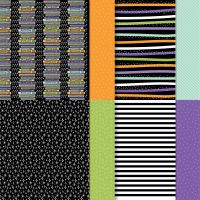
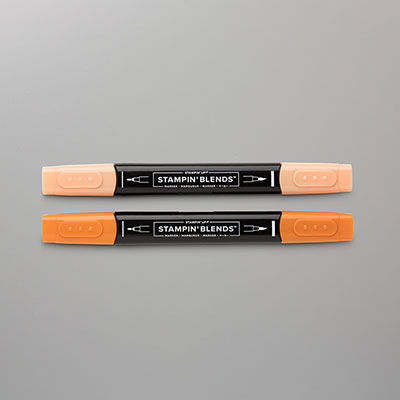
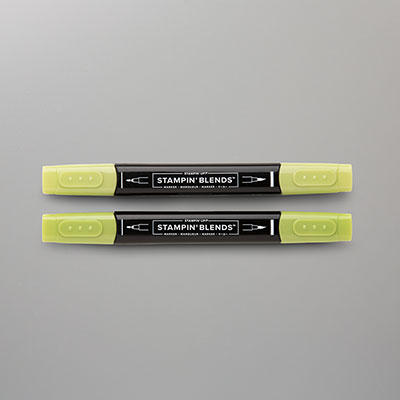
How to make a Halloween matchbox. This is the final episode no. 6 of 6 in my Halloween Countdown Series. I’m using the Choose Happy photopolymer stamps and the Halloween Spells 12″x 12″ (30.5 x 30.5 cm) Designer Series Paper (DSP for short). In addition, the new Halloween Memories photopolymer stamp set which is an online exclusive in the September Scrapbooking digital brochure.
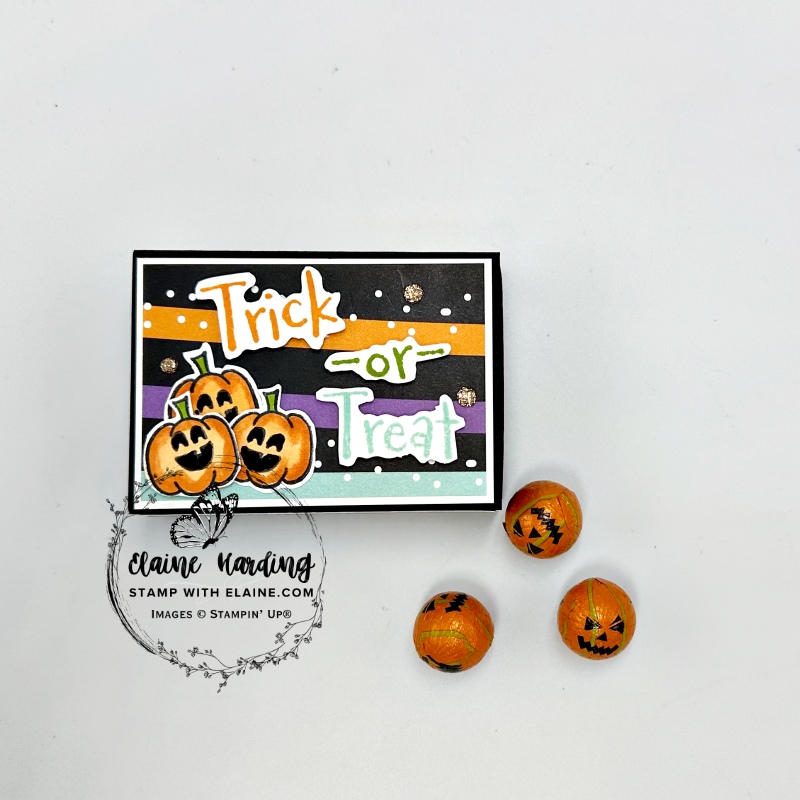
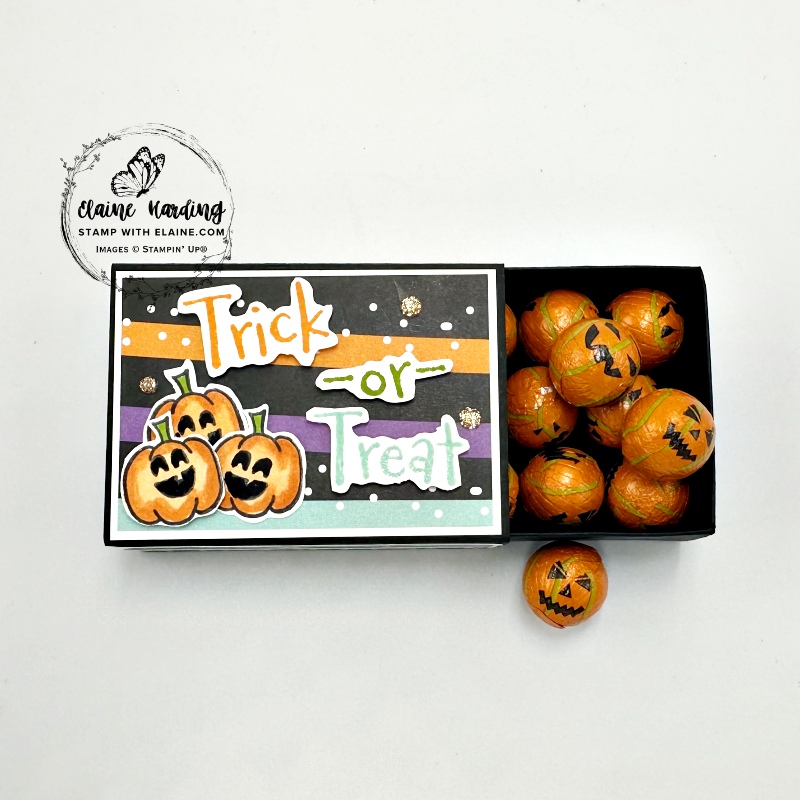
Long story short – I’ve been de-cluttering and all the special projects I’ve made in the past 15 years have been gathering dust. I’d put them away for reference in case I wanted to make them again. It was heart wrenching to have to bin nearly all the cards, 3D items, mini albums etc. but I’ve rescued this one to use as a template for a matchbox. So here’s how to make a Halloween treat box.
Cutting guide
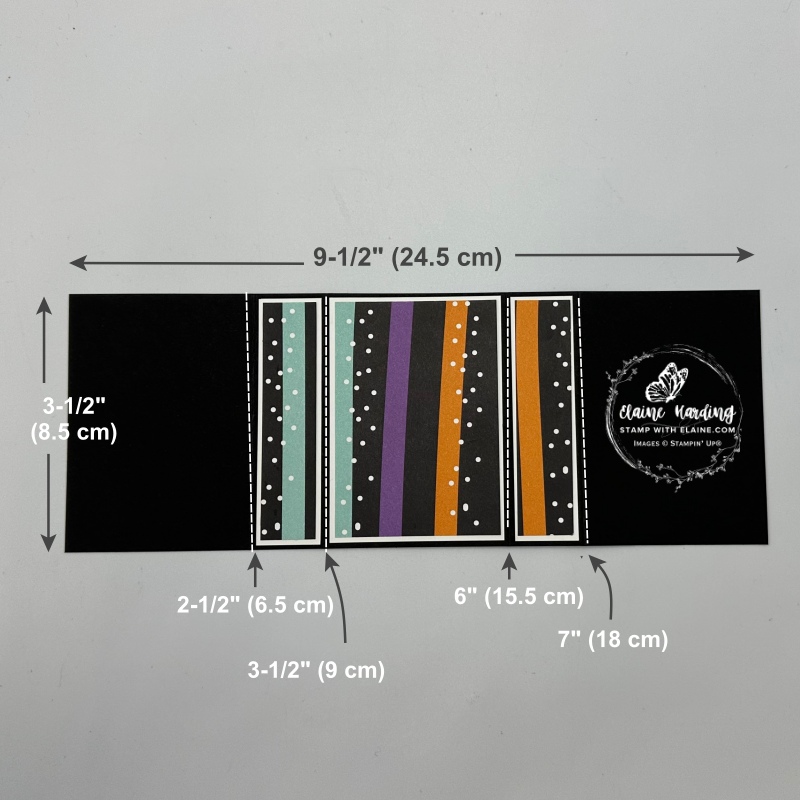
Matchbox Box Base and wrap
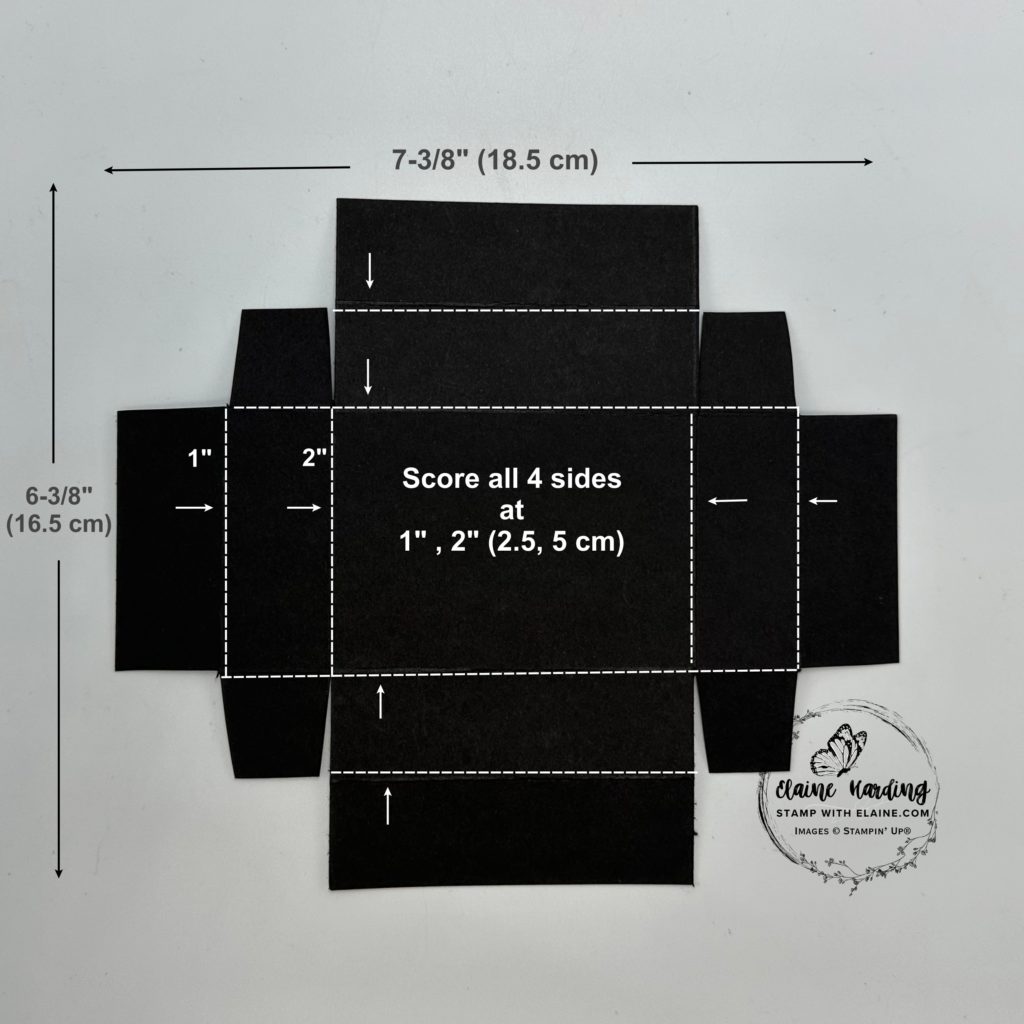
- Box base Basic Black : 6 ⅜” x 7 ⅜” (16.5 cm x 18.5 cm). Score all 4 sides at 1″ and 2″ (2.5 cm and 5 cm).
- Matchbox wrap : 3 ½” x 9 ½” (8.5 cm x 24.5 cm). Long side score at 2 ½”, 3 ½”, 6″ and 7″ (6.5 cm, 9 cm, 15.5 cm and 18 cm)
Mat Layers
- Basic White mat layers # 1 : 2 pieces cut at ⅞” x 3 ⅜” (2 cm x 8 cm) and 1 piece 2 ⅜” x 3 ⅜” (6 cm x 8 cm)
- Halloween Spells 12″x 12″ (30.5 x 30.5 cm) DSP mat layer #2 : cut 2 pieces ¾” x 3 ¼” (1.5 cm x 7.5 cm) and 1 piece at 2 ¼” x 3 ¼” (1 cm x 7 cm)
Supply list
Listed below is the supply list. Just click on the picture to take you directly to the item in my online store.
Product ListWell that wraps up the 6-week Halloween Countdown series for this year. Hope you’ve enjoyed the projects. Thanks for visiting.

- SHOP ONLINE – EARN 10% REWARDS ON ALL PURCHASES OVER £20
- PURCHASE A STARTER KIT : Get £155 worth of products for only £99. Choose from current catalogues and any specials available. Free Shipping. Read more
- Subscribe to my Video Tutorials – click here

