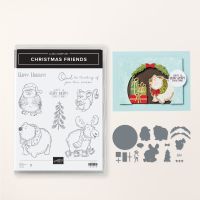
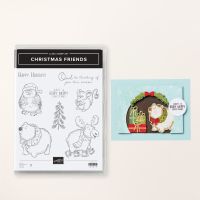
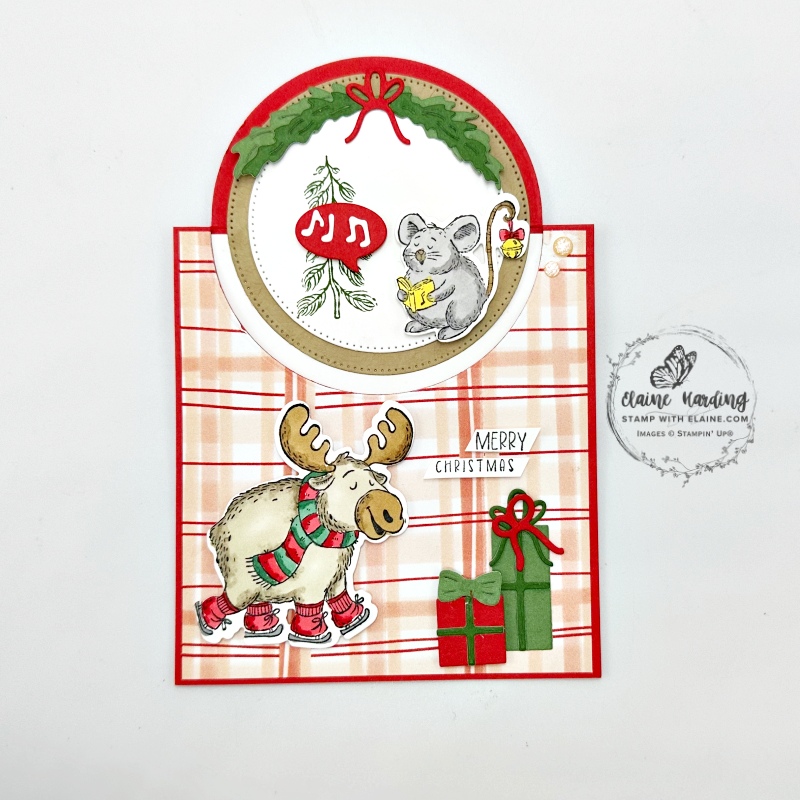
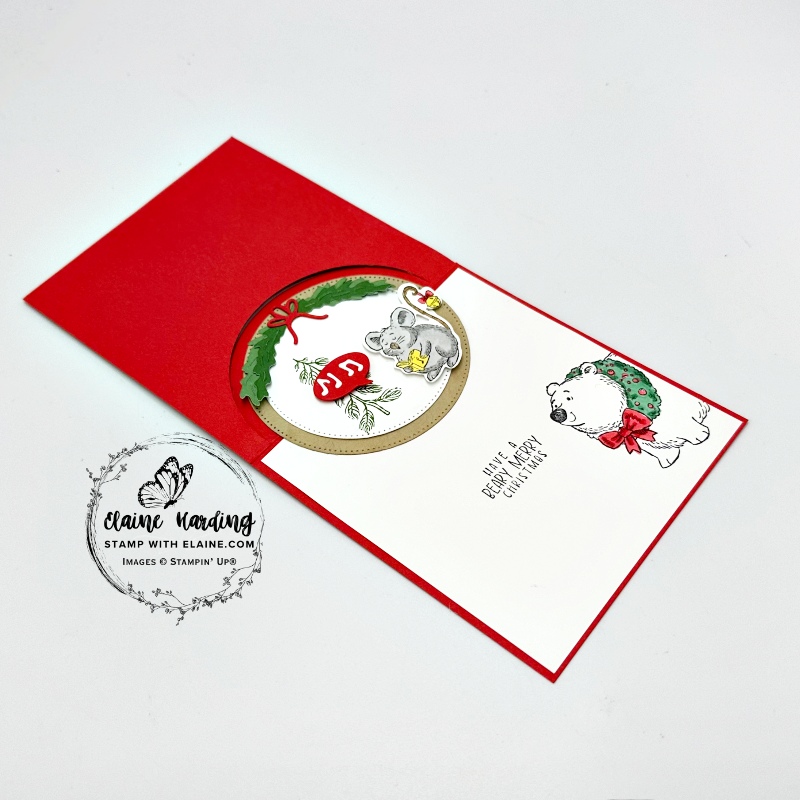
Pop up fun fold – Christmas Friends. Welcome to week 6 of my Christmas Series – at the half way mark already! This is an easy pop-up fun fold using the Christmas Friends stamps and dies which are currently available as a bundle with a saving of 10% if purchased together. It’s on page 43 of the September-December 2024 mini. There images of the mouse, bear, reindeer and owl are SO stinkin’ cute I couldn’t resist them!
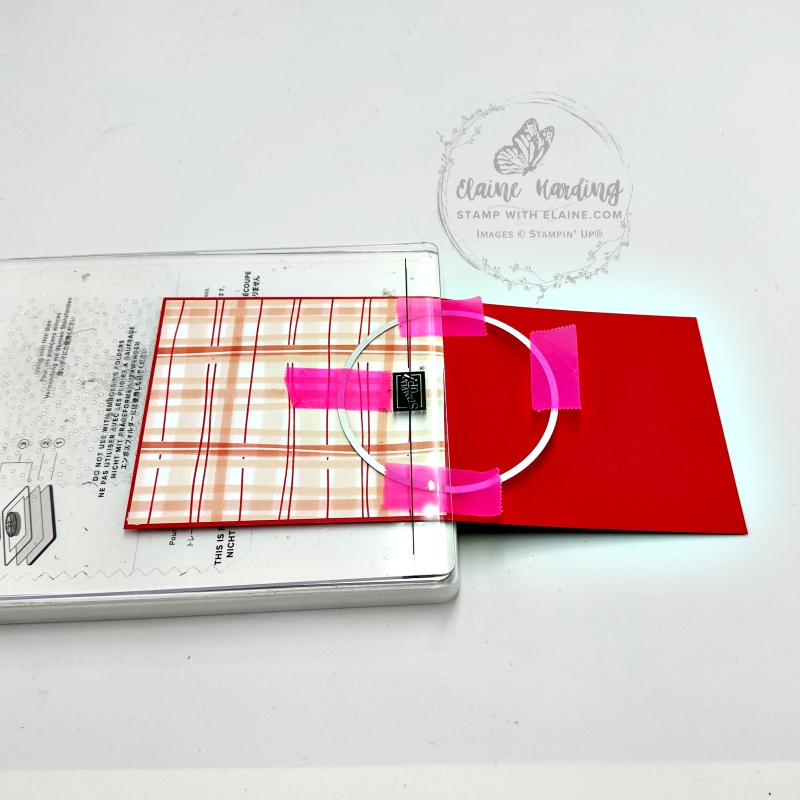
The pop-up fun fold is partially die cut with a circle die as picture in the photo on the right.
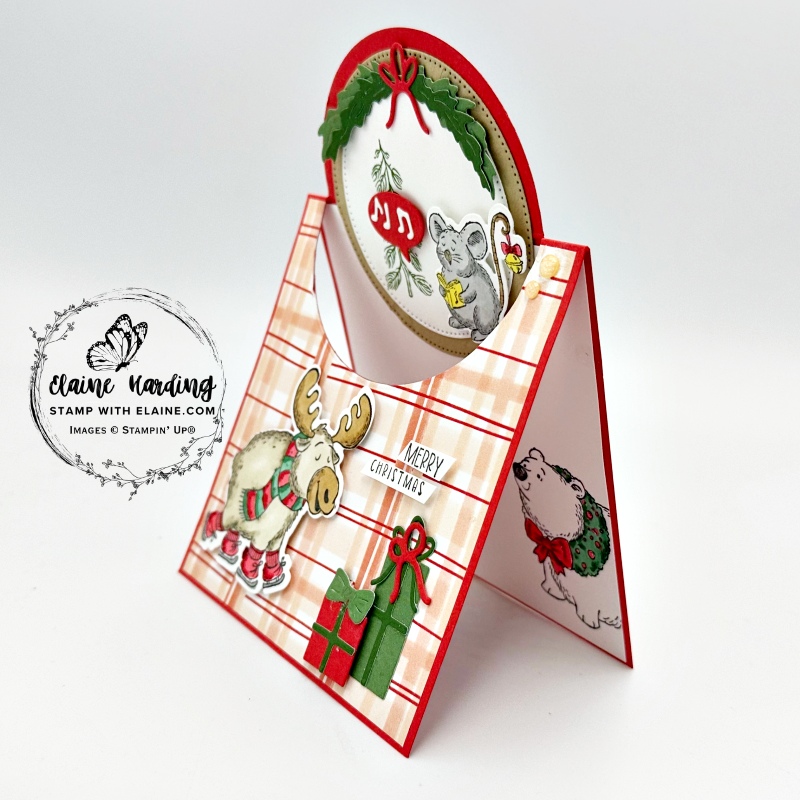
How to partially die cut circle for pop-up element
- Card base cut at 4 ⅛” x 9″ (10.5 cm x 23 cm). On the long side, score at 4 ½” (11.5 cm)
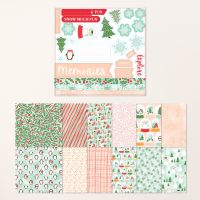
- Cut DSP 4″ x 4 ⅜” (10 cm x 11 cm) and remember to adhere it to the front of the card leaving an even border on all 4 sides before partially die cutting the circle. I used Snowy Scenes 12 x 12 paper.
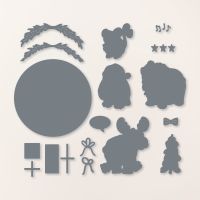
- Take the circle die from the Christmas Friends die set and centre half way on score line by eye. Secure position of die with low tack tape on base cutting plate no. 3.
- Position it so that the score line is in line with end of base plate.
- Place the second cutting plate 3 on top and run it through the machine.
Cutting guide for remaining elements
- Inside card : Basic White 4″ x 4 ⅜” (10 cm x 11 cm). Adhere this to the inside of the card first.
- Stylish Shapes Dies: Die cut the largest circle in Crumb Cake
- Next die cut a Basic White circle using the next size down from the nest of Stylish Shapes Circle dies.
- Two-tone Garden Green 12 x 12 card stock scraps to die cut wreath sprig elements, tall gift box, ribbon crosses and bows. Remember to reverse the two-tone paper when die cutting if you want a contrast for your ribbon and bows.
- Poppy Parade scraps for die cutting speech bubble and square present.
- Basic White scrap for stamping mouse, reindeer and greeting and music notes.
Inks and Stampin’ Blends used
- All the images were stamped in Tuxedo Black Memento ink.
- Tree stamped in Garden Green.
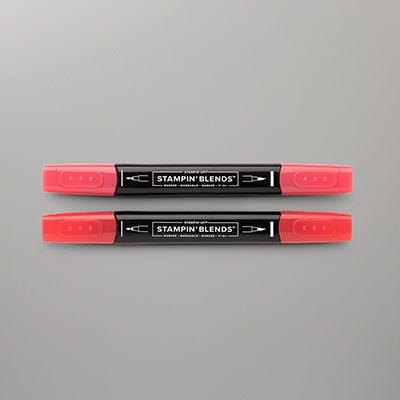
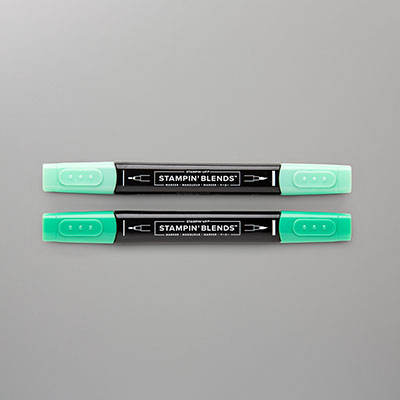
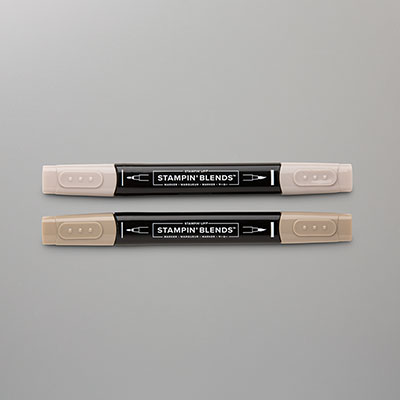
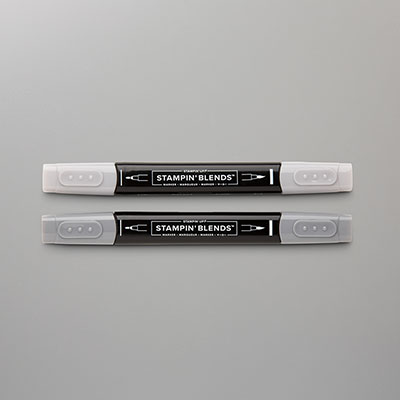
- Reindeer – Stampin’ Blends combos : Crumb Cake, Pecan Pie, Shaded Spruce, Poppy Parade, Smoky Slate light.
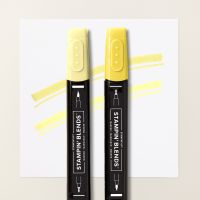
- Mouse : Stampin’ Blends combos : Smoky Slate, Pecan Pie light, Poppy Parade, Lemon Lolly
- Polar bear : Stampin’ Blends combos : Poppy Parade, Shaded Spruce
How to assemble card
- Adhere DSP to card front.
- Position die cut per instructions above and partially die cut pop-out circle element
- Adhere Basic White piece to inside card, followed by Crumb Cake largest die cut Stylish Shapes Stitched circle.
- Stamp tree in Garden Green on Basic White 2nd to largest die cut Stylish Shapes Stitched circle and adhere on top of Crumb Cake circle.
- Adhere wreath sprigs, the larger lighter shade first, followed by the darker one and then adhere Poppy Parade die cut bow as pictured.
- Adhere basic white music notes on to Poppy Parade speech bubble and attach with Basic White circle with dimensionals. Next adhere mouse with dimensionals taking care it stays within the boundaries of the Crumb Cake circle other wise it will hinder opening of the card.
- Adhere remaining elements to front of card as shown.
- Lastly, partially stamp polar bear on inside of card – mask the card base if necessary, and stamp sentiment.
- Optional : Add embellishment to front of card if you wish.
Supply list
Listed below is the supply list. Just click on the picture to take you directly to the item in my online store.
Product ListThanks for visiting – pop back soon to see my next project!

- SHOP ONLINE – EARN 10% REWARDS ON ALL PURCHASES OVER £20
- PURCHASE A STARTER KIT : Get £155 worth of products for only £99. Choose from current catalogues and any specials available. Free Shipping. Read more
- Subscribe to my Video Tutorials – click here

