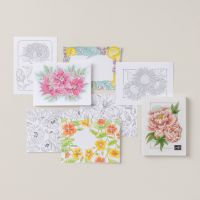
Colouring – Natures Painting Kit. This is one of the latest kits Stampin’ Up! released in November. If you know someone who loves colouring, this would make a fabulous birthday or Christmas gift. It’s a colouring book and there are Watercolour pencils and a water painter included in the kit. There are 24 pages of line art illustrations, 2 each of each design.
Natures Painting Kit
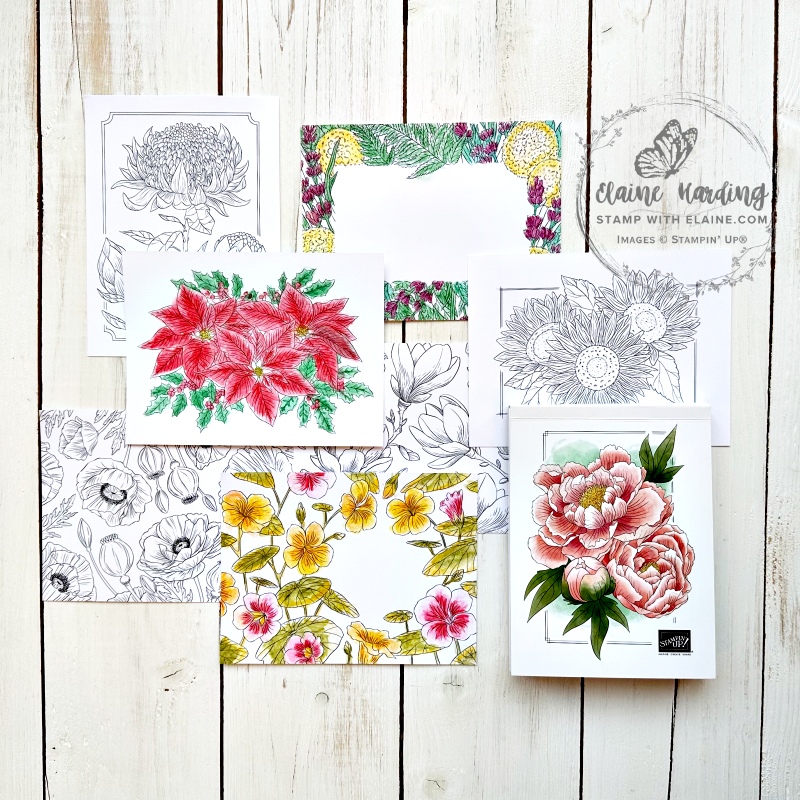
- In the pictures below – on the left is the one that the instructions from the kit featured. I followed the instructions and duplicated the layout in the kit instructions to take the photo.
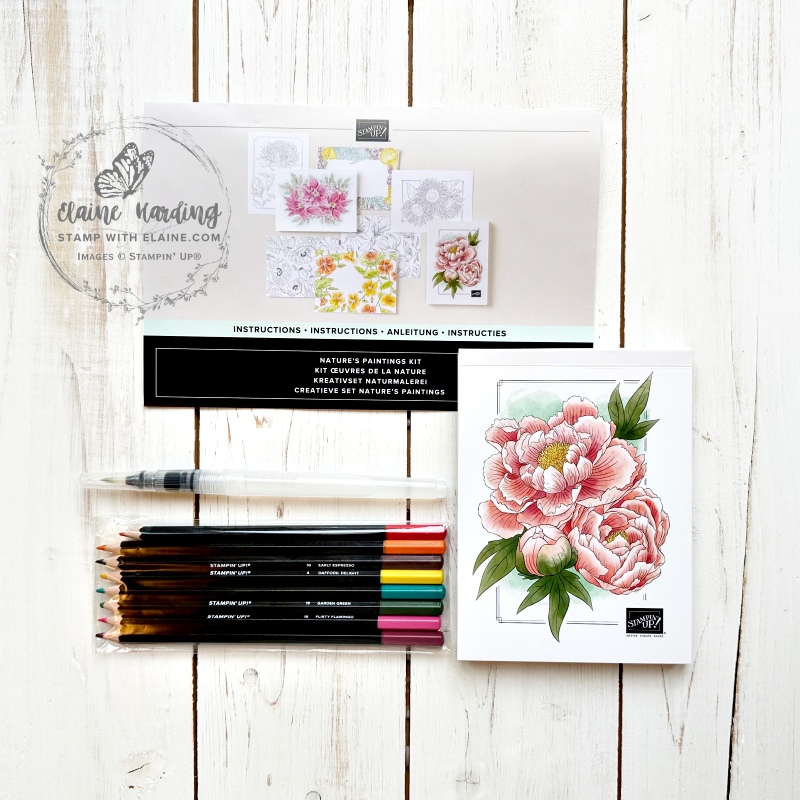
- The second picture shows the kit contents with the instruction sheet at the top, the pad containing all the line drawings overlapping it.
- To the left of the watercolour line image pad is the water painter and set of watercolour pencils.
How to water colour with watercolour pencils
- Colour your images with the watercolour pencils. There is no hard and fast rule, it depends on each individual’s personal preference. To avoid harsh lines, I work in a small circular motion and with a very light touch.
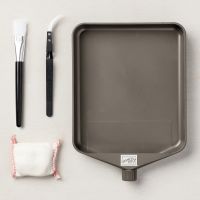
- Use the water painter provided in the kit. Fill the barrel with water. The barrel opens in an anti-clockwise direction. Squeeze the barrel where it says “push” to load the brush tip with water. It is handy to have a kitchen towel to catch drips or blot the project if you have too much water.
- Go over your coloured images with the water painter to blend the watercolour pencil coloured images.
- If you wish to have more shading in various areas, allow paper to dry before adding more colour but add more pressure when colouring in order to achieve a darker shade and repeat process.
Alternative way to pick up colour from watercolour pencils
- Wet the tip of your brush and pick up colour directly from the lead of the watercolour pencils. It omits having dry colour the images first/
- When you need to sharpen your pencil, there is a certain amount of waste because the pencil sharpener will shave off the lead at the same time it exposes more lead. To avoid this, you could use a craft knife or pen knife to whittle the wood. As always, if you use this method, proceed with caution so that you don’t harm yourself.
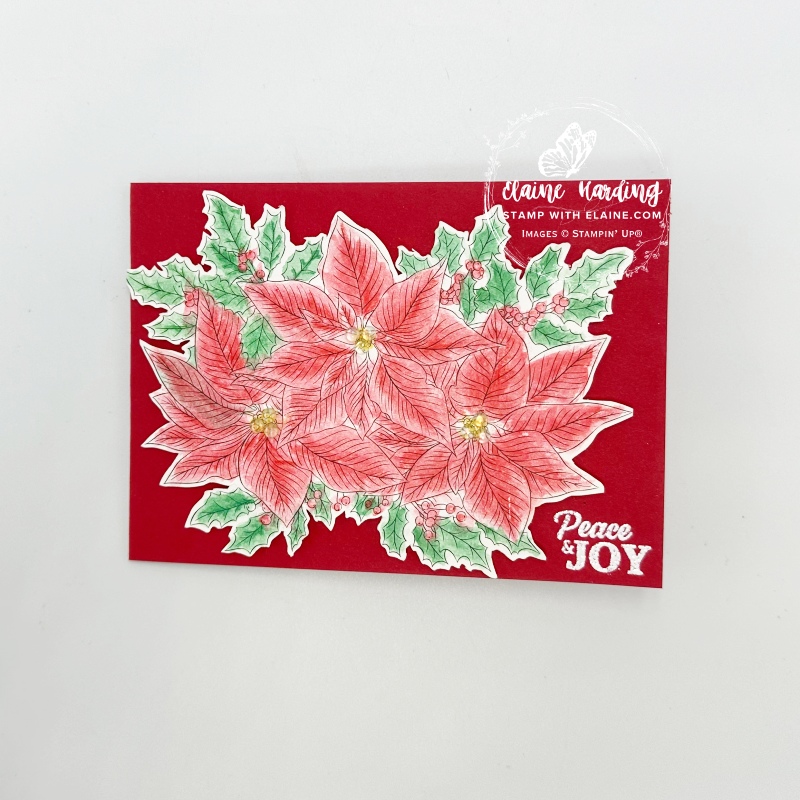
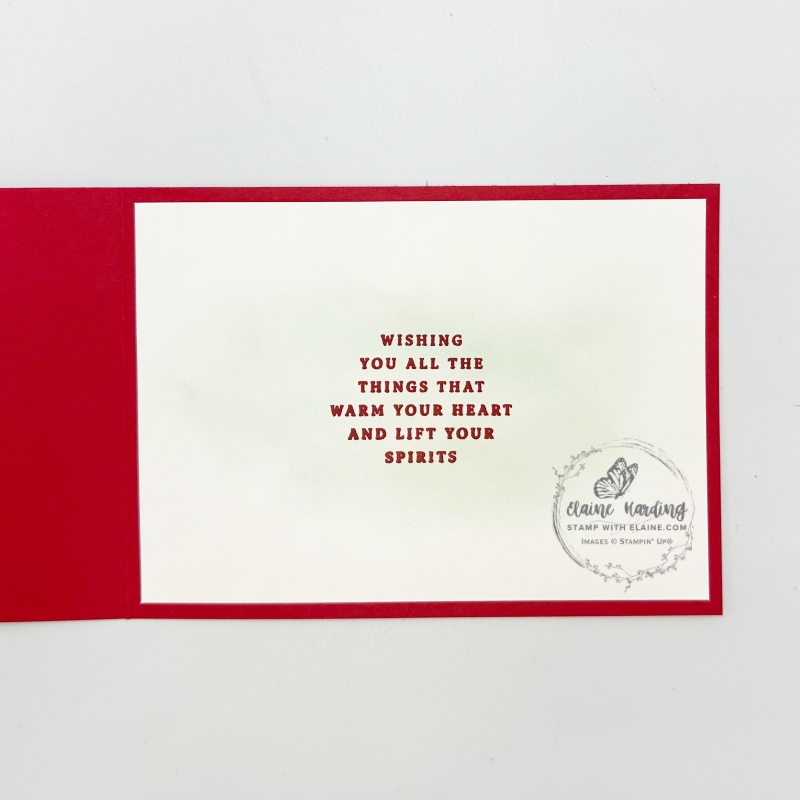
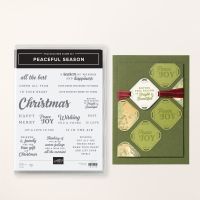
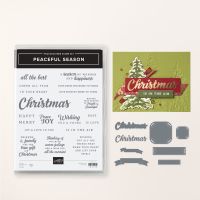
Once you’re coloured your images, you can use them to mount it on a card with whatever stash you have. I fussy cut the pointsettia and adhered it to a card base in landscape orientation and white embossed the greeting in the Peaceful Season stamp set. The inside of the card only had the greeting stamped and some Shaded Spruce colour added with a blending brush as a background.
Supply list
Listed below is the supply list. Just click on the picture to take you directly to the item in my online store.
Product ListThanks for visiting – enjoy the rest of your weekend and if there’s snow in your part of the UK – stay safe!

- SHOP ONLINE – EARN 10% REWARDS ON ALL PURCHASES OVER £20
- PURCHASE A STARTER KIT : Get £155 worth of products for only £99. Choose from current catalogues and any specials available. Free Shipping. Read more
- Subscribe to my Video Tutorials – click here

