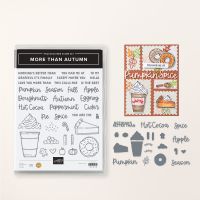
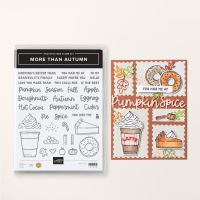
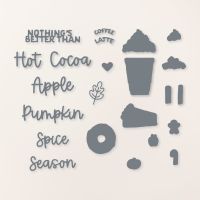
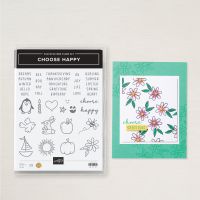
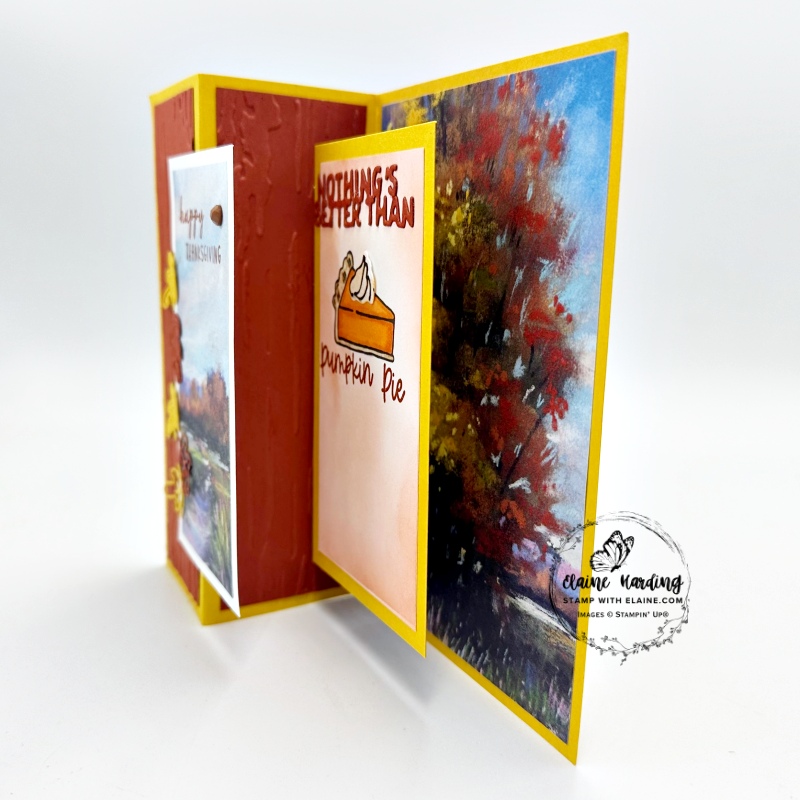
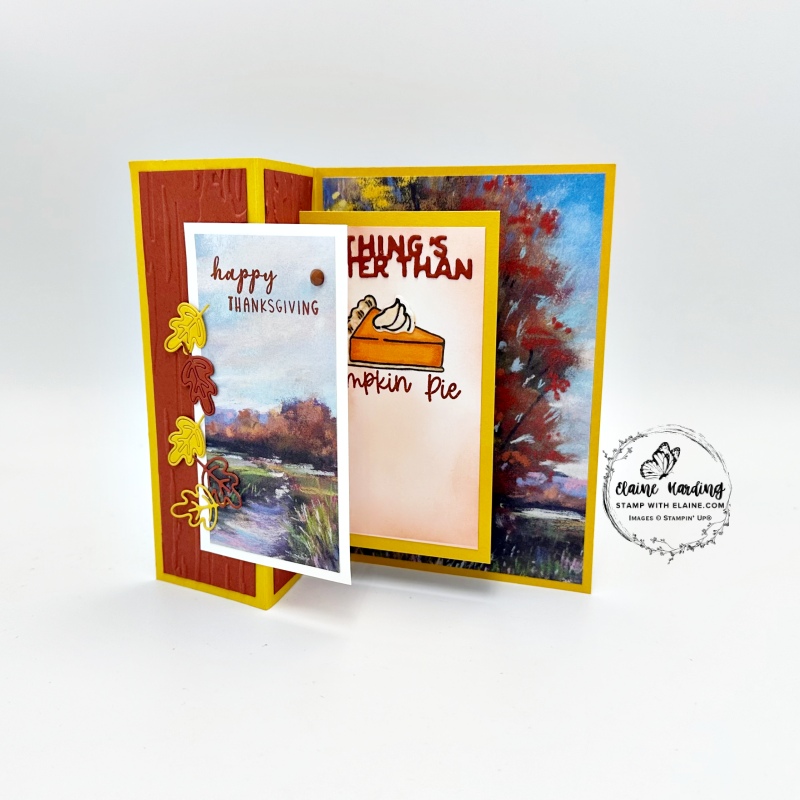
Fun fold Thanksgiving card. Today I have a double deck fun fold card for Thanksgiving using the More Than Autumn bundle from the September-December 2024 mini on page 49. I also used “Choose Happy” photopolymer stamp set for the “Happy thanksgiving” greeting.
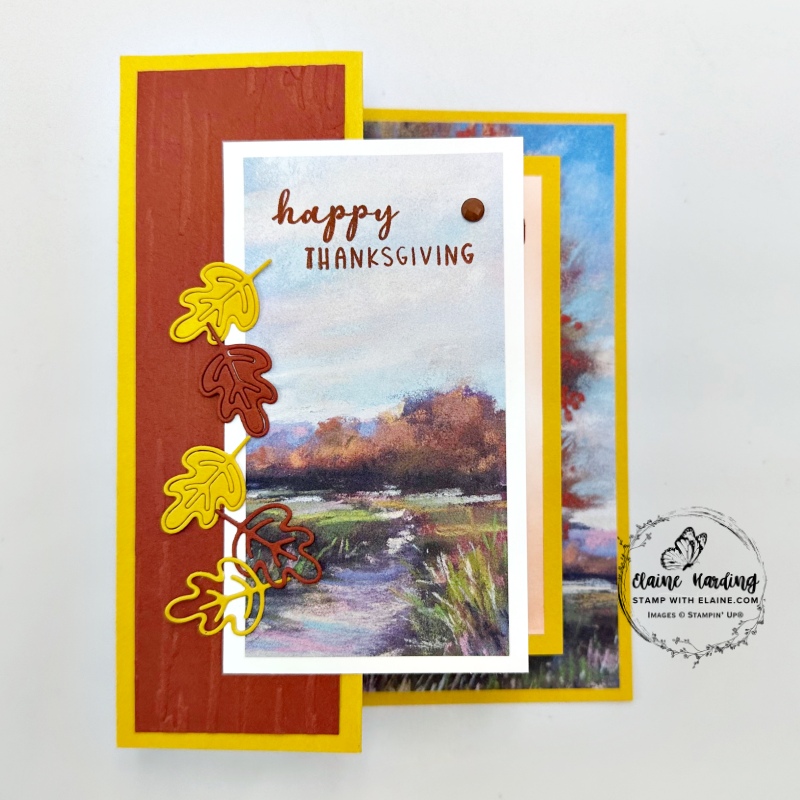
This card was inspired by an American Demonstrator, Susan Stampfield but I’ve adjusted the measurements for UK/Northern Ireland/Europe.
Cutting guide
- Card base Crushed Curry 5 ¾” x 8 ¼” (14.5 cm x 21 cm). Fold in half.
- Front cover of card base, fold back in half toward centre score line i.e., fold of card. This will create two panels.
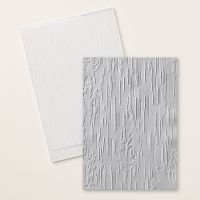
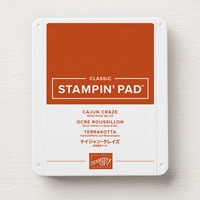
- Cut 2 pieces for embossing with an embossing folder in Cajun Craze cut at 1 ¾” x 5 ½” (4.5 cm x 14 cm). I used Birch Wood 3D embossing folder. Adhere these to the 1st and 2nd panel of card base leaving an even border on all four sides.
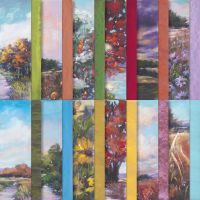
- Cut Splendid Autumn 6″x 6″ DSP at 3 ⅞” x 5 ½” (10 cm x 14 cm) and adhere to card base 3rd panel on right.
Now you’re ready to prep the pop up mechanism.
Pop up Mechanism
- To create the double deck, there is a pop-up mechanism measuring 3″ x 2 ¼” (6 cm x 5.5 cm). On the long side you score at ¾”, 1 ½”, 2 ¼” (1.5 cm, 3 cm, and 4.5 cm).
- Burnish score lines and fold it in half. Bring the end pieces toward the centre to form a gatefold.
- Fold the mechanism in half and apply adhesive to end panel on the right side. It should be facing the DSP. Align pop up mechanism in centre of card base equidistant top and bottom. Once in position, adhere to card base just shy of the centre score line and allow it to bond.
- Next apply adhesive as shown in picture below.
- Close card, put a weight like a clear block on top of closed card and allow pop-up mechanism to bond.
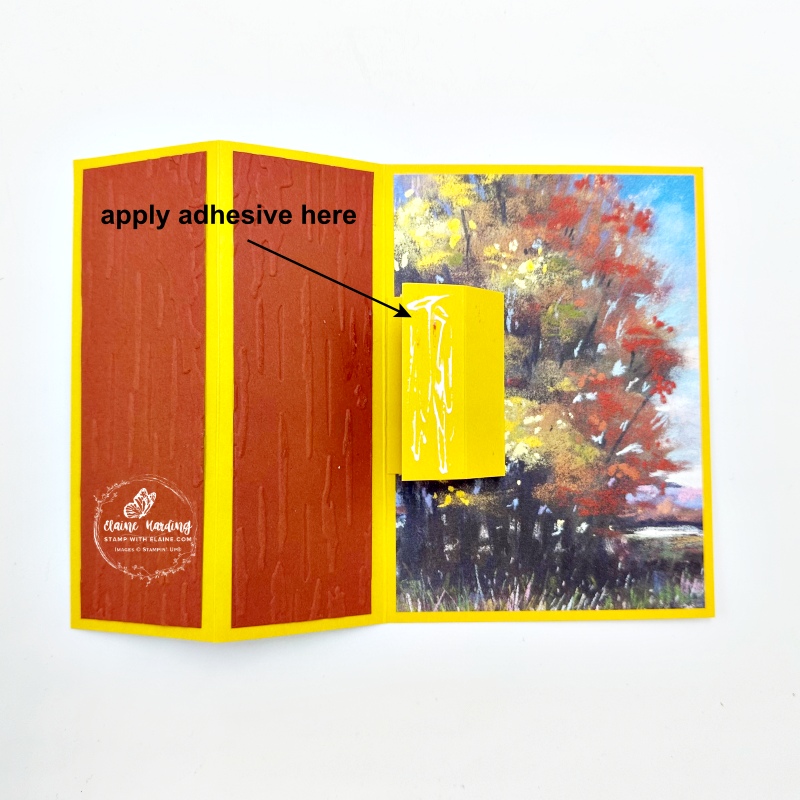
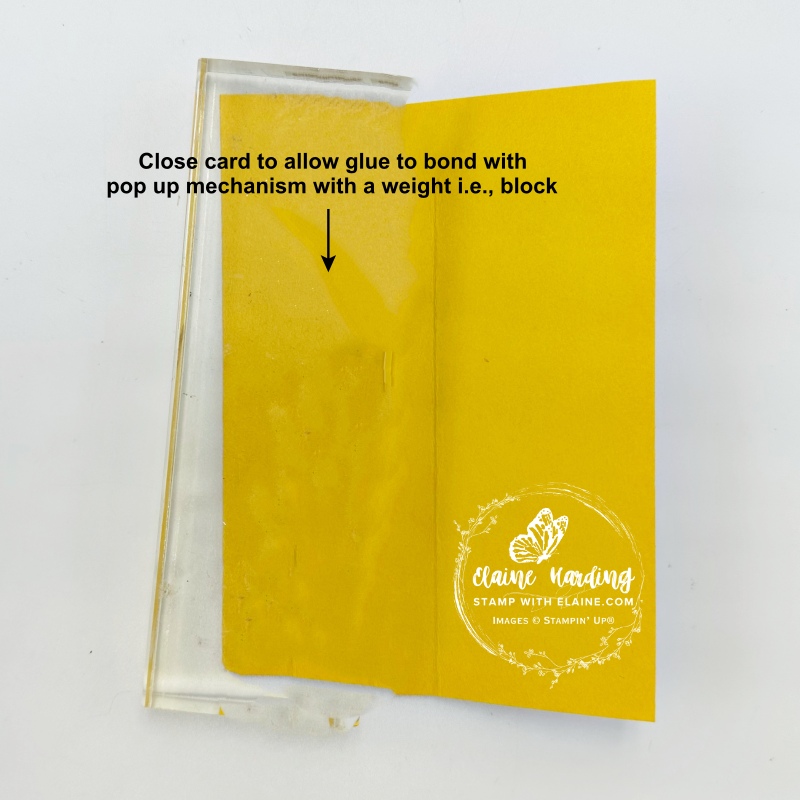
Once it’s bonded, the pop-up mechanism should be adhered to middle panel as pictured on the left. On the right is an aerial view from the top.
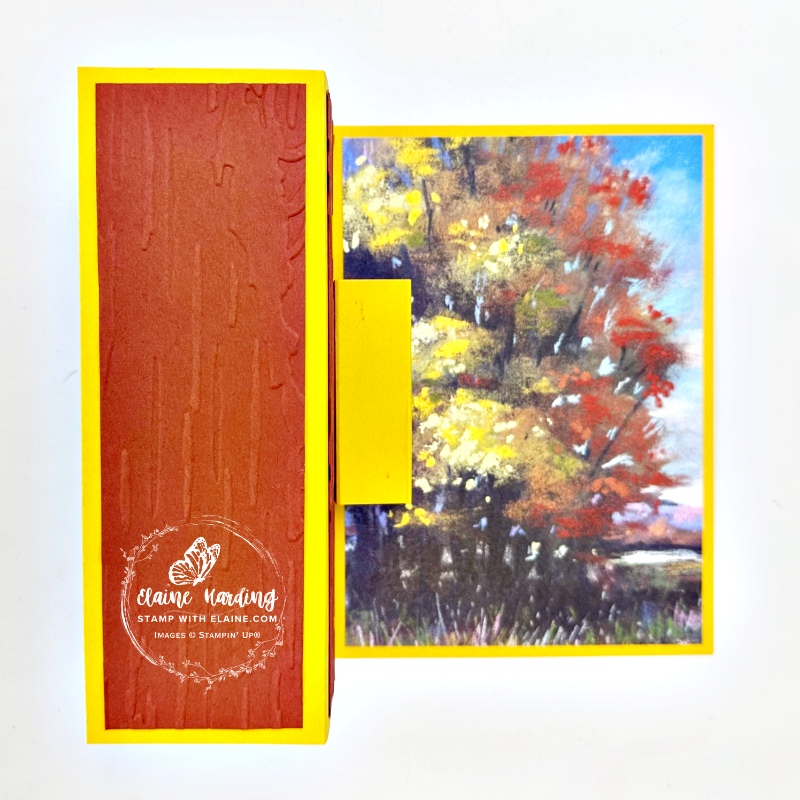
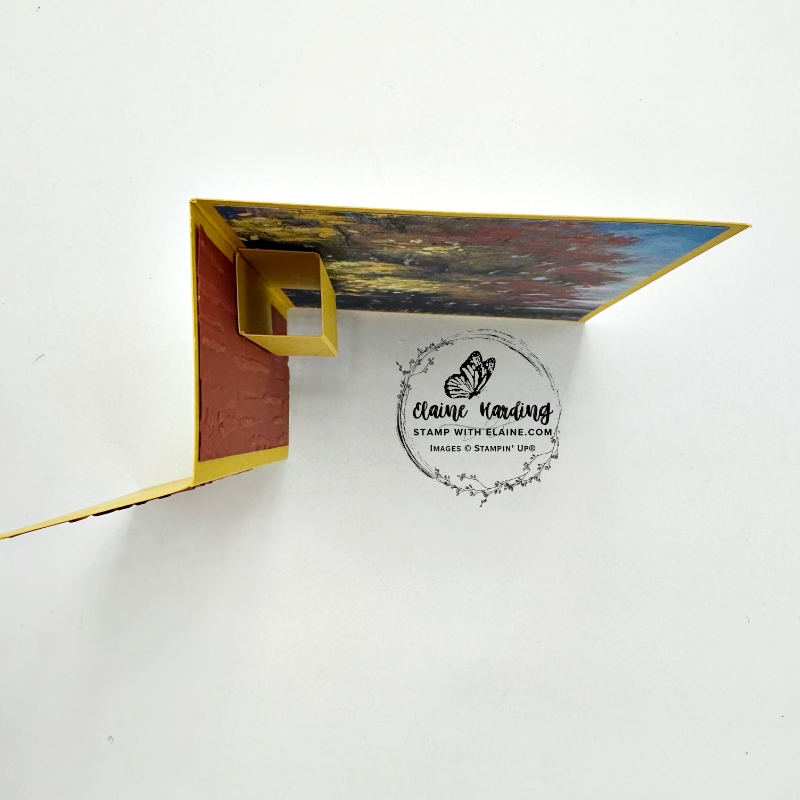
Lower deck layers
- Cut a mat layer in Crushed Curry (same colour as card base) at 2 ¾” x 4 ⅝” (7 cm x 11.5 cm). Align and adhere this to the top of the pop-up mechanism leaving a 1/16″ gap so that it does not catch when you close the card. Ensure that you have an even border at the top, bottom and side.
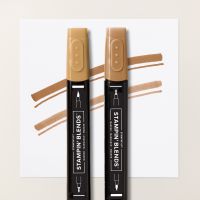
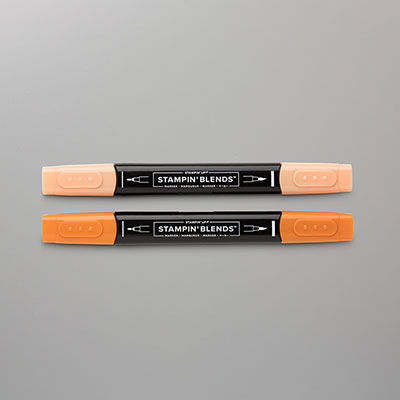
- Basic White mat layer for stamping cut at 2 ⅜” x 4 ¼” (6 cm x 10.5 cm). I die cut “nothing better than” in Cajun Craze and adhered it on this layer. Stamped the pie slice and colour with Pecan Pie and Pumpkin Pie Stampin’ Blends combos.
- On a scrap of Basic White, stamp the cream topping. Use the small cream die to die cut the top of the image as illustrated in picture on left.
- Stamp “pumpkin pie” in Cajun Craze underneath and adhere to Crushed Curry mat layer.
- Use blending brush to add a touch of colour in Cajun Craze.
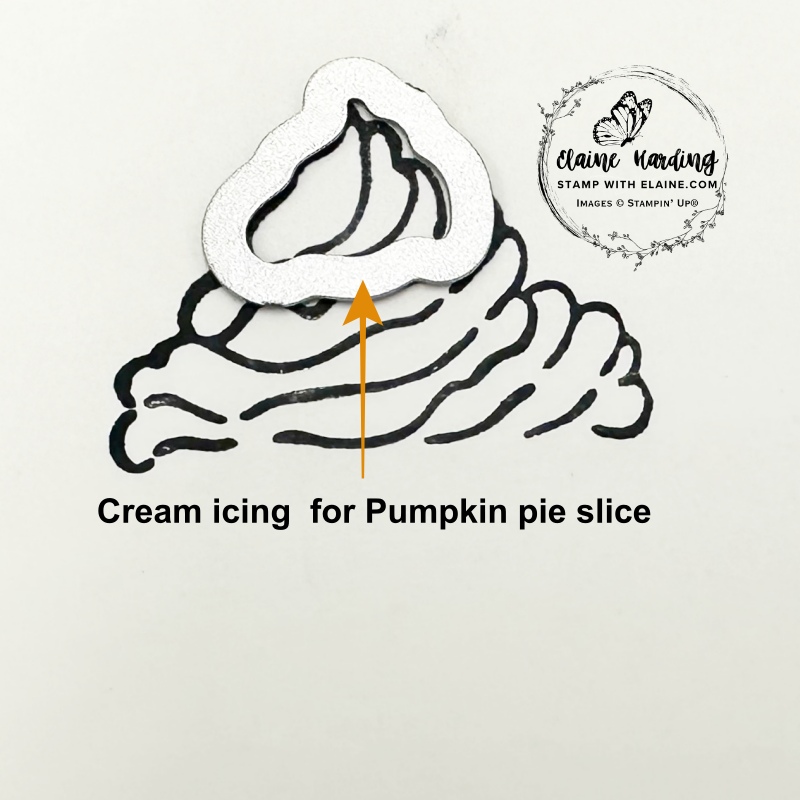
Top deck layers
- Basic White mat layer 2 ½” x 4 ⅜” (6.5 cm x 11 cm). (This is sized slightly bigger than the Basic White layer for the lower deck so that it is hidden from view).
- Apply adhesive to the left half of this layer and adhere to front panel.
- Trim the remnant from the 6″x 6″ (15.2 x 15.2 cm) DSP to 2 ⅛” x 4 ⅛” (6 cm x 10.5 cm). Stamp “happy thanksgiving” from the Choose Happy stamp set then adhere to Basic White mat layer.
- Scraps of Crushed Curry – die cut 3 leaves from More than Autumn dies – leave two with inserts in, and one without as pictured.
- Die cut 2 leaves in Cajun Craze, leave 1 with inserts in, and one without.
- Adhere leaves to left of mat layer on the front and add a gem to coordinate in top right corner as pictured.
Supply list
Listed below is the supply list. Just click on the picture to take you directly to the item in my online store.
Product List
- SHOP ONLINE – EARN 10% REWARDS ON ALL PURCHASES OVER £20
- PURCHASE A STARTER KIT : Get £155 worth of products for only £99. Choose from current catalogues and any specials available. Free Shipping. Read more
- Subscribe to my Video Tutorials – click here

