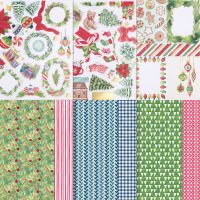
Hexagon Twist Pocket Gift. Week 7 of 12 in my Christmas Series – just over the half way mark already! This week’s Hexagon Twist Pocket card is a novel way of presenting a gift card, don’t you think? I’ve used the A Little Festive 12″x 12″ (30.5 x 30.5 cm) Mix & Match Specialty Designer Series Paper which you’ll find on page 18 of the September-December 2024 Mini catalogue.
A Little Bit Festive Specialty paper
The A Little Bit Festive 12″ x 12″ (30.5 x 30.5 cm) Specialty Paper is unlike other patterned paper packs. It has three sheets of double-sided designs with festive Christmas designs on one side and all-purpose patterns on the other. And it also has three sheets of die-cut Christmas elements that you can use on card fronts or to frame photos on scrapbook pages—stockings, wreaths, Christmas trees, and more. As a fun plus, some of the die cuts are sized to fit card fronts, making it easy to create quick, beautiful cards.
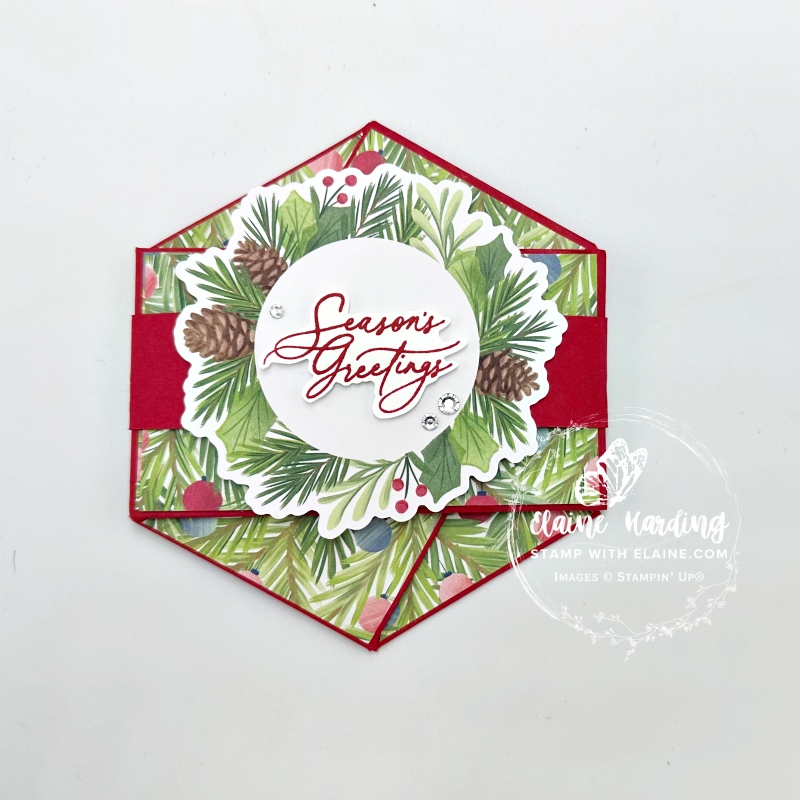
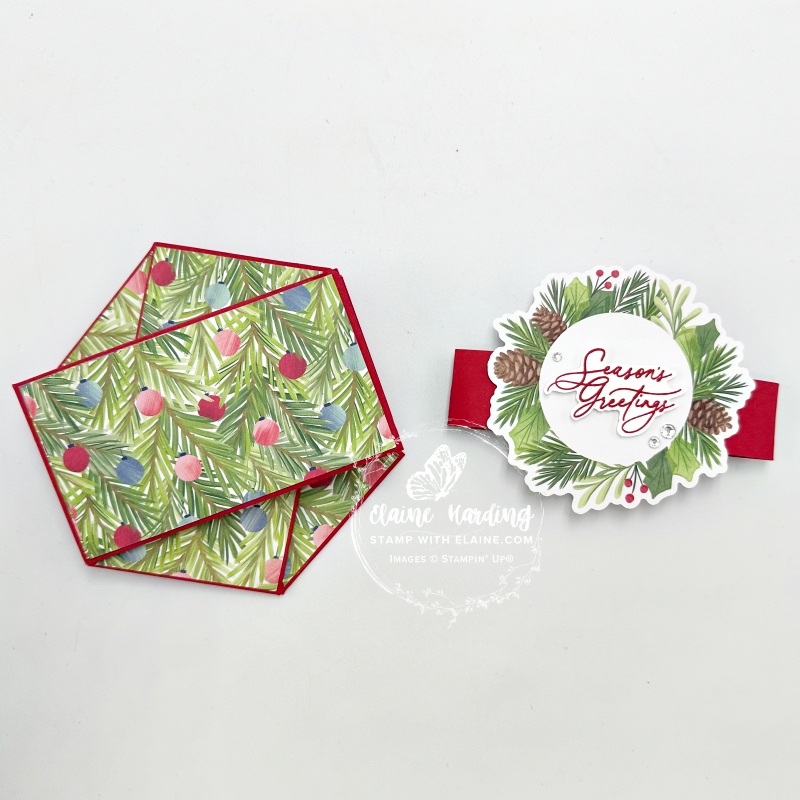
Template for Hexagon Twist Pocket card
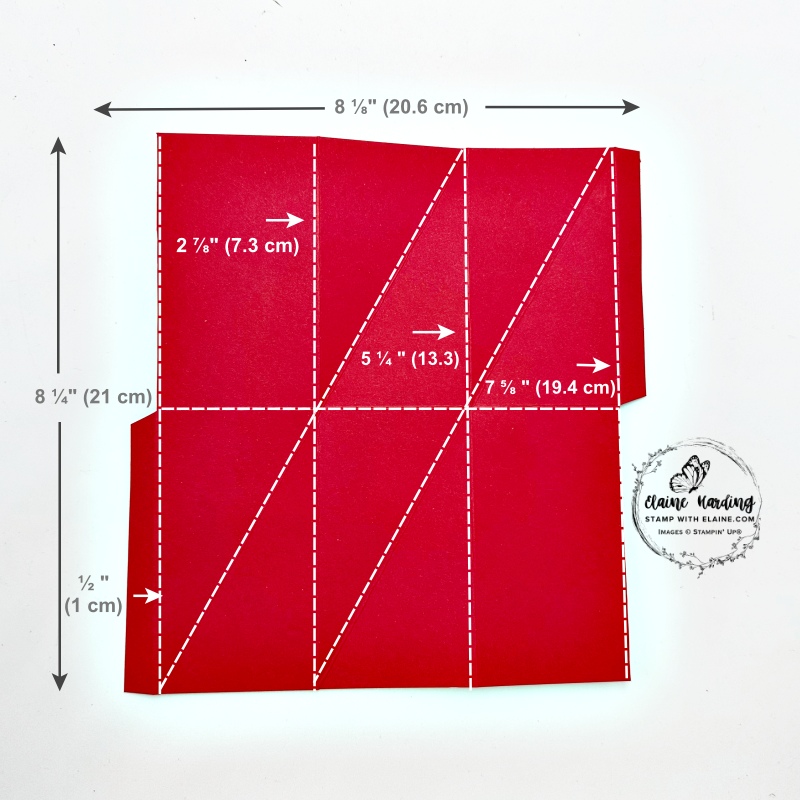
*Please note – I put 1 cm on the photo, but it should be 1.3 cm for a direct ½” conversion to metric.
- Cut the base for the Hexagon Twist Pocket card 8 ⅛” x 8 ¼” (20.6 cm x 21 cm)
- On the short (8 ⅛” or 20.6 cm) side score at ½”, 2 ⅞”, 5 ¼” and 7 ⅝” (*1.3 cm, 7.3 cm, 13.3 cm, 19.4 cm)
- Score diagonally from bottom left on first panel to top right on middle panel and also from bottom left of middle panel to top right of 3rd panel as illustrated in photo.
- Cut off and discard the two outer rectangles as pictured.
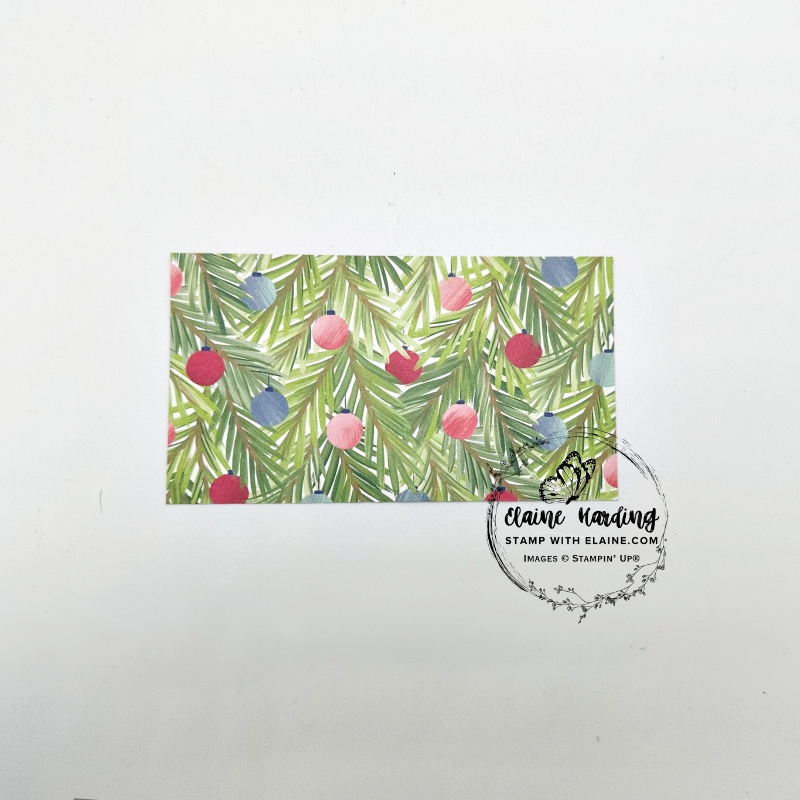
How to cut DSP panels
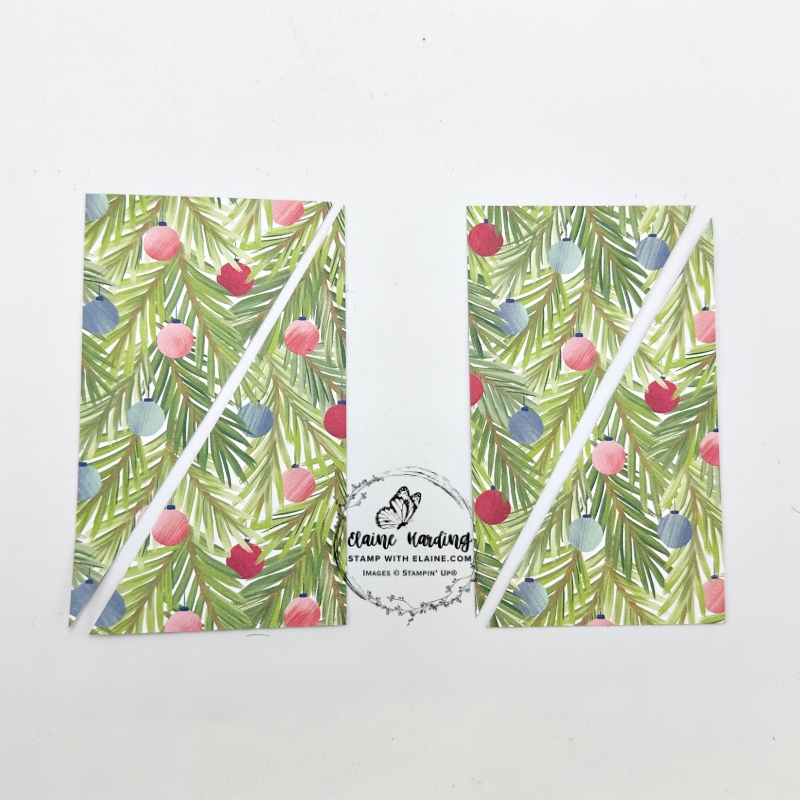
- If you have a directional paper DSP, cut 1 piece @ 2 ¼” x 4″ in landscape as pictured.
- Next cut 2 pieces 2 ¼” x 3 ⅞” (5.7 cm x 7.3 cm) as shown. These two pieces have been cut in portrait.
- Then cut diagonally as shown.
Adhering the DSP to the panels
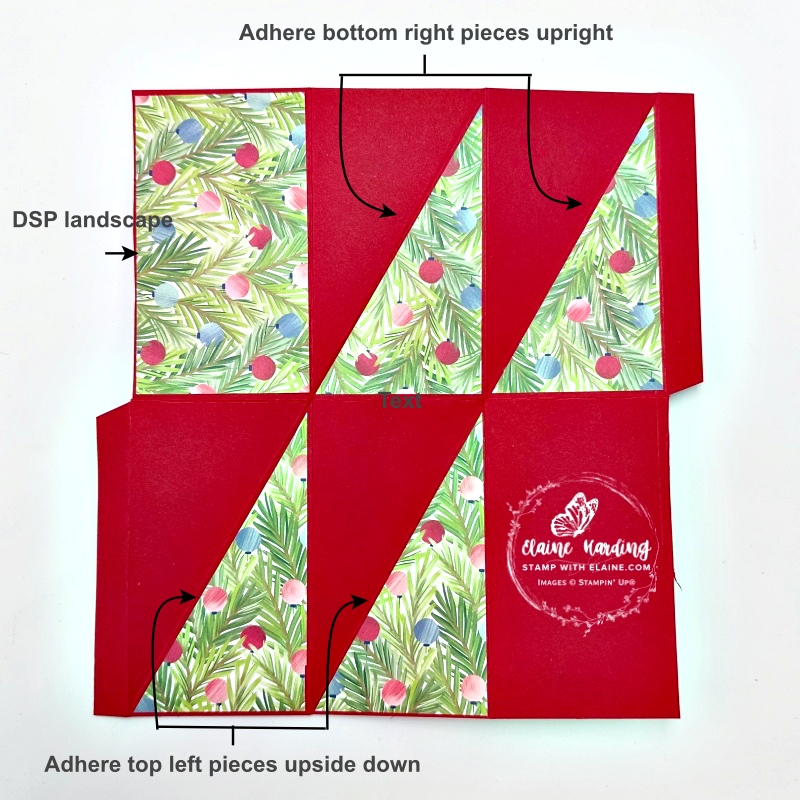
- Take the 2 ¼” x 4″ landscape DSP piece and adhere to the top left panel as pictured.
- Adhere both bottom right pieces in the bottom right corner of the middle and third panel as pictured.
- With the remaining pieces from the top left corner, turn it upside down and adhere in the bottom right corners of the first and middle panels as pictured.
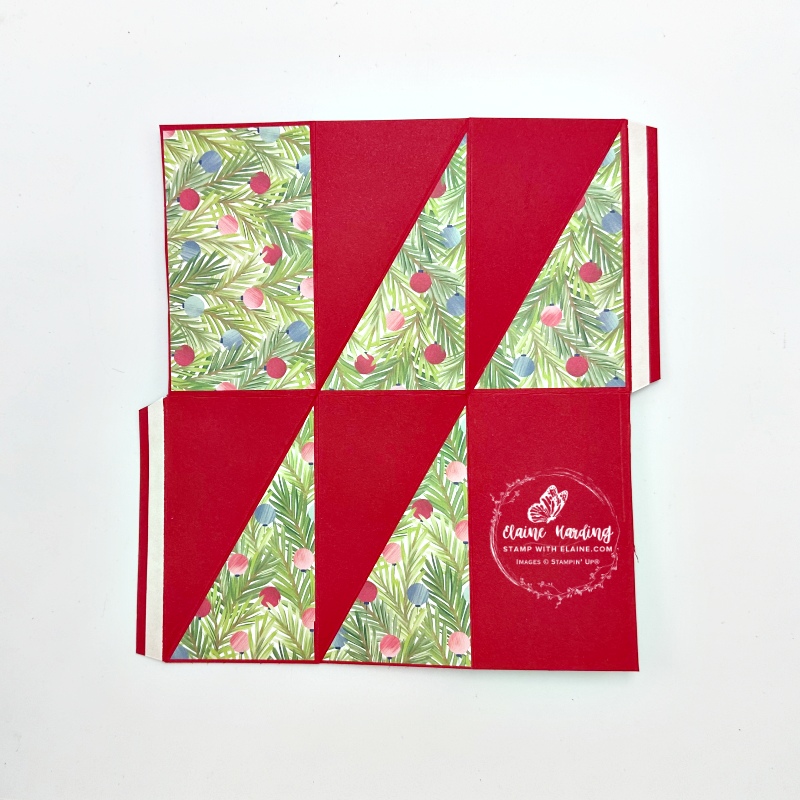
- Put tear-n-tape just shy of the the score lines on the tabs.
Creating pockets and card inserts
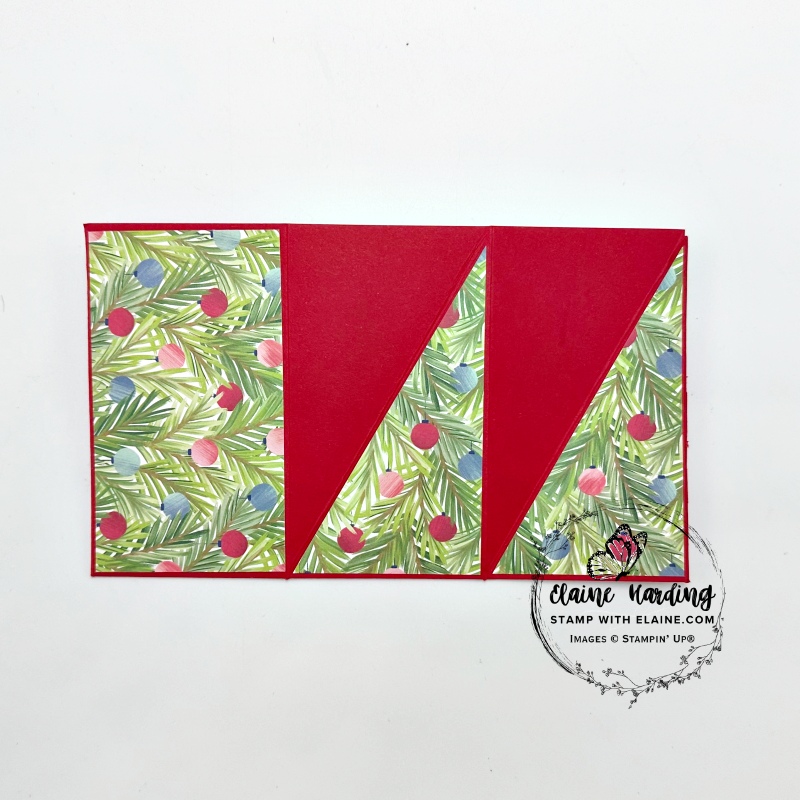
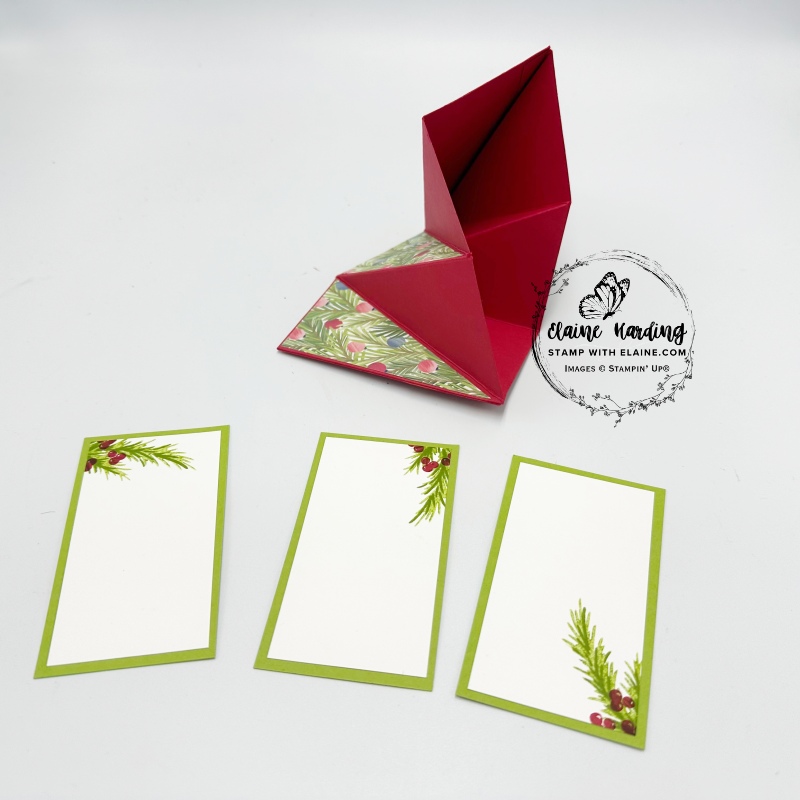
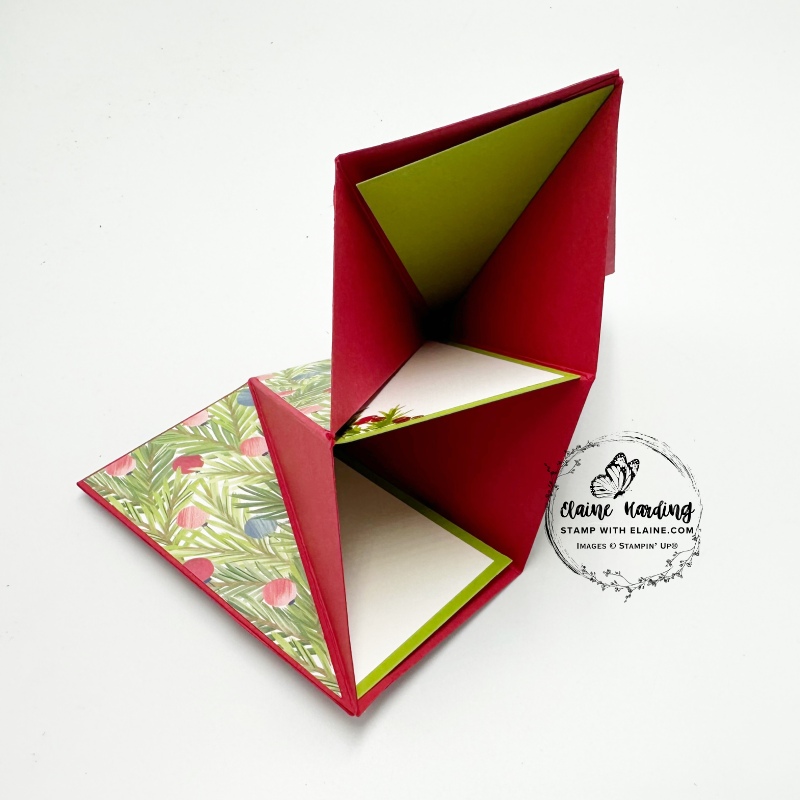
- Remove backing tape on tabs, tuck them in and fold template in half to create the pockets as shown in picture on the left.
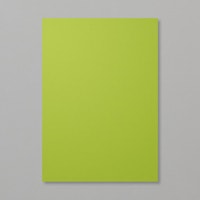
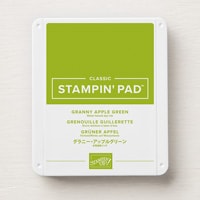
- Mat layer #1 for 3 card inserts in Granny Apple Green cut at 2 ¼” x 4″ (5.7 cm x 10.2 cm).
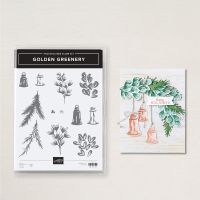
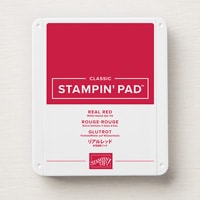
- Cut 3 mat layers in Basic White at 2″ x 3 ¾” (5 cm x 9.5 cm) and stamp with Golden Greenery online exclusive stamps in Granny Apple Green, and the berries in Real Red.
- Adhere Basic White stamped layers to the Granny Apple Green layers. Insert into pockets. Optional to include a gift card if desired.
Create belly band
- Cut a strip of Real Red card stock 1″ x 9 ½” (2.5 cm x 24 cm). Place your card inserts in first before you centre and wrap belly band round card. Adhere to the front.
- Punch a Real Red circle with a 2″ circle punch and adhere to the inside of the top of the belly band.
- Select a pop out Mix & Match wreath from the A Little Festive 12″x 12″ Mix & Match Specialty Designer Series Paper pack and adhere on top of circle as pictured below.
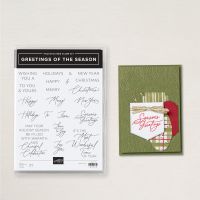
- Stamp the greeting from the Greetings of the Season stamp set, or any other suitable stamp set you have in hand and fussy cut. Adhere with dimensions to the pop-out wreath.
- Finish with some Basic Rhinestone jewels.
Supply list
Listed below is the supply list. Just click on the picture to take you directly to the item in my online store.
Product List
- SHOP ONLINE – EARN 10% REWARDS ON ALL PURCHASES OVER £20
- PURCHASE A STARTER KIT : Get £155 worth of products for only £99. Choose from current catalogues and any specials available. Free Shipping. Read more
- Subscribe to my Video Tutorials – click here

