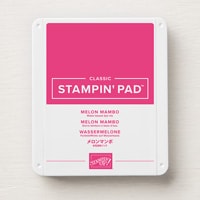
New November Online exclusives. Before I get on to today’s post on this Remembrance Sunday, I’m taking a moment of quiet reflection to remember those who gave up their lives so that the generations that followed could have a better today.
November Online Exclusives
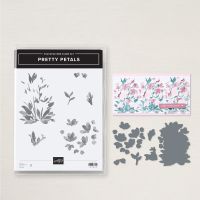
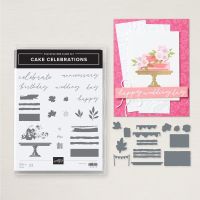
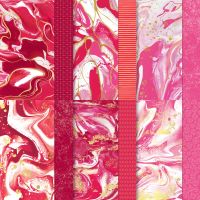
There’s a lot to choose from the new November Online exclusives. The Pretty Petals bundle, Cake celebrations bundle, Umbrella days bundle, Marbled Elegance Suite collection, The Otterly Adorable Suite Collection just to name a few. Today I have a fun fold – a front step card, one in portrait, and the other in landscape. Grab your favourite tipple – this is a long post!
Featuring Pretty Petals and Cake Celebrations
I picked two of the new online exclusives to feature today. The one on the left in portrait orientation uses the Pretty Petals bundle and the one on the right in landscape was made with the Cake Celebrations bundle.
You might be wondering what the piece of card stock is in the picture. This type of card has a habit of collapsing when on display, so I created a bridge mechanism to stop that.
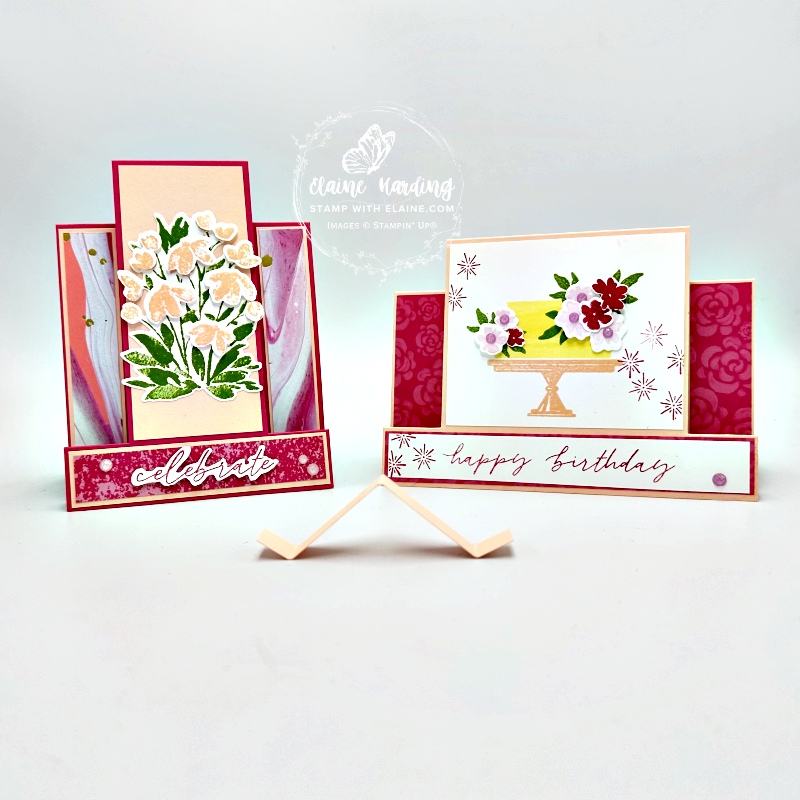
Portrait Pretty Petals card
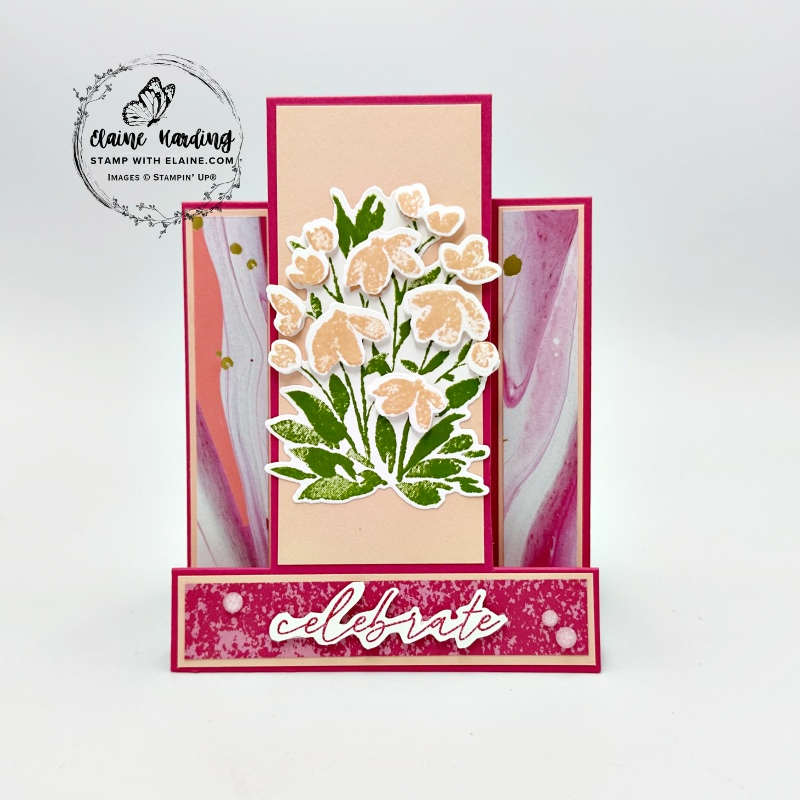
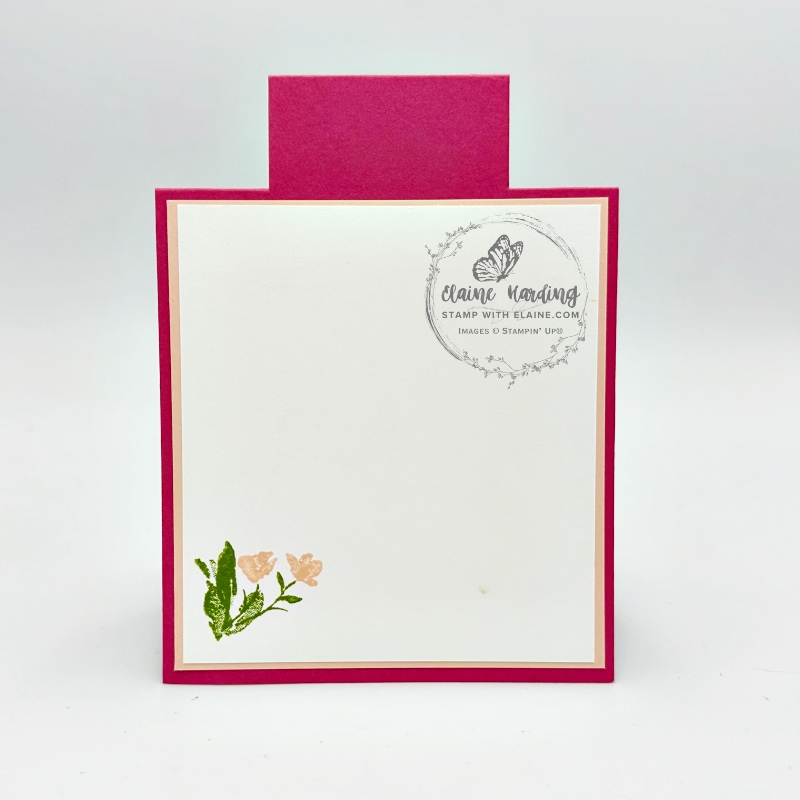
Imperial
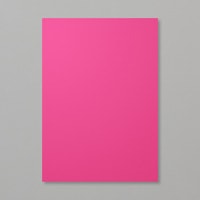
- Card Base : Melon Mambo 11″ x 4 ⅛”
- Short side on top align right edge to right of cutting groove at 1″ and cut from 1″ down to 6 ½”.
- Repeat on left edge aligning at 1″ to left of cutting groove and cut from 1″ down to 6 ½”.
- Rotate card stock so long side is on the top. Partially score the outer edges on either side of cut lines at 1″, 2″ and 6 ½”.
- Score between cut lines at 5 ½”.
Mat layers
First Mat layer
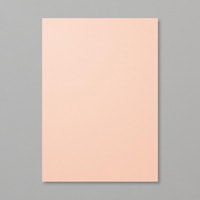
- Side panels Petal Pink : 2 pieces cut at ⅞” x 4 ¼”.
- Centre panel front Petal Pink : 1 piece a tad under 2″ x 4 ⅜”.
- Front bottom panel Petal Pink : 1 piece cut at ⅞” x 4″.
- Back panel Petal Pink : 3 ⅞” x 4 ¼”
Second Mat layer
I used the new Marbled Elegance 12″x 12″ Specialty DSP
- Side panels DSP : 2 pieces cut at ¾” x 4 ⅛”.
- Centre panel : Scrap of Basic White for stamping Pretty Petals images
- Front bottom panel DSP : 1 piece cut at ¾” x 3 ⅞”.
- Back panel Basic White : 3 ¾” x 4 ⅛”
Metric
- Card Base : Melon Mambo. 28 cm x 10.5 cm
- Short side on top align right edge to right of cutting groove at down to 2.5 cm and cut from 2.5 cm down to 16.5 cm.
- Repeat on left edge by aligning at 2.5 cm to left of cutting groove and cut from 2.5 cm down to 16.5 cm.
- Rotate card stock so long side is on the top. Partially score the outer edges on either side of cut lines at 2.5 cm, 5 cm, and 16.5 cm.
- Score between cut lines at 14 cm.
First Mat layer
- Side panels Petal Pink : 2 pieces cut at 2 cm x 10.5 cm.
- Centre panel front Petal Pink : 1 piece cut at 5 cm x 11 cm.
- Front bottom panel Petal Pink : 1 piece cut at 2 cm x 10 cm.
- Back panel Petal Pink : 10 cm x 11 cm.
Second Mat layer
I used the new Marbled Elegance 12″x 12″ Specialty DSP
- Side panels DSP : 2 pieces cut at 1.5 cm x 10 cm.
- Centre panel : Scrap of Basic White for stamping Pretty Petals images
- Front bottom panel DSP : 1 piece cut at 1.5 cm x 9.5 cm.
- Back panel Basic White : 9.5 cm x 10.5 cm.
Landscape Cake Celebrations card
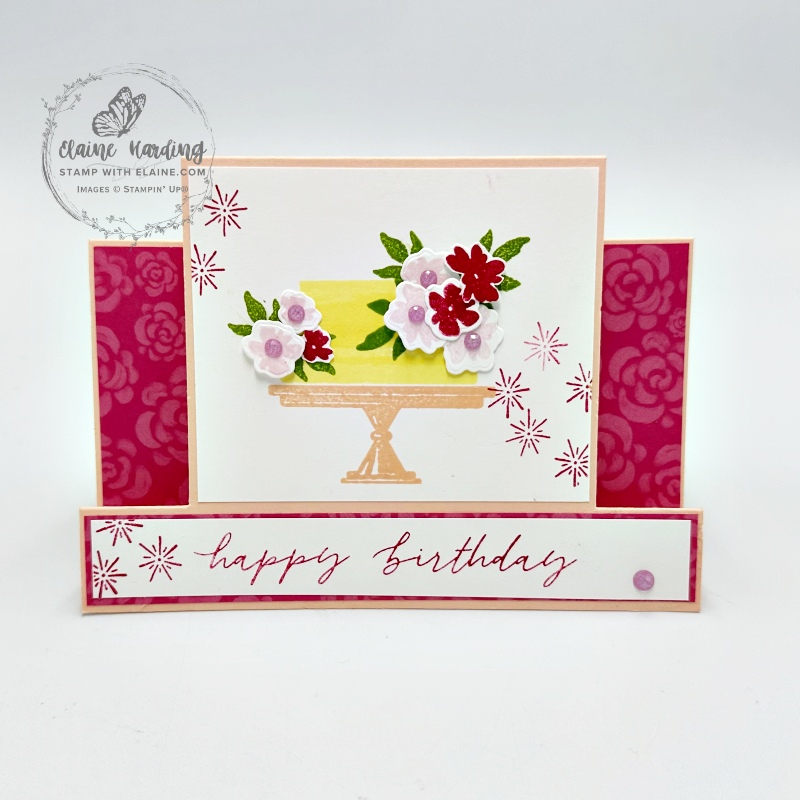
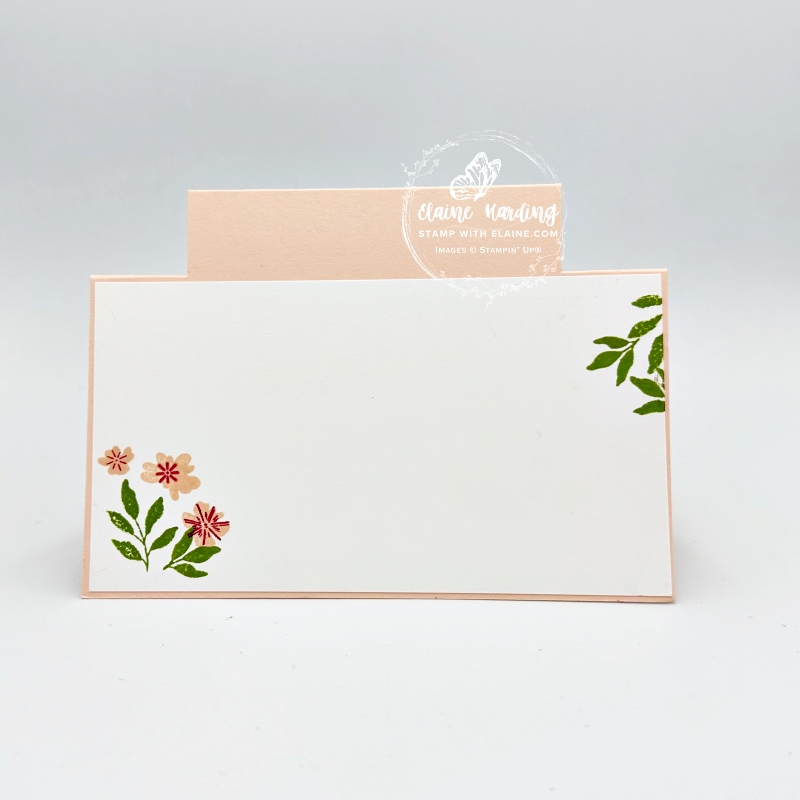
Imperial
- Card Base : Melon Mambo 5 ¾” x 8 ¼”
- Short side on top align right edge to right of cutting groove at 1″ and cut from 1″ down to 5″.
- Repeat on left edge aligning at 1″ to left of cutting groove and cut from 1″ down to 5″.
- Rotate card stock so long side is on the top. Partially score the outer edges on either side of cut lines at 1″, 1 ⅞” and 5″.
- Score between cut lines at 4 ⅛”.
Metric
- Card Base : Melon Mambo. 21 cm x 14.5 cm
- Short side on top align right edge to right of cutting groove at down to 2.5 cm and cut from 8 cm down to 18.5 cm.
- Repeat on left edge by aligning at 2.5 cm to left of cutting groove. Then cut from 8 cm down to 18.5 cm.
- Rotate card stock so long side is on the top and the beginning of the cut line is aligned at 8 cm and the end of the cut lines at aligned with the 18.5 cm score line on the score board. Partially score the outer edges on either side of cut lines at 8 cm, 16 cm, and 18.5 cm.
- Score between cut lines at 10.5 cm.
Mat layer
This landscape card only has 1 mat layer except for the bottom front panel
Mat layer
- Side panels DSP : 2 pieces cut at ⅞” x 3″.
- Centre panel front Basic White : 1 piece cut at 3 ⅝ ” x 3″.
- Front bottom panel DSP : 1 piece cut at ⅞” x 5 ⅝”.
- Cut Basic White piece for greeting cut at ¾” x 5 ½”.
- Back panel Basic White : 5 ⅝” x 3 ⅛”.
Bridging mechanism
The same measurements apply for both Portrait and Landscape cards.
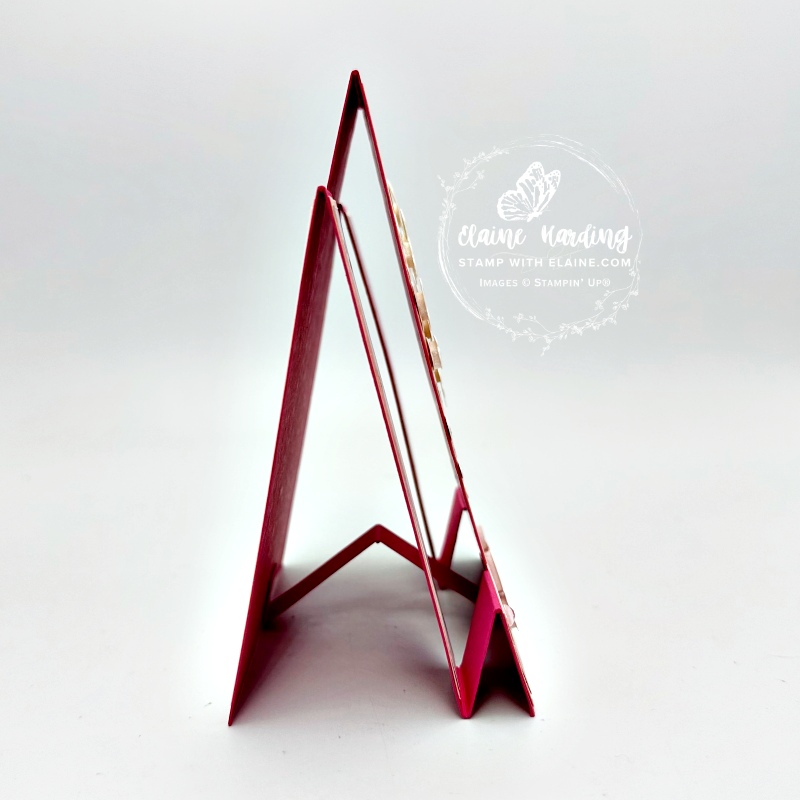
Imperial
- Cut same colour card stock as card base ½” x 4″.
- Long side score at ½”, 2″, 3 ½”.
- Fold in half so that the middle is a Mountain fold and the two ends as Valley folds.
- Adhere ½” tab on back of card the other tab to the front by closing the card.
Metric
- Cut same colour card stock as card base 1.5 cm x 11 cm.
- Long side score at 1.5 cm, 5.5 cm, 9.5 cm.
- Fold in half so that the middle is a Mountain fold and the two ends as Valley folds.
- Adhere 1.5 cm tab on back of card the other tab to the front by closing the card.
Visual aid
I made a short video on the basics on how to cut, score and attach the bridging mechanism.
Supply list
Listed below is the supply list. Just click on the picture to take you directly to the item in my online store.
Product ListHope you enjoyed having the two options of a portrait or landscape step card and the new online exclusive additions. Have a great weekend or what’s left of it.

- SHOP ONLINE – EARN 10% REWARDS ON ALL PURCHASES OVER £20
- PURCHASE A STARTER KIT : Get £155 worth of products for only £99. Choose from current catalogues and any specials available. Free Shipping. Read more
- Subscribe to my Video Tutorials – click here

