Six Decorative Tree cards. It’s week 9 of my 12 week Christmas series! Can you believe that we’re fast approaching the finish line? So this is a last ditch attempt to get those Christmas cards finished and sent! Are you sitting comfortably because this is a lengthy post!
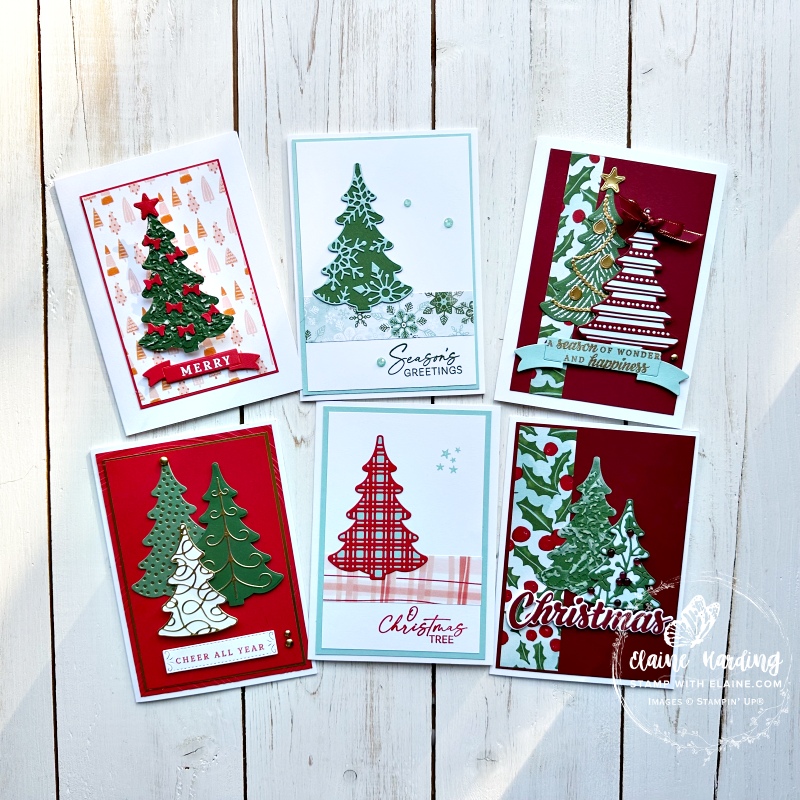
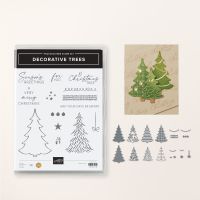
Here are some ideas for cards using the Decorative Trees stamps and dies. The dies are unique in that it cuts out a solid tree and there are seven dies with different overlay designs. The overlays can be adhered on top of a solid die cut tree in order to dress it. To show case each die, I made six Decorative Tree cards with one or more of the die cut overlays on each card.
Tips on how to make multiples
Use a card map or layout you like, then simply change the paper or card stock and greeting for a completely different look. All the cards are a standard size in Basic White Thick card stock cut at 5 ¾” x 8 ¼” (14.5 cm x 21 cm) and folded in half. The mat layers are ⅛” (0.5 cm) smaller than the previous layer. Cut several solid trees in various colours that coordinate with the card mat layers and Basic White ones too and you’re good to go.
Remember to use adhesive sheets on the back of the paper you’re using to die cut the intricate die designs. It’ll save you having sticky fingers and if you’re using foil, it will also prevent glue marks.
Snowflake Design
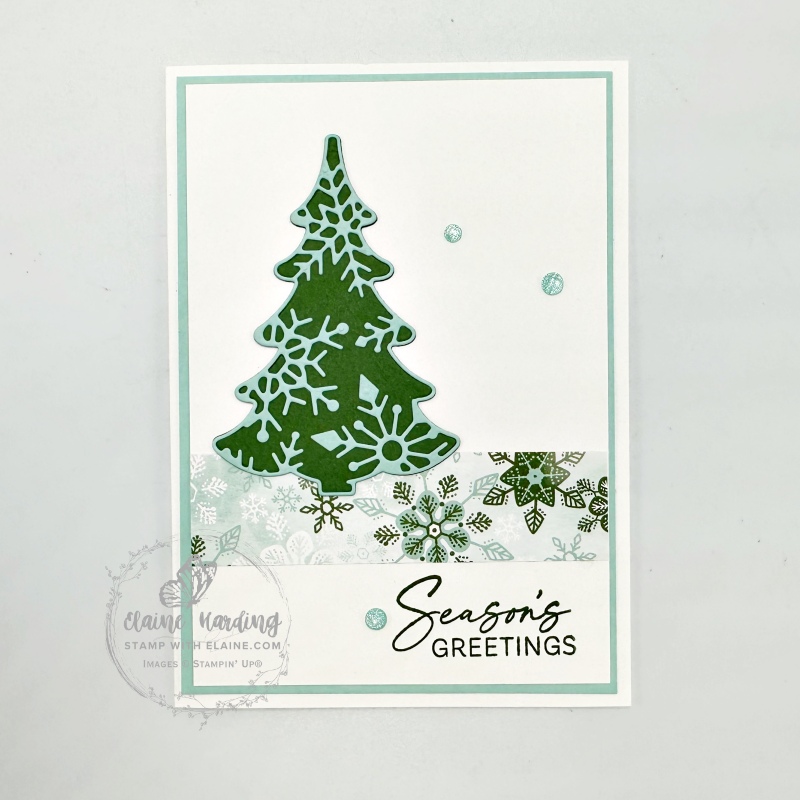
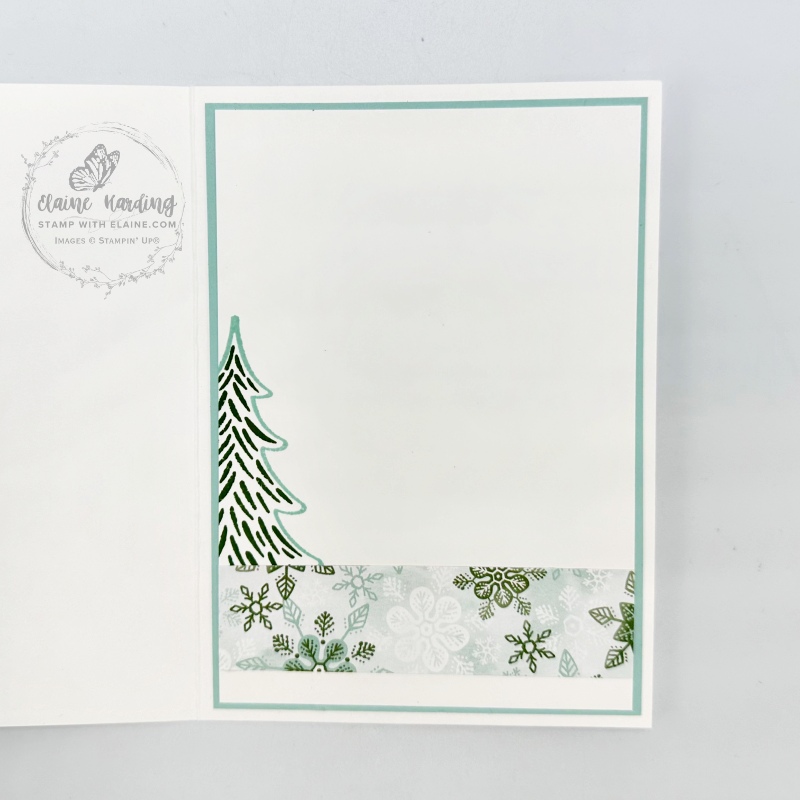
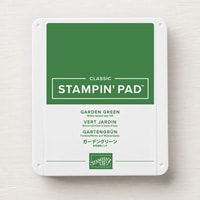
- Snowflake tree overlay die cut in Pool Party and adhered on Garden Green tree.
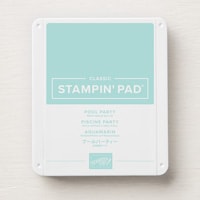
- Pool Party : cut 2 mat layers 3 ⅞” x 5 ½” (10 cm x 14 cm). Adhere one on card front and the other inside the card leaving an even border on all 4 sides.
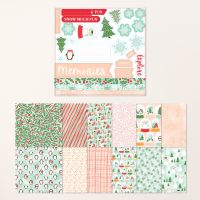
- Snowy Scenes 12″x 12″ DSP : cut 2 pieces one for front and one for inside cut at 1″ x 3 ¾” (2.5 cm x 13.5 cm).
- Basic White mat layer #2 : cut 2 pieces one for card front and one for inside at 3 ¾” x 5 ⅜”.
- Finishing touches : 2024-26 In Color Resin Dots.
Tip: Stamp the greeting in bottom right corner before you adhere the DSP on card front and the tree on the inside layer of the card.
Plaid Design
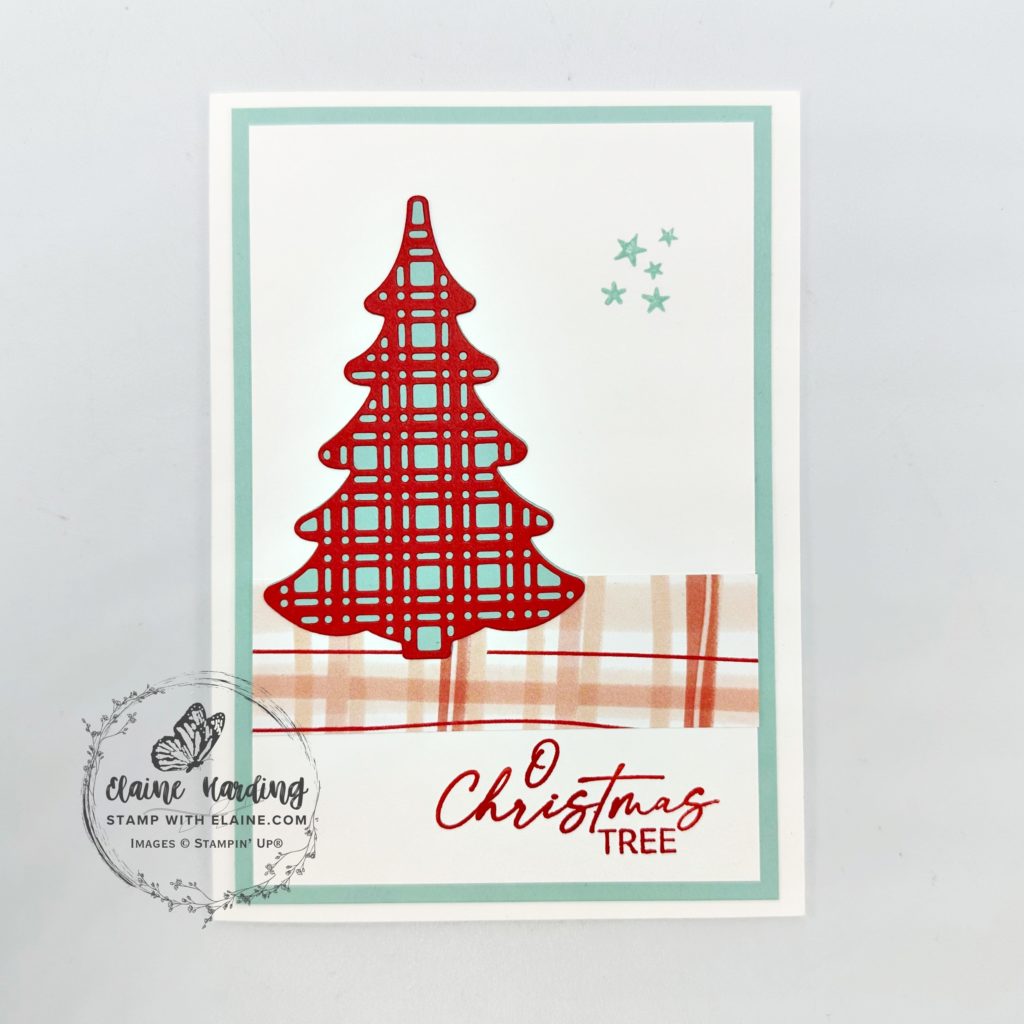
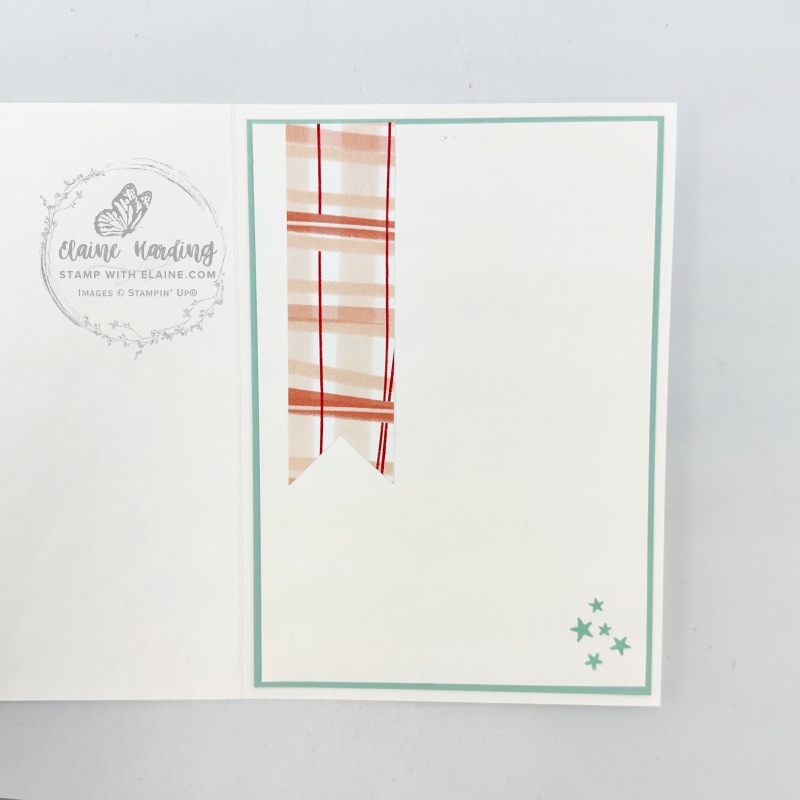
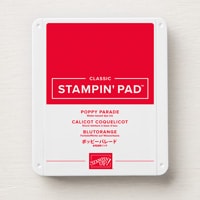
- Plaid tree overlay die cut in Poppy Parade and adhered on Pool Party tree.
- Pool Party : cut 2 mat layers 3 ⅞” x 5 ½” (10 cm x 14 cm). Adhere one on card front and the other inside the card leaving an even border on all 4 sides.
- Snowy Scenes 12″x 12″ DSP plaid design : cut 2 pieces one for front and one for inside cut at 1″ x 3 ¾” (2.5 cm x 13.5 cm).
- Basic White mat layer #2 : cut 2 pieces one for card front and one for inside at 3 ¾” x 5 ⅜” (9.5 cm x 13.5 cm)
- Cut a flag end on the 2nd piece of Snowy Scenes DSP plaid design and adhere in top left corner as pictured.
- In lieu of embellishments, simply stamp the cluster of stars on the card front and inside card.
Tip: Stamp the greeting in bottom right corner before you adhere the DSP on card front
Embossed and Holly Leaf Tree Duo
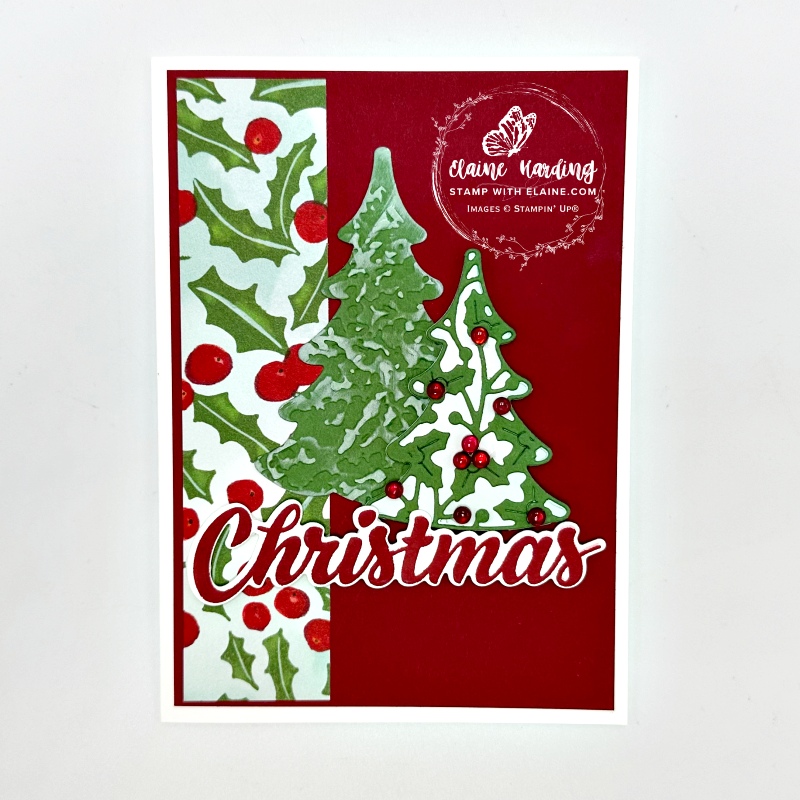
- Die cut a whole tree in Garden Green and one in Basic White.
- Use a blending brush to lightly add Pool Party colour to Basic White tree.
- Holly leaf tree overlay die cut in adhesive backed Garden Green card stock and adhere on Basic White tree. The holly leaf overlay is for a smaller tree. Once you’ve adhered the overlay, trim off excess. Set aside.
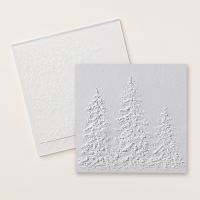
- Emboss whole Garden Green tree in the Painted Trees 3D embossing folder. Run a White Kraft ink pad over the raised embossed bits to highlight it. Set aside.
- Cherry Cobbler : cut 2 mat layers 3 ⅞” x 5 ½” (10 cm x 14 cm). Adhere one on card front and the other inside the card leaving an even border on all 4 sides.
- Snowy Scenes 12″x 12″ DSP holly leaf and berries design : cut 1 piece at 1 ½” x 6″ (2 cm x 15.2 cm). Trim to 5 ⅜” in length and reserve remainder to adhere to the inside of the card as pictured.
- Adhere DSP to left of Cherry Cobbler mat layer on card front leaving an even border on 3 sides at the top, bottom and left side. Adhere larger embossed tree directly on to card front, and the smaller holly leaf tree with dimensionals.
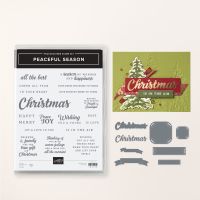
- Stamp “Christmas” from Peaceful Season in Cherry Cobbler ink on Basic White scrap and die cut with Peaceful Season die and adhere with dimensionals as pictured.
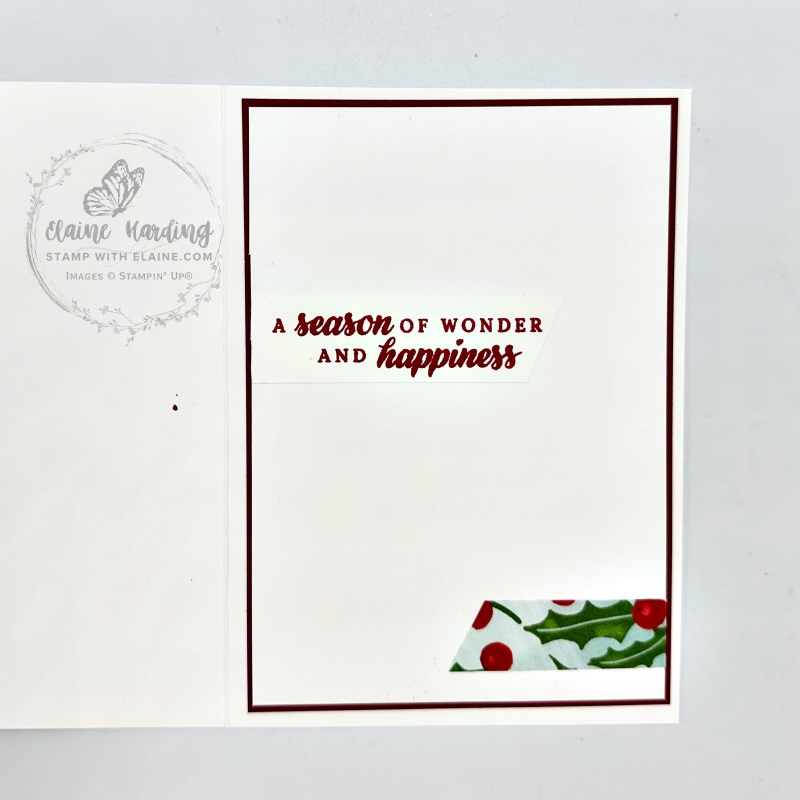
Inside card
- Basic White mat layer #2 inside card : cut 1 piece at 3 ¾” x 5 ⅜”(9.5 cm x 13.5 cm) Adhere to inside of card on top of Cherry Cobbler mat layer leaving an even border on all 4 sides.
- Stamp greeting and adhere remaining DSP as pictured. (Incidentally I smudged my greeting, so to fix it, I stamped the greeting on a scrap of Basic white, trimmed it, then adhered it on top of the smudged one).
Gold Garland and Striped Overlay Tree Duo
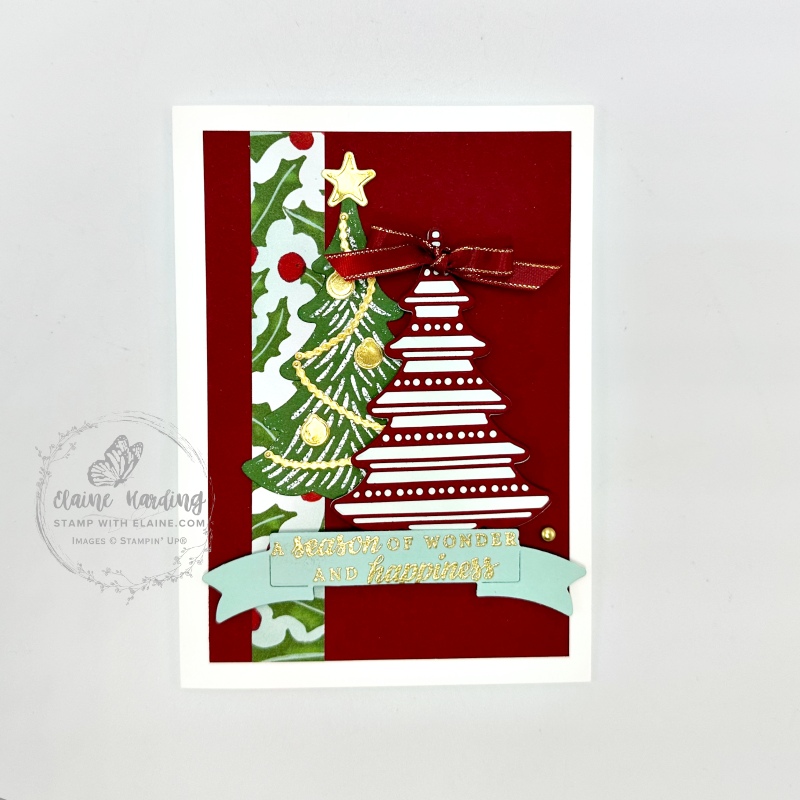
- Cut Cherry Cobbler mat at 5 ¼” x 3 ½” (13 cm x 9 cm)
- Die cut 1 whole tree in Garden Green and 1 in Basic White. Use a Blending Brush to add a little Pool Party colour to the Basic White tree. Stamp the Garden Green tree in Versamark ink and white emboss. Set aside.
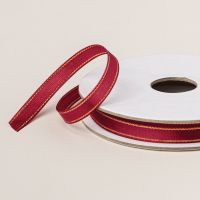
- From adhesive backed Cherry Cobbler card stock, die cut a striped overlay and from adhesive backed Gold Foil, die cut the garland, Christmas baubles, Star, and tie a bow with the Cherry Cobbler & Gold ¼” satin ribbon.
- Use the Peaceful Seasons Bundle to stamp greeting in Versamark ink on Pool Party card stock and Gold Emboss the die cut the banner. Set aside.
- Adhere Snowy Scenes 12 x 12 strip of DSP with Holly and berries pattern cut at ½” x 5 ¼” (1.5 cm x 13 cm).
- Next adhere the gold garland and baubles and star to the Garden Green tree. Then adhere Cherry Cobbler striped overlay on to the Basic White tree.
- Stamp greeting in Versamark ink on Pool Party scrap, gold emboss and die cut with Banner die from Peaceful Seasons dies set.
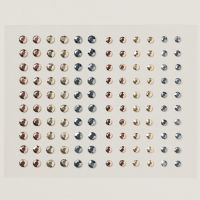
- Arrange the trees and adhere to card front followed by the banner. Add finishing touch with Adhesive-backed metallic gems.
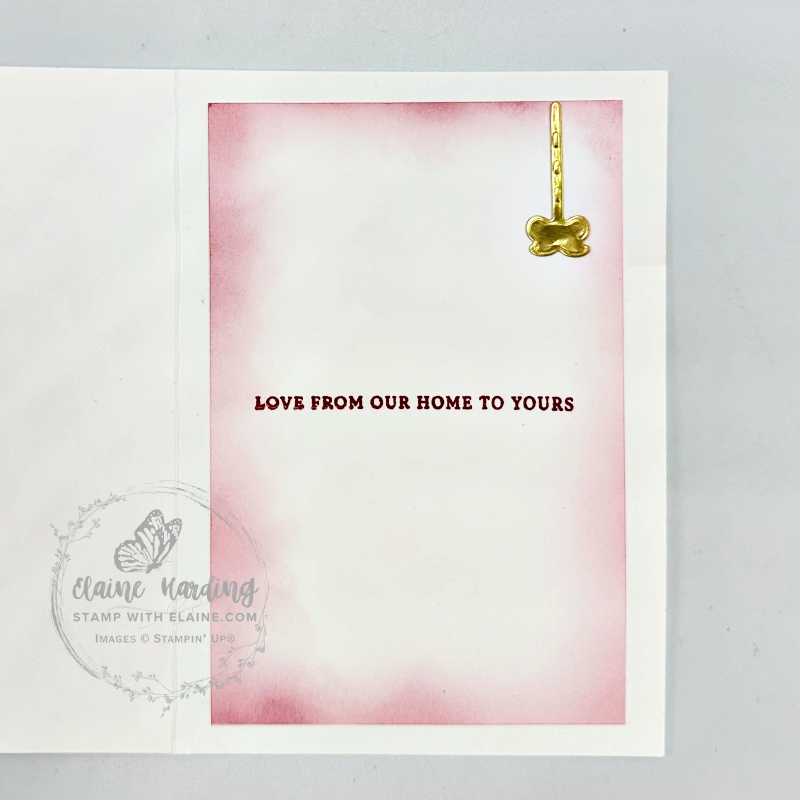
Inside card
- Inside card, use a blending brush and apply colour in Cherry Cobbler to the Basic White mat layer cut at 5 ¼” x 3 ½” (13 cm x 9 cm).
- Stamp greeting and adhere the bow to the top right corner as pictured.
Tree Trio with Two-tone card stock
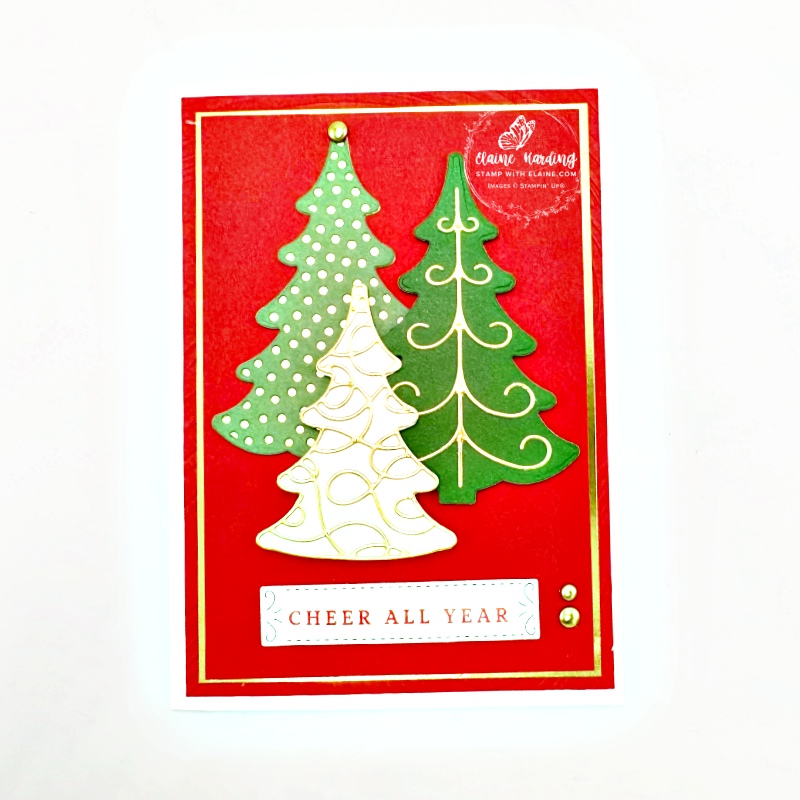
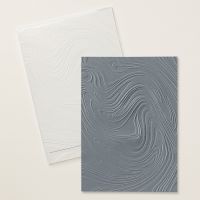
- Poppy Parade mats : cut 2 pieces 3 ⅞” x 5 ½” (9.8 cm x 14 cm) adhere one to inside. Emboss the other with the So Swirly embossing folder and adhere to card front.
- Cut a ½” (1.5 cm) from a Gold Foil piece of card stock measuring 3 ⅝” x 5 ¼” (9.2 cm x 13.3 cm). Adhere this to embossed So Swirly mat layer.
- Apply adhesive sheet to back of gutted gold foil as well as a scrap of gold foil large enough to cut a whole tree. Then die cut the smaller swirly decorative tree and the elegant single swirl from the gutted gold foil and a whole tree from the scrap of gold foil.
- From the Garden Green two-tone card stock, apply adhesive sheet to the darker side and die cut the polka dot hole pattern die cut. This means that the lighter side is on top. Remove backing and adhere to whole Gold foil tree and then adhere to card front as pictured.
- Die cut a whole tree from the darker Garden Green two-tone card stock. Remove backing from the gold foil on the elegant single swirl on top. Adhere this with dimensionals overlapping the polka dot tree and a little lower down.
- Basic White scrap – die cut a whole tree and lightly colour in Garden Green with a blending brush. Remove backing from the gold foil die cut swirly decorative tree, align with Basic White tree and trim off the bottom of the tree. Adhere with dimensionals as pictured.
- Stamp greeting and die cut with Peaceful Season dies and adhere with dimensionals at the base of the trio of trees.
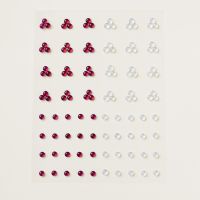
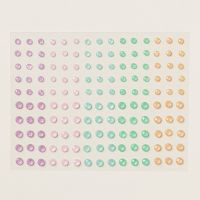
- Final touches – add Adhesive-backed metallic gems.
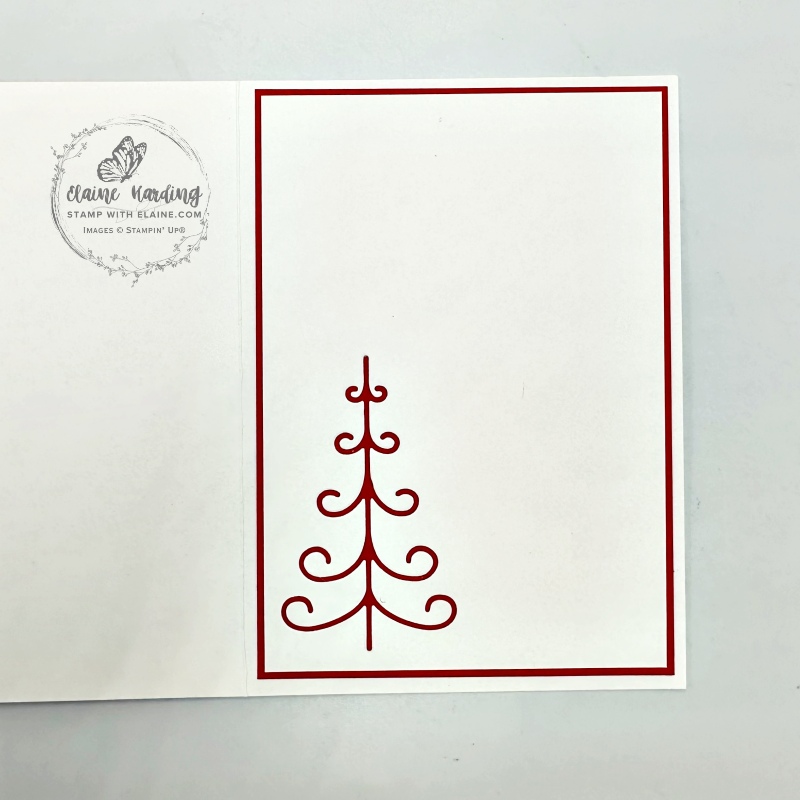
Inside card
- Basic White mat layer cut at 3 ¾” x 5 ⅜” (9.5 cm x 13.5 cm)
- Position the single swirly Decorative Tree die in the bottom left corner to cut the aperture. The Poppy Parade mat layer will show through. No stamping/embellishing needed.
Wibbly Wobbly tree with bows
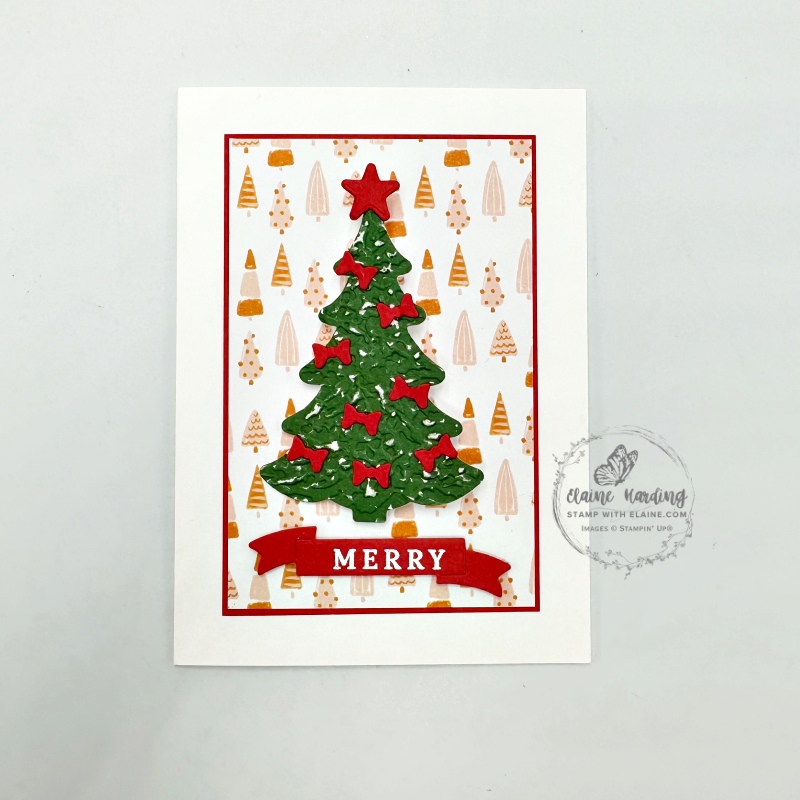
- Poppy Parade Mat layer : cut 2 pieces 3 ⅛” x 4 ¾” (8 cm x 12 cm). Adhere to front and inside of card leaving an even border on all four sides.
- Snowy Scenes 12×12 DSP : cut the tree Poppy Parade tree pattern sheet at 3″ x 4 ⅝” (7.5 cm x 11.5 cm). Adhere on top of Poppy Parade mat layer on card front.
- Die cut whole tree in Garden Green two-tone card stock and emboss with Painted Trees 3D embossing folder. Use a sanding block to sand the embossed tree to reveal the white core underneath.
- Next die cut a whole tree in standard Garden Green card stock. Adhere embossed tree to this tree to give it added strength. Two-tone card stock is lighter in weight than the standard card stock and this tree will be adhered to a wibbly wobbly mechanism.
- Put an adhesive sheet on back of Poppy Parade card stock and die cut 8 bows and 2 stars. Remove backing and sandwich top of tree with two stars. Arrange bows on tree and once you’re happy with their positions, remove backing and adhere to tree.
- Adhere wibbly wobbly mechanism to he front.
- White emboss greeting and die cut with smaller banner die from Peaceful Season dies.
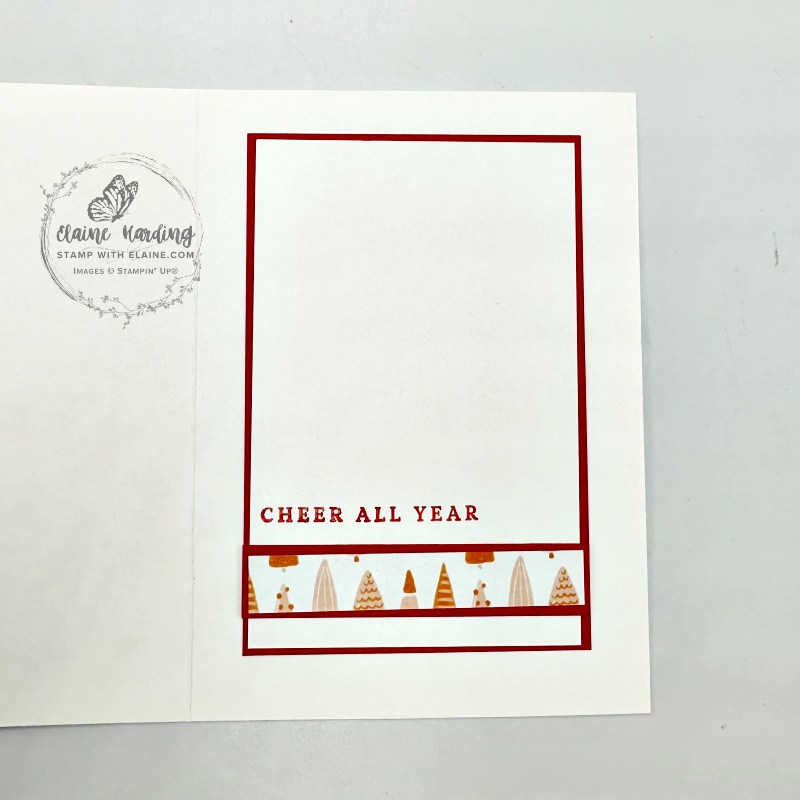
Inside card
- Cut a strip of Poppy Parade card stock ⅝” x 3 ⅛ ” (1.6 cm x 8 cm. Adhere to inside of card as pictured.
- Snowy Scenes 12×12 DSP tree pattern : cut ½” x 3″ (1.3 cm x 7.5 cm). Adhere on top of Poppy Parade strip,.
- Stamp greeting on the left above adhered DSP strip.
Visual aid
Here’s a short video as a visual aid. On a desktop, you can view the video by clicking the “play” arrow as normal.
If you’re viewing this blogpost on a mobile, to view the video click HERE.
Supply list
Listed below is the supply list. Just click on the picture to take you directly to the item in my online store.
Product ListI hope you’ve been inspired by these six cards for the Decorative Trees bundle. Thanks for visiting.

- SHOP ONLINE – EARN 10% REWARDS ON ALL PURCHASES OVER £20
- PURCHASE A STARTER KIT : Get £155 worth of products for only £99. Choose from current catalogues and any specials available. Free Shipping. Read more
- Subscribe to my Video Tutorials – click here

