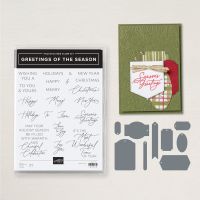
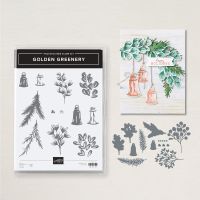
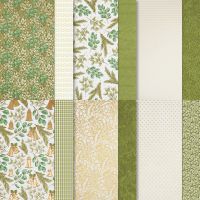
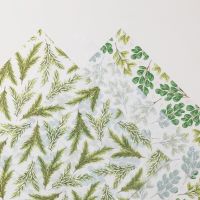
Gift tags – Greetings of the Season. The Greetings of the Season bundle is perfect for making gift tags. Combine it with pretty paper and you’re good to go. I used the Golden Greenery Photopolymer stamp set and dies as well as the coordinating Designer Series Papers – Season of Green & Gold 12″x 12″ (30.5 x 30.5 cm) and Graceful Greenery Vellum 12″ x 12″ (30.5 x 30.5 cm). Incidentally some of the images on the papers can be die cut with the dies.
Gift tags
I used the dies to cut the corresponding leaf images and bells both from the Season of Green & Gold DSP and Graceful Greenery Vellum. Those images that didn’t have a corresponding die, I fussy cut and put each design into separate cello bags so I could access them easily. Here are 4 ideas on how you can create the gift tags by layering tags together.

Top left tag
- Before you die cut the largest tag die, adhere a scrap of DSP toward the bottom of card stock.
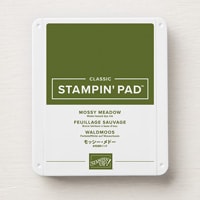
- Also adhere ⅛” (0.3 cm) strip of Mossy Meadow above DSP.
- Cut 1 largest Very Vanilla tag and stamp greeting in Mossy Meadow ink.
- Die cut 1 long tag with flag end and shorten it.
- Arrange one of the greenery and fussy cut bells and adhere with dimensionals.
- Lastly thread ribbon through the holes
Bottom left tag
- Die cut elongated hexagon tag – 1 in Very Vanilla and 1 in gold dotted DSP
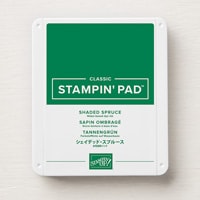
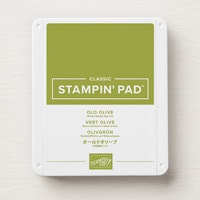
- Stamp in Shaded Spruce “Merry Christmas” on Old Olive card stock and die cut long rounded label
- Arrange die cut vellum pine leaves and fussy cut Shaded Spruce leaf and die cut bell and adhere to tag
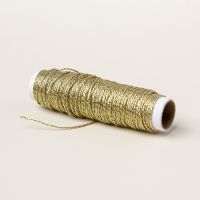
- Lastly loop twisted gold thread in half and thread through hole to secure.
Top right tag
- Die cut 2nd largest die 1 piece in gold DSP and 1 in Very Vanilla
- Arrange smaller fussy cuts sprigs of pine with bell as pictured.
- Fold twisted gold thread in half and thread through holes.
- Tie ⅛” (0.3 cm) gold ribbon in bow and attach with glue dots on top of loop to finish.
Bottom right tag
- Use the largest die to die cut a tag in DSP
- Next die cut the elongated hexagon tag in Very Vanilla
- Cut a third tag in Very Vanilla with the smallest oval shaped tag die. Use blending brushes to colour the tag in Old Olive.
- Stamp “Merry” and the tip of the leaves in first and second generation.
- Attach die cut DSP leaf with berries to Very Vanilla tag and stamp “for you” on tag in Mossy Meadow ink
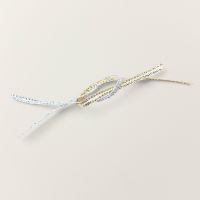
- Thread ⅛” (0.3 cm) Gold ribbon through holes and secure.
Supply list
Listed below is the supply list. Just click on the picture to take you directly to the item in my online store.
Product ListThanks for visiting. Hope you’ve been inspired to have a go at making your own. Happy Sunday – enjoy the rest of your weekend.

- SHOP ONLINE – EARN 10% REWARDS ON ALL PURCHASES OVER £20
- PURCHASE A STARTER KIT : Get £155 worth of products for only £99. Choose from current catalogues and any specials available. Free Shipping. Read more
- Subscribe to my Video Tutorials – click here

