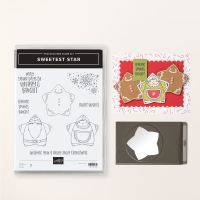
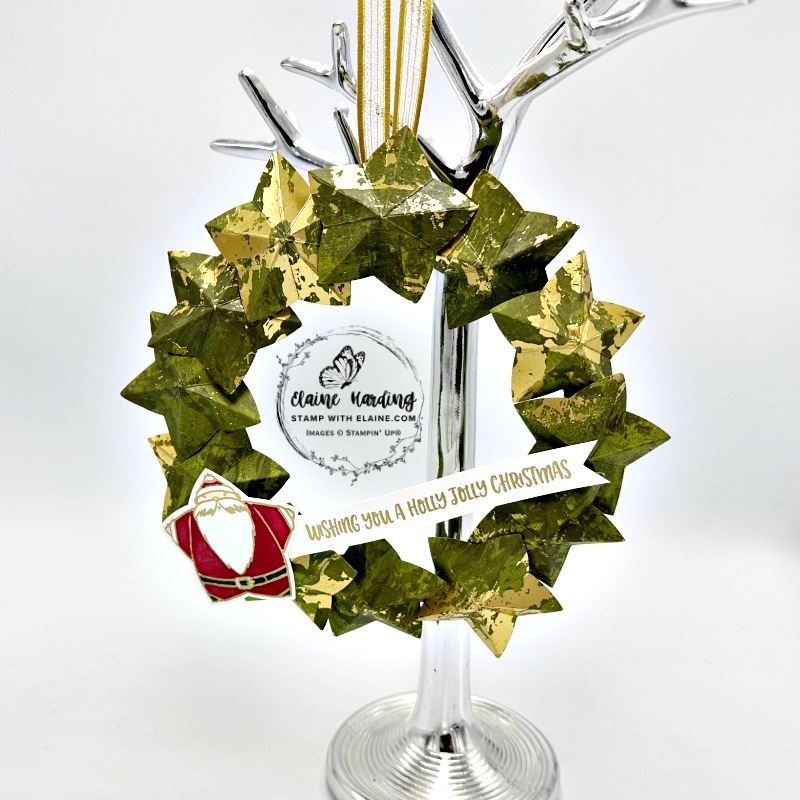
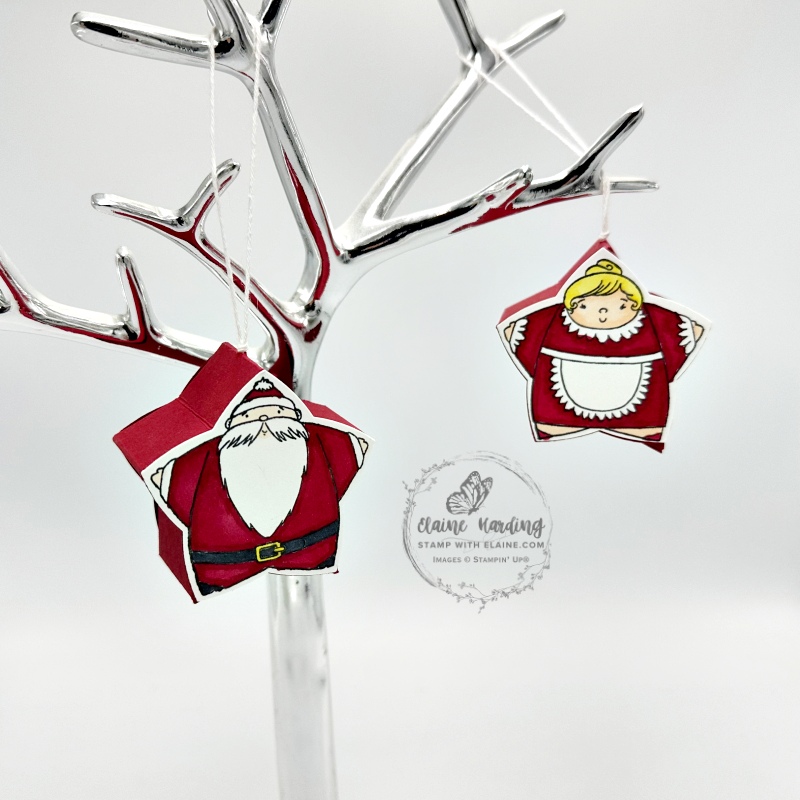
Home decor – Sweetest Star. Since I had the Sweetest Star bundle out, I carried on and tried my hand at making the wreath featured in the catalogue. I also made a couple of hanging ornaments for the tree just large enough to hold a Lindor or Ferraro Rocher in. Instructions on how to assemble Santa and Mrs Claus hanging ornament is the same. The measurements are in Imperial only.
Stars
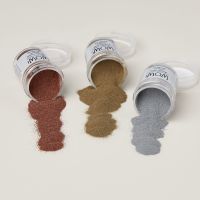
- Punch out 12 stars with the Sweetest Star punch from Season of Elegance 12″ x 12″ Specialty DSP and sort into 3 piles. One with lots of gold in it, the second with a smattering of gold, and the third with almost none.
- Score each star in between the points so that the lines intersect in the middle and fold them to create the dimensional look as pictured.
Create the Wreath Frame
I used the Deckled Circles dies which have 14 Deckled nested circle dies. The smallest being number 1 and the largest is number 14.
- Take the largest Deckled circle (no. 14) and no. 12 to create a frame. Cut four frames out of Mossy Meadow card stock.
- Adhere 3 together first, then add the ribbon for hanging wreath on the third frame before adhering the 4th frame on top.
- Apply dimensions as in a clock face at 12, 3, 6 and 9 o’clock position. Add dimensionals in between the quadrants evenly spaced at 1 & 2 , then at 4 & 5, followed by 7 & 8 and lastly at 10 & 11.
- Stack 3 more dimensionals on each position so that there are 4 dimensionals on each stack.
- Pick up 2 or 3 glue dots and roll them into a ball to adhere to the inside peak of each star before you adhere each star to each stack of dimensionals. I found that by doing this, you can position your stars more acurately when adhering them to each stack.
Attaching Santa and greeting
- Stamp Santa in Versamark and gold emboss.
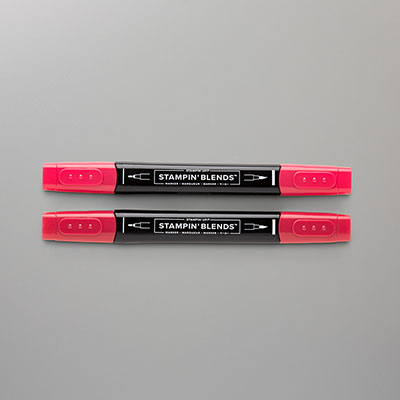
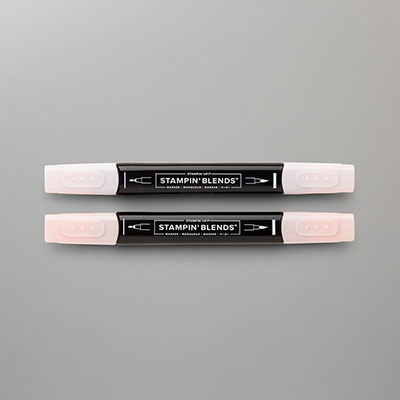
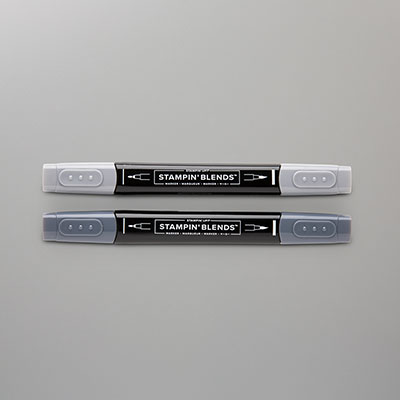
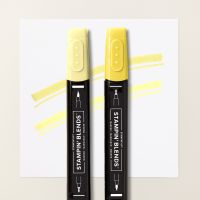
- Colour Santa’s suit with Real Red, the belt and shoes with Basic Black and his face and hands with Petal Pink Stampin’ Blends combo.
- Postion Santa on wreath where you’d like it and apply wet adhesive on the ridges of the star where it comes into contact with Santa. Place Santa on top of the ridges and allow it to bond properly before proceeding with next step.
- In the meantime, prepare the greeting by stamping and gold emboss it. Remember to allow a generous leading edge on the left in order to adhere it to the underside of Santa. Here’s a Tip : Ensure you have a long enough tail at the end of the greeting to span across the wreath so that you can adhere the greeting to one of the stars at the opposite end of the wreath.
- Use the scissors and eyeball the centre and cut ½” (1.5 cm) in, then cut from either side toward the centre at an angle to create tail.
- Run a bone folder along the greeting strip to create a slight wave and adhere to wreath as described in step 4.
Santa & Mrs Claus Hanging Tree ornaments for chocolate
Box lid
- Punch 1 star in Real Red.
- Side panel : Real Red cut at 7 ¾” x 1 ½”. Short side on top, score at 1 ¼”. Rotate c/s so that long side with the narrow score line is at the top. Score every 3/4″ interval at ¾”, 1 ½”, 2 ¼”, 3”, 3 ¾”, 4 ½”, 5 ¼”, 6”, 6 ¾”, 7 ½”.
- Burnish the score lines and fold it in a concertina shape. Next on the narrow score line, cut an inverted “V” at each score line.
- Apply adhesive to side tab and join the two ends together.
- Next apply adhesive to the tabs at the bottom. Carefully position the tabs on punched star. Ensure the points meet and stays within the star shape so that it cannot be seen from the other side. This is fiddly because it requires patience.
Stamped images
- Stamp Santa and Mrs Claus in Tuxedo Black Memento ink on Basic White card stock.
- Punch them out.
- Colour the images as pictured and adhere on top of the Real Red box lid ensuring that they are perfectly aligned.
Inserting Baker’s Twine for hanging ornament
- Establish where the top of the box is. The joining seam should be at the bottom. Use a piercing tool to poke a hole at the top.
- Loop Bakers Twine through eye of Tapestry needle, or threading tool, and pull Bakers Twine through.
- Tie a double knot at the loose ends underneath the lid and a second double knot on top to prevent the Baker’s twine from pulling through.
- Ensure the double knot is butted up to the hole on the underside of lid before tying a third knot on top of the lid to secure Baker’s Twine so that it can be hung.
Bottom Box
- Punch 1 Real Red star.
- Side panel : Real Red card stock 5 ⅞” x 1 ½”. Short side on top, score at 1 ¼”.
- Rotate card stock so long side with narrow score line is at the top and score at 1 ⅛”, 2 ¼”, 3 ⅜”, 4 ½”, 5 ⅝”.
- Burnish the score lines and fold in same direction to form a hexagon shape.
- On the narrow score line, cut an inverted “V” at each score line.
- Join the two ends together with adhesive applied on the tab.
- Establish where the bottom of the box is (where the seam is) and adhere strip to star. Allow it to bond. The lid should fit on top.
Supply list
Listed below is the supply list. Just click on the picture to take you directly to the item in my online store.
Product ListI hope you’ve been inspired by today’s projects. Enjoy your weekend!

- SHOP ONLINE – EARN 10% REWARDS ON ALL PURCHASES OVER £20
- PURCHASE A STARTER KIT : Get £155 worth of products for only £99. Choose from current catalogues and any specials available. Free Shipping. Read more
- Subscribe to my Video Tutorials – click here

