
Cards for kids – Tech 4 Stampers Blog Hop. Happy New Year! I hope you all had a lovely festive break now back to reality! January’s theme is a card for kids so I’m welcoming the opportunity to get ahead with some birthday cards for my little nephews this month, although their birthdays aren’t until March and April. I hope I remember where I put them when the time comes to posting them!
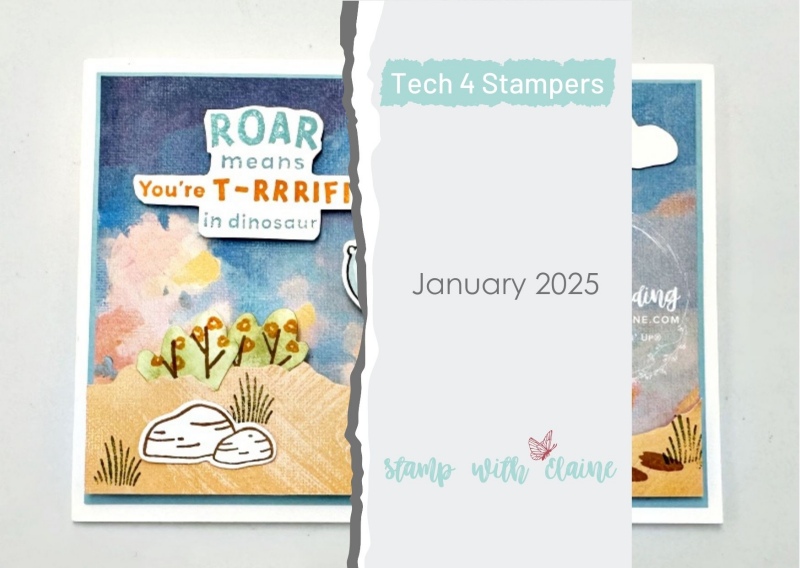
Welcome to January’s Tech 4 Stampers blog hop!

The Build & Bloom Stampers Blog hop (formerly Tech 4 Stampers)is a monthly subscription group run by Louise Sims. She mentors and enables members to understand IT jargon and equips them with a fountain of Technical knowledge to build or manage their own websites. It takes the mystery out of “tech” and I’ve certainly grown in confidence thanks to her expertise, patience and guidance. Not only that, I’ve met and made new friends with my fellow “Techs” and love the camaraderie within the group.
Darling Dinos Bundle card cutting guide
This is simple card, just a standard size with decreasing measurements for each mat layer.
- Standard card base landscape Orientation at 4 ⅛” x 11 ½” (10.5 cm x 29 cm) folded in half.
- Cut 2 Balmy Blue layers 5 ½” x 3 ⅞” (14 cm x 9.8 cm) – one for the card front, and the other for the inside of the card.
- Everyday Skies 6″x 6″ (15.2 x 15.2 cm) DSP : cut at 3 ⅞” x 5 ⅜” (9.8 cm x 13.7 cm).
- From the remnant use the reverse side and die cut with the Storybook Garden Patch ground die. It has apertures which you can tuck other die cut pieces into it as pictured above.
- Stamp the stems in Pecan Pie and the flowers in Pumpkin Pie and die cut the floral elements. Colour the background with a light colouring of Garden Green with a blending brush.
- From Basic White card stock, die cut 2 clouds and using the same die, die cut the boulders which were stamped in Pecan Pie.
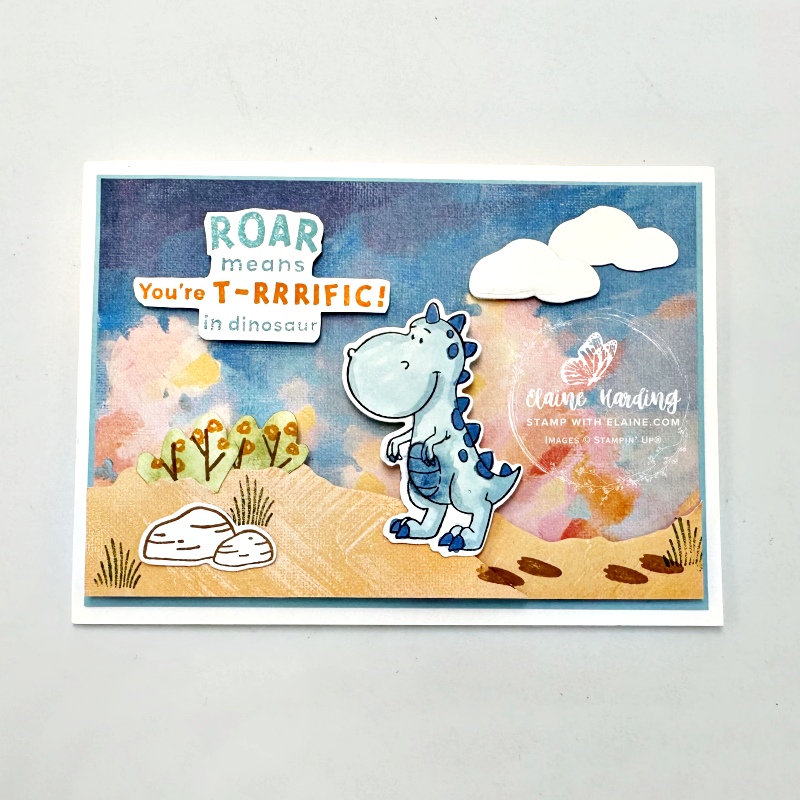
Assembling card front
- Adhere the Balmy Blue mat layer to card front.
- Next adhere the Everyday Skies DSP on top.
- Apply single stack of dimensionals on right side of ground DSP piece.
- Use a double stack of dimensionals on the left side overlapping the right.
- Stamp dinosaur foot prints as pictured.
- Use Garden Green to stamp grass on left and trim and tuck the stamped/die cut floral pieces through the slots.
- On a scrap piece of Basic White, stamp and colour in the dinosaur with Stampin’ Blends combo in Balmy Blue, light Misty Moonlight, die cut and adhere with dimensionals to card front.
- Stamp and fussy cut sentiment in Balmy Blue and Pumpkin Pie.
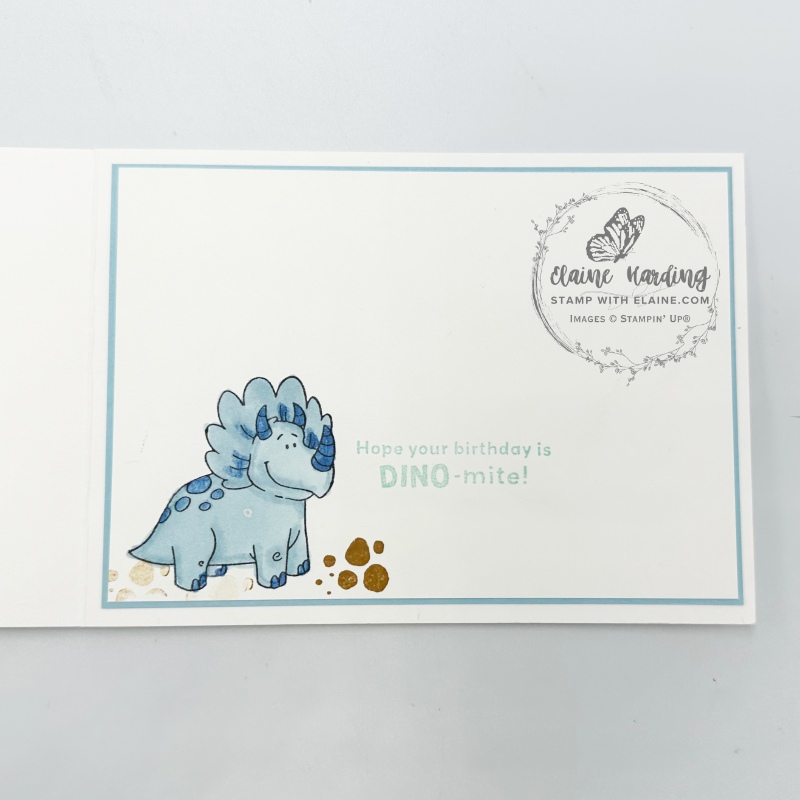
Inside card
- Adhere Balmy Blue piece to inside card.
- Cut Basic White piece 3 ¾” x 5 ¼” (9.5 cm x 13.3 cm)
- Stamp as shown and colour in with stampin’ blends to complete card.
Supply list
Listed below is the supply list. Just click on the picture to take you directly to the item in my online store.
Product List")

 Designer Series Paper")


Thanks for visiting. I would love to know what you think of my project and would appreciate it if you could leave a comment. To visit the next person on the list and see their fabulous creations, simply click on the link below or before my name depending who you visited initially. Happy hopping!

- SHOP ONLINE – EARN 10% REWARDS ON ALL PURCHASES OVER £20
- PURCHASE A STARTER KIT : Get £155 worth of products for only £99. Choose from current catalogues and any specials available. Free Shipping. Read more
- Subscribe to my Video Tutorials – click here
This is so cute! Love your use of the dsp.
I didn’t get this set but it is so cute! Lovely card