
Blending with Masks. There is a new online exclusive which was released on 4 March called Thankful Garden Decorative Masks and it is part of the Thankful Garden Bundle. The Bundle not only includes the stamps and dies, but it also includes the Decorative Masks.
Mothering Sunday card and new Online Exclusives
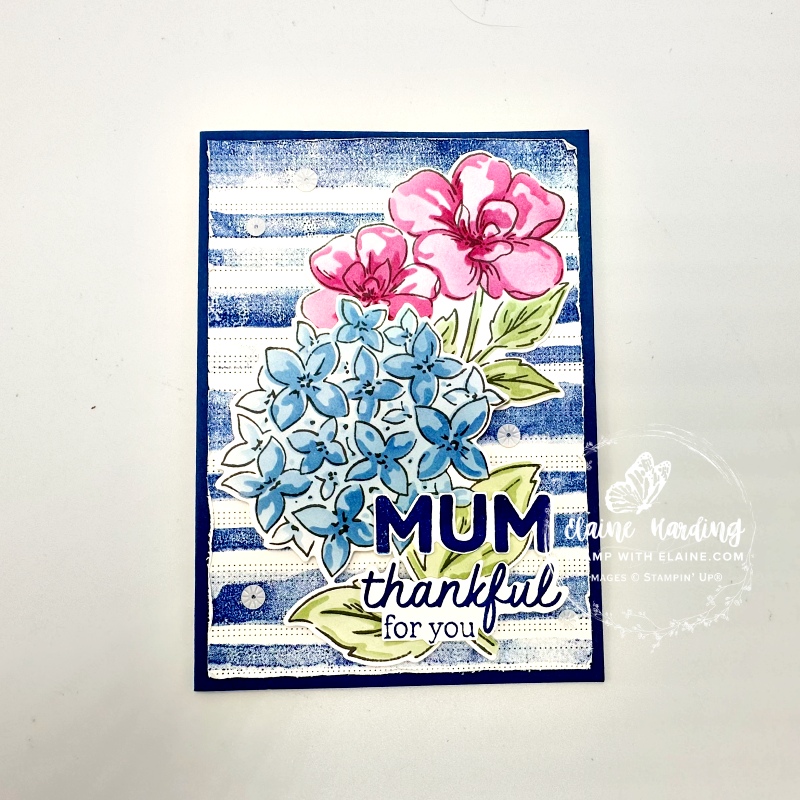
I wanted to make a card for Mothering Sunday so I used another stamp set called “She’s the Greatest” which is also an online exclusive to make a card for Mother’s Day.
The other stamp I used is a red rubber background stamp called “Painted Stripes” which fits on an F block. It measures 4 ⅞” x 6″ (12.4 x 15.2 cm) and because of its size, it’s easier to take paper to block and rub your hand over it rather than block to paper. By the way, I stamped off by rubbing a scrap of copy paper over the stamp before placing my card stock on top for the second generation inking.
To add texture I used the Pattern of Friendship Die which is a single die which has a subtle dot pattern on it ideal for a background. There is also a stamp set which co-ordinates with the die which can be bought as a bundle to save 10%.
Thankful Garden Decorative Masks

There are 5 masks in the set numbered 1 to 5 and there is a “v” shaped notch in the top left corner for easy alignment. Each mask, or stencil has apertures cut for different parts of the floral images so that you can apply colour with a blending brush. The masks allows you to provide shading as some areas overlap.
I have only used one shade of ink, and you can see how the masks incorporates the shading on the flowers and leaves for a 3D effect.
Tip: Use a larger piece of card stock than you need. I used half A4 sheet and blended both flowers at the same time then you can die cut them afterwards.
Cutting guide
- Blueberry Bushel card base : 8 ¼” x 5 ¾” (21 cm x 14.5 cm) folded in half.
- Mat layer card front and inside : Cut 2 pieces Basic White 3 ⅞” x 5 ½” (9.8 cm x 14 cm)
- Half A4 sheet for blending flowers and stamping sentiments.
How to make card
- Second generation stamping with Blueberry Bushel on Basic White card front with Painted Stripes stamp.
- Place card stock stamped side face down on Pattern of Friendship die and run through die cutting machine.
- Distress the edges with edge of scissors and adhere to card front.
Blending
- Take the half A4 sheet and secure it to work surface with low tack tape.
- Place mask over card stock and mark the 4 corners including the notch for reference so that you can easily align subsequent masks.
- Use blending brushes to apply colour in Blueberry Bushel, Melon Mambo and Garden Green for the flowers and leaves on each layer of mask.
- Die cut flowers with Thankful Garden dies.
- Adhere Melon Mambo flower with glue dots. Apply dimensionals on the back of the Blueberry Bushel flower and adhere to card front as pictured.
- Use the Starburst sequins to embellish card front. Odd numbers work best – I used 5 on mine.
Sentiments and inside card
- Stamp MUM from “She’s the Greatest” with Blueberry Bushel ink on scrap of Basic White and fussy cut.
- Next stamp Thankful for you with Blueberry Bushel ink on scrap of Basic White and fussy cut.
- Adhere with glue dots where greetings overlap hydrangea flower and dimensionals where it does not.
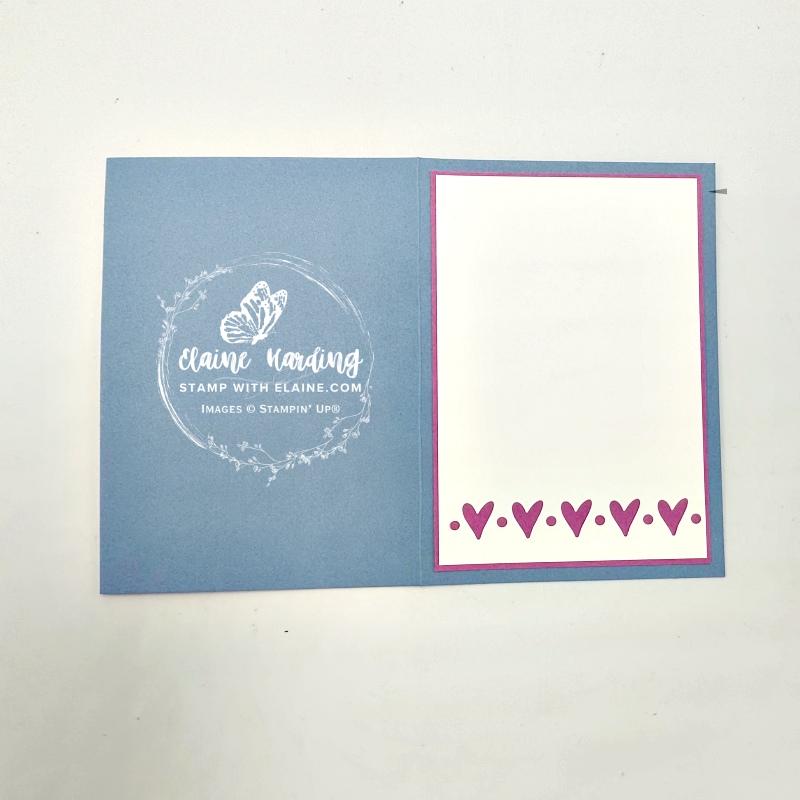
- Cut a strip of Lovely Garden 12″x 12″ (30.5 x 30.5 cm) ¾” x 3 ⅞” (2 cm x 9.8 cm) and adhere to inside Basic White mat layer.
- Adhere mat layer to inside card base.
Supply list
Listed below is the supply list. Just click on the picture to take you directly to the item in my online store.
Product List")

")


")


Thanks for visiting.

- SHOP ONLINE – EARN 10% REWARDS ON ALL PURCHASES OVER £20
- PURCHASE A STARTER KIT : Get £155 worth of products for only £99. Choose from current catalogues and any specials available. Free Shipping. Read more
- Subscribe to my Video Tutorials – click here