
Fun Triple Diamond Step card. This card was inspired by my lovely upline, Amanda Fowler. I am using the beautiful Storybook Moments 12″x 12″ (30.5 x 30.5 cm) Designer Series Papers to make the card. As Mother’s day is on 30 March in the UK, I made a Mother’s Day card. There is very little stamping – just the sentiment from Flower Cart stamp set “Happy Mother’s Day”.
The Storybook Moments papers is very popular and at time of writing, the inventory for this paper was low. There are 12 sheets in the pack, 2 each of 5 double sided designs and 2 sheets of 1 single sided die-cut designs.
Fun Triple Diamond Step Card
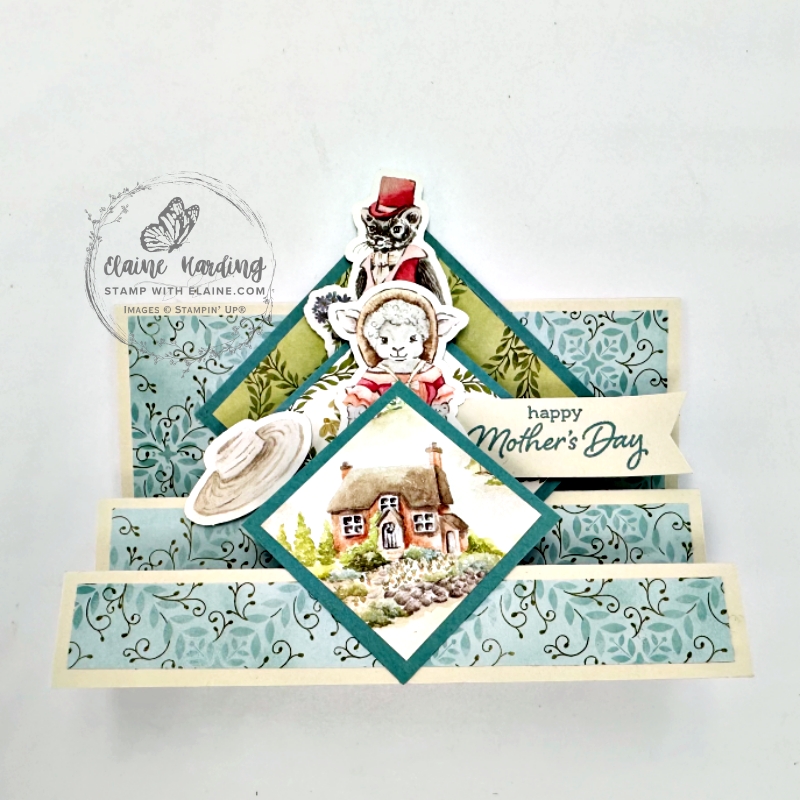
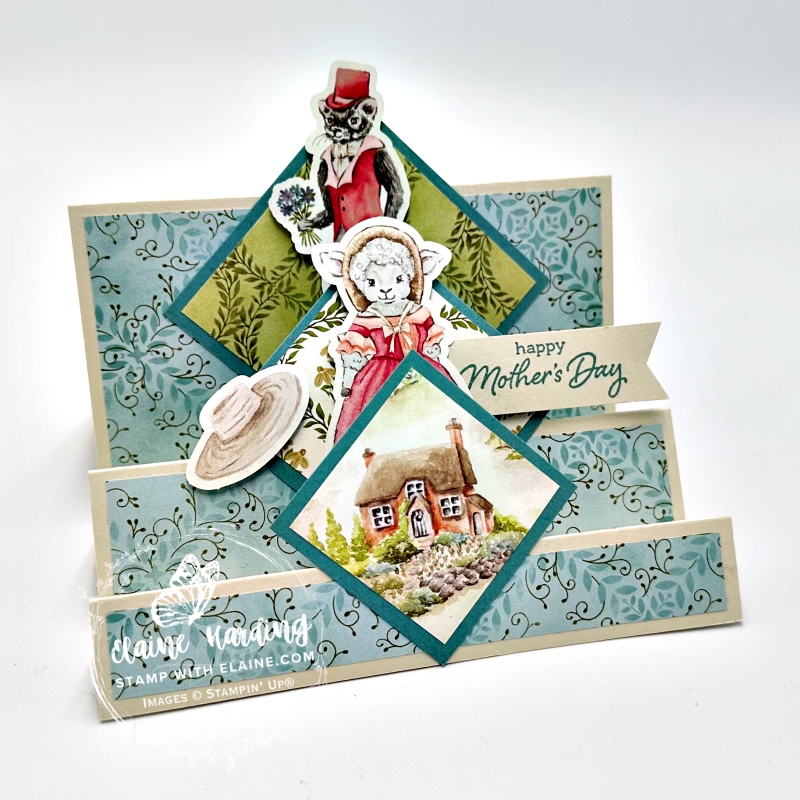
The card can fit into a regular C6 envelop and will fold flat. With so many layers, it can be bulky to post. In the picture on the right it is upright for display purposes. Be aware of the orientation of your papers.
Tip: Due to the diamond orientation of the square, the easiest way to cut the DSP is to place the square over the image you want to cut. Trace round the square on the DSP and fussy cut. Then cut ⅛” (0.3 cm) off all 4 sides to create the DSP mat layer.

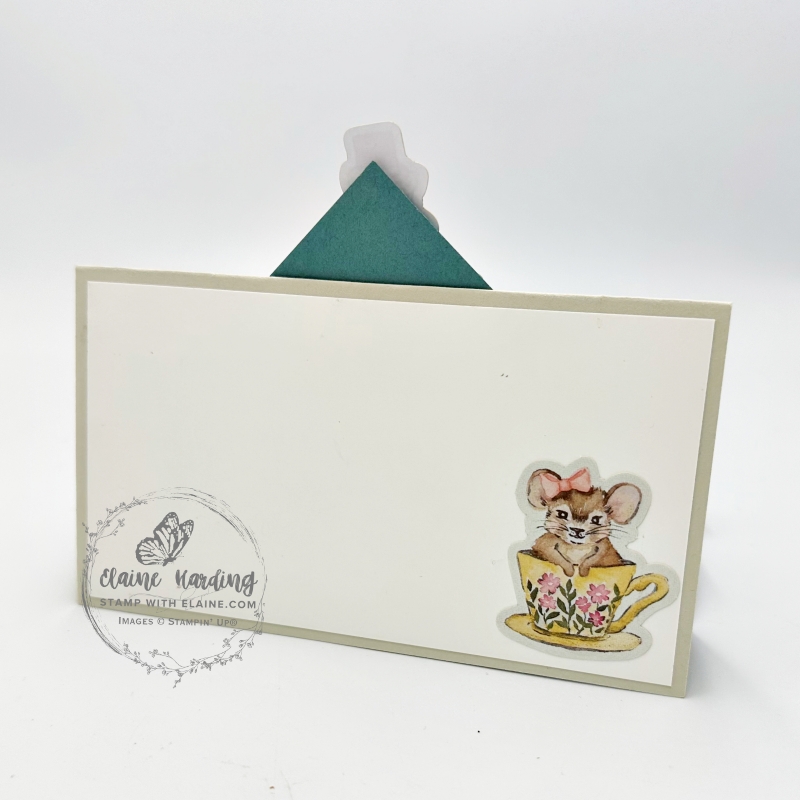
Here’s a side view of the card. A Basic White mat layer was adhered to the back of the card for addressing the recipient.
Cutting guide
Imperial
- Card base : Basic Beige 5 ¾” x 11 ½”. On the long side score at 1″, 2″, 3 ½”, 5″ and 8 ¼”.
- Lost Lagoon : cut 1 x 3″x 3″ square, 1 x 2 ½”x 2 ½” and 1 x 2″x 2″ square.
- Steps Mat layers : DSP 1 x 5 ½” x ¾”, 1 x 5 ½” x 1 ¼” and 1 x 5 ½” x 3″
- Square Mat Layers : DSP 1 x 1 ¾” x 1 ¾”, 1 x 2 ¼” x 2 ¼” and 1 x 2 ¾” x 2 ¾”
- Back of card : Basic White 5 ½” x 3″
Metric
- Card base : Basic Beige 14.5 cm x 29 cm. On the long side score at 2.5 cm, 5 cm, 9 cm, 13 cm, 21 cm
- Lost Lagoon : cut 1 x 7.5 cm x 7.5 cm square, 1 x 6 cm x 6 cm square, and 1 x 5 cm x 5 cm square.
- Steps Mat layers : DSP 1 x 14 cm x 2 cm, 1 x 14 cm x 3.5 cm, and 1 x 14 cm x 7.5 cm
- Square Mat Layers : DSP 1 x 4.5 cm x 4.5 cm, 1 x 6 cm x 6 cm, and 1 x 7 cm x 7 cm.
- Back of card : Basic White 14 cm x 7.5 cm
Mark the centre of some steps
In the pictures, I’ve measured it with a ruler however, in the instructions, I used a score board therefore folding the card stock along the 2″ and 5″ score line on a scoreboard to mark the centre is easier. The reason for marking the centre on these score lines is so that you can use the marks as a guide to adhere your diamonds (squares).
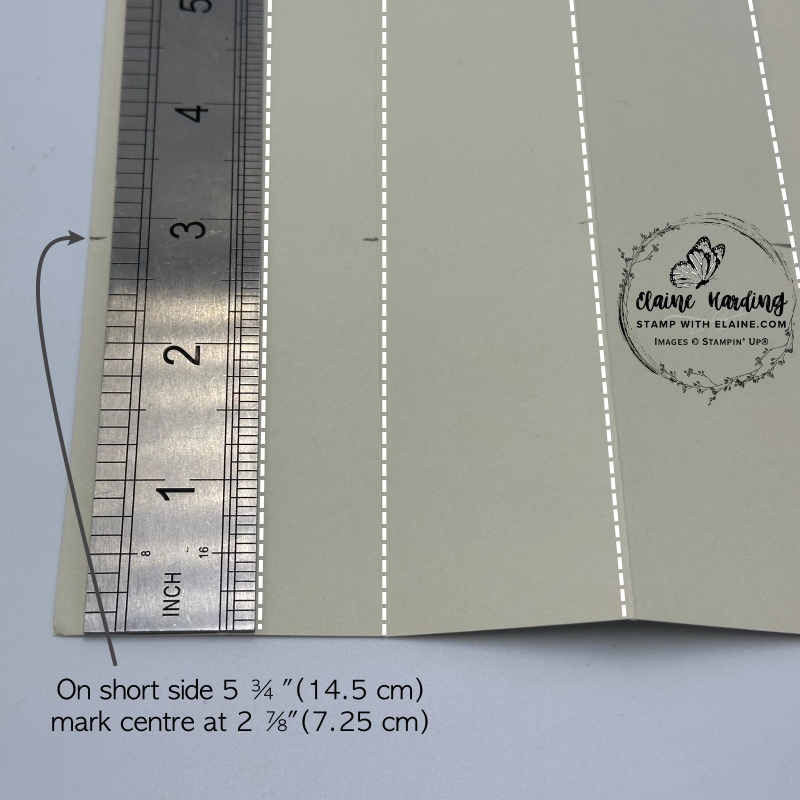

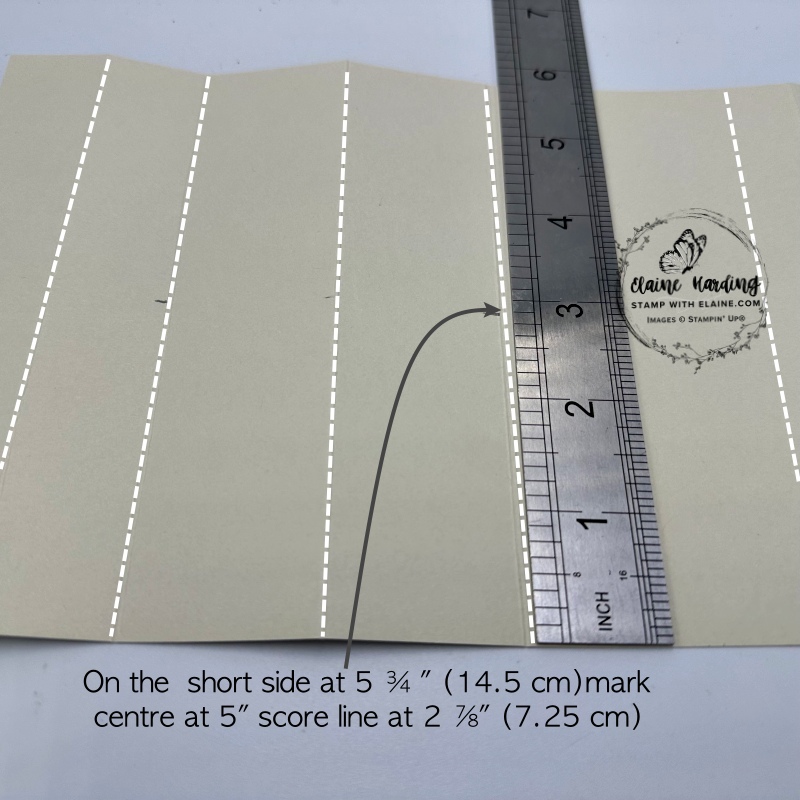
- On the short side, fold on the 1″ (2.5 cm) score line and mark 2 ⅞” (7.25 cm)
- Next fold on the 2″ (5 cm) score line and mark 2 ⅞” (7.25 cm)
- Finally fold on 5″ (13 cm) score line and mark 2 ⅞” (7.25 cm)
Assembly instructions
- Adhere the DSP layers on the steps first leaving an even border on all 4 sides.
- Next adhere the Basic White piece to the back of the card.
- Glue the DSP layers for the squares leaving an even border on all 4 sides.
- Select the die cuts from the Storybook Moments 12″x 12″ (30.5 x 30.5 cm) DSP and adhere to the respective squares with dimensionals.
- Put adhesive at the bottom tip of 2″x 2″ (5 x 5 cm) square, align on the centre mark and adhere to first step as pictured.
- Repeat for the other two squares. By aligning and adhering at the centre marks of each step, they should stack and look like the picture above.
- Finally add die cut piece to back of card to finish.
Supply list
Listed below is the supply list. Just click on the picture to take you directly to the item in my online store.
Product List")
")
 Specialty Designer Series Paper")


- SHOP ONLINE – EARN 10% REWARDS ON ALL PURCHASES OVER £20
- PURCHASE A STARTER KIT : Get £155 worth of products for only £99. Choose from current catalogues and any specials available. Free Shipping. Read more
- Subscribe to my Video Tutorials – click here