
Trifold card – Everyday Arches. Everyday Arches is an online exclusive and it’s been such a useful set because of its versatility. In the most obvious way, it can be used to “frame” because the dies are nested and I’ve even used it to make a treat box in a previous post which you can see HERE. Today I’m using it to make a trifold card.
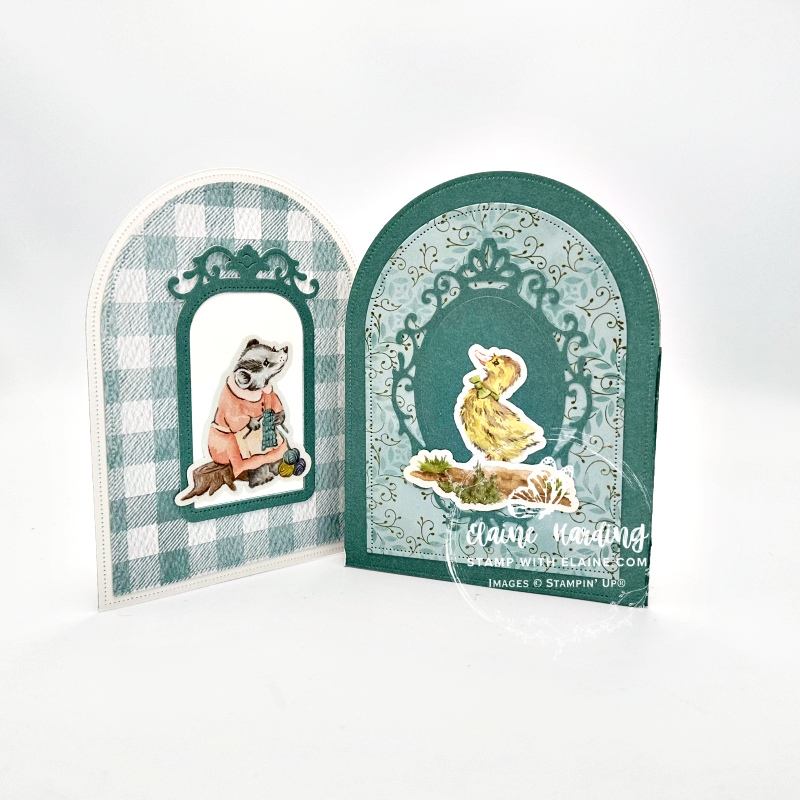
Here is the card closed and the reveal when you open the first panel.
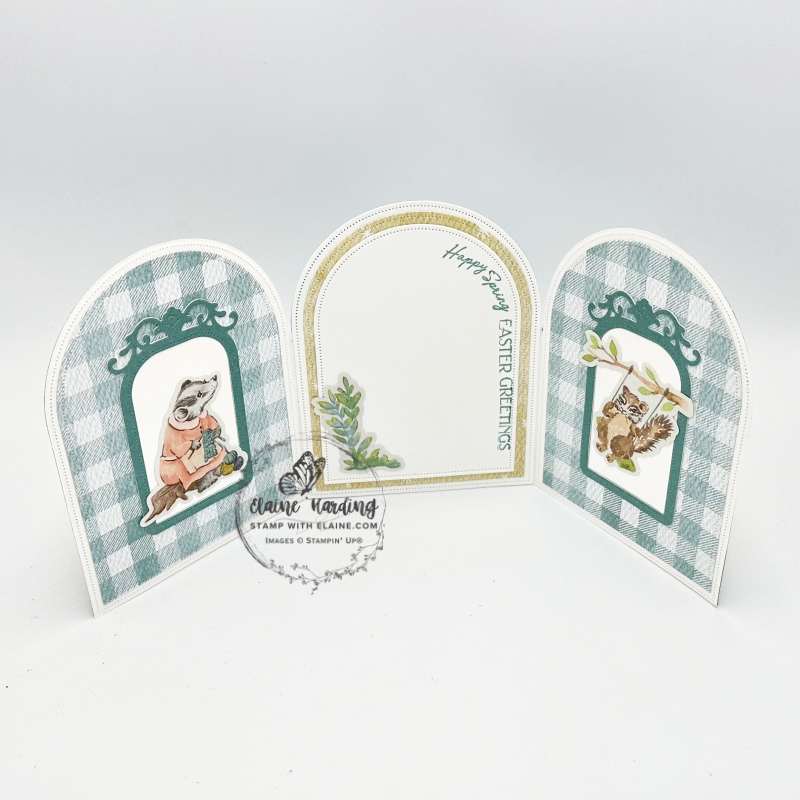
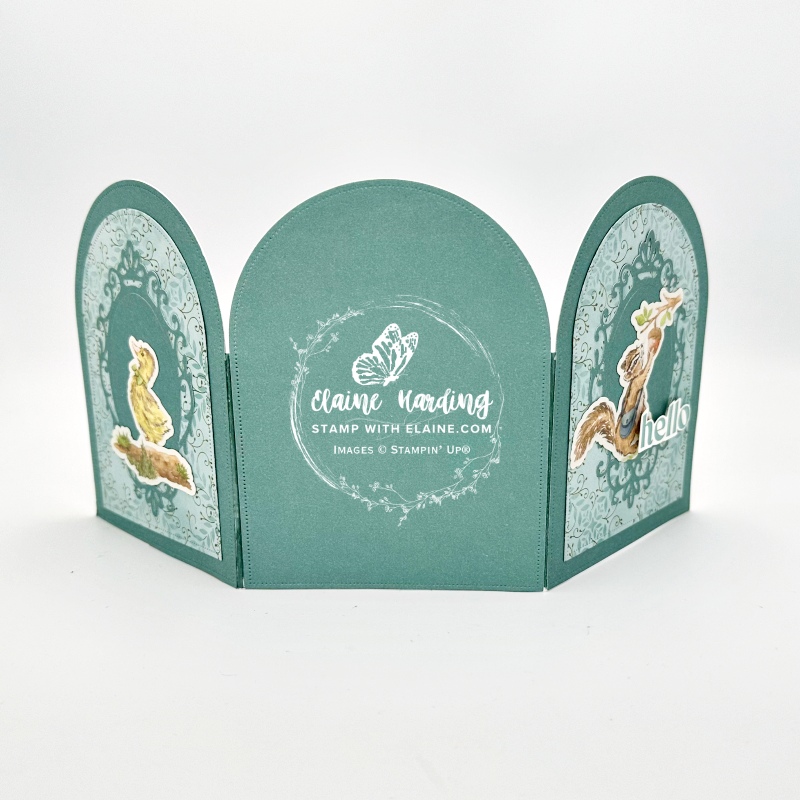
This is the card inside fully open. In the picture on the right, the reverse side is actually the front of the card where the “hello” greeting is.
How to construct the trifold card
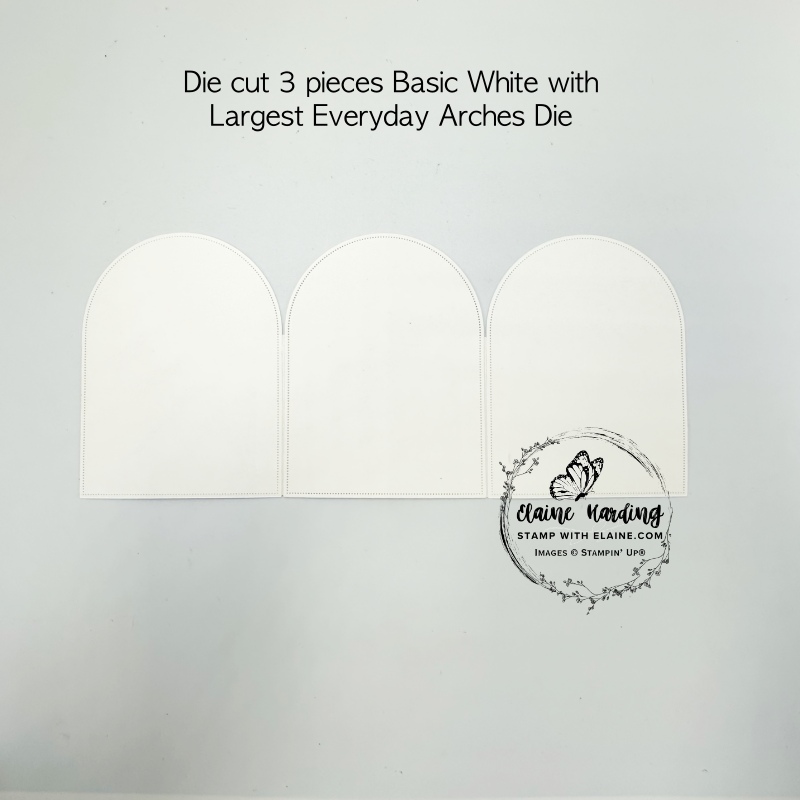
- Die cut 3 Basic White arches with largest Everyday Arches Die
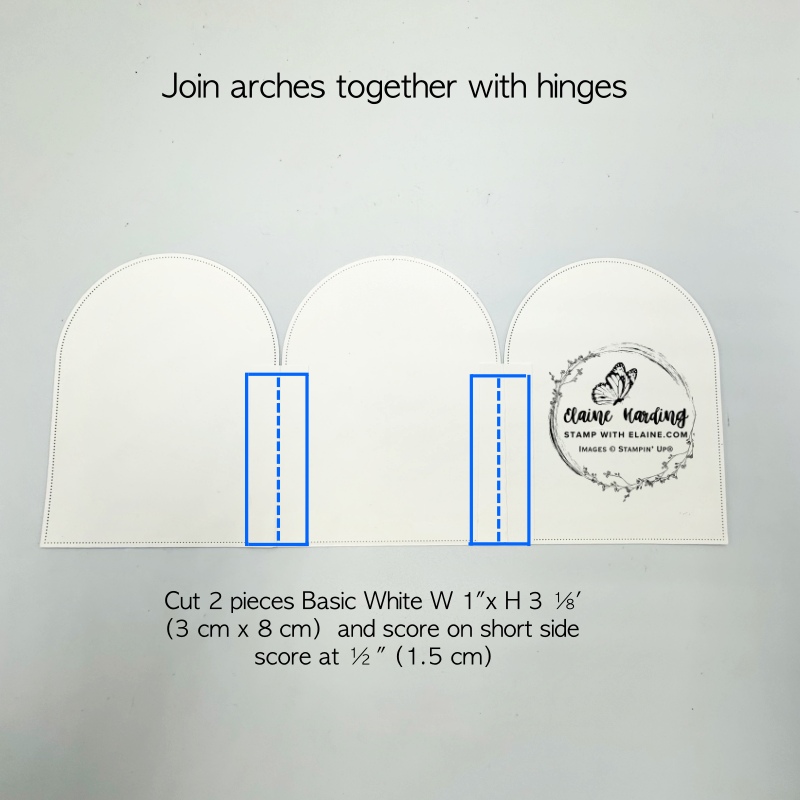
- Hinges – cut 2 pieces Basic White card stock 1″ x 3 ⅛” (3 cm x 8 cm), short side score at ½” (1.5 cm)
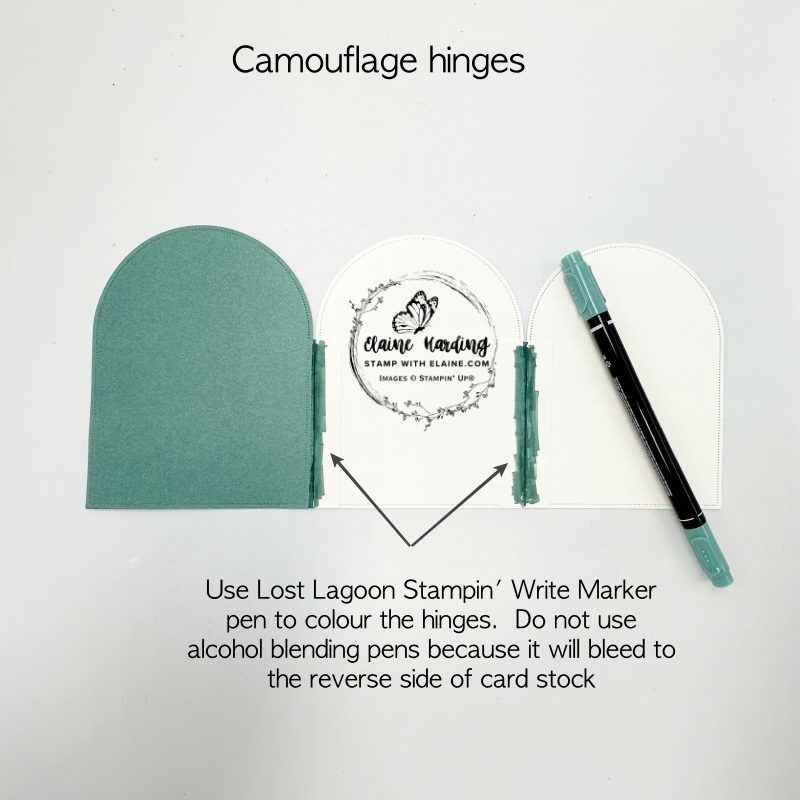
- Before you adhere the Lost Lagoon two-tone die cut arches, colour the hinges with a Lost Lagoon Stampin’ Write Marker. Do not use Stampin’ Blends because the alcohol will bleed through.

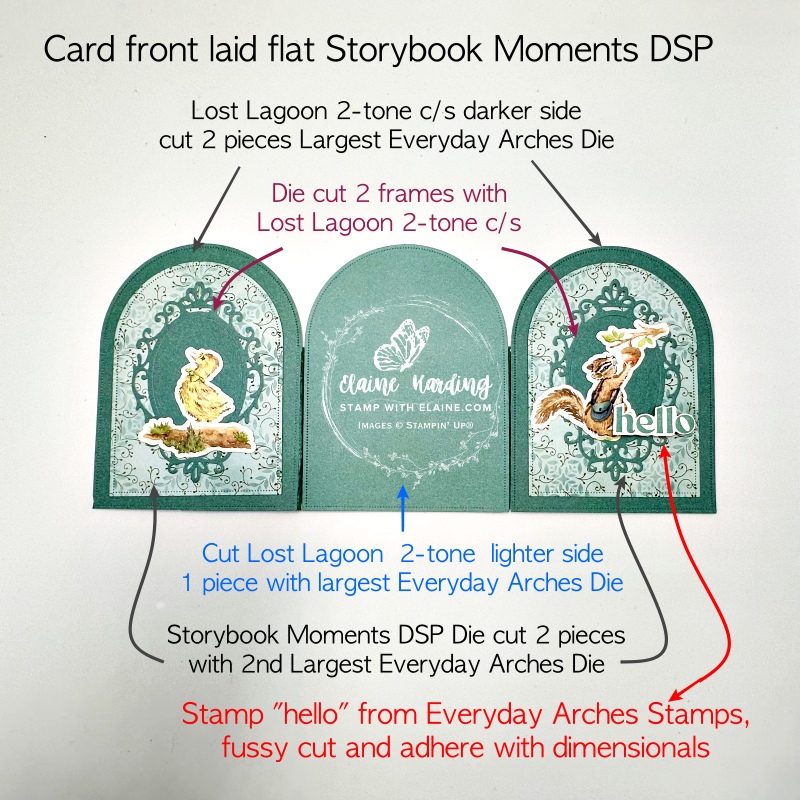
Refer to picture above for how to decorate the inside panels. Adhere DSP first, followed by the frames. Stamp the greeting by masking the stamp to follow the curvature of the arch. Adhere selection of pop-out images from the Storybook Moments DSP.
Adhering the end panels
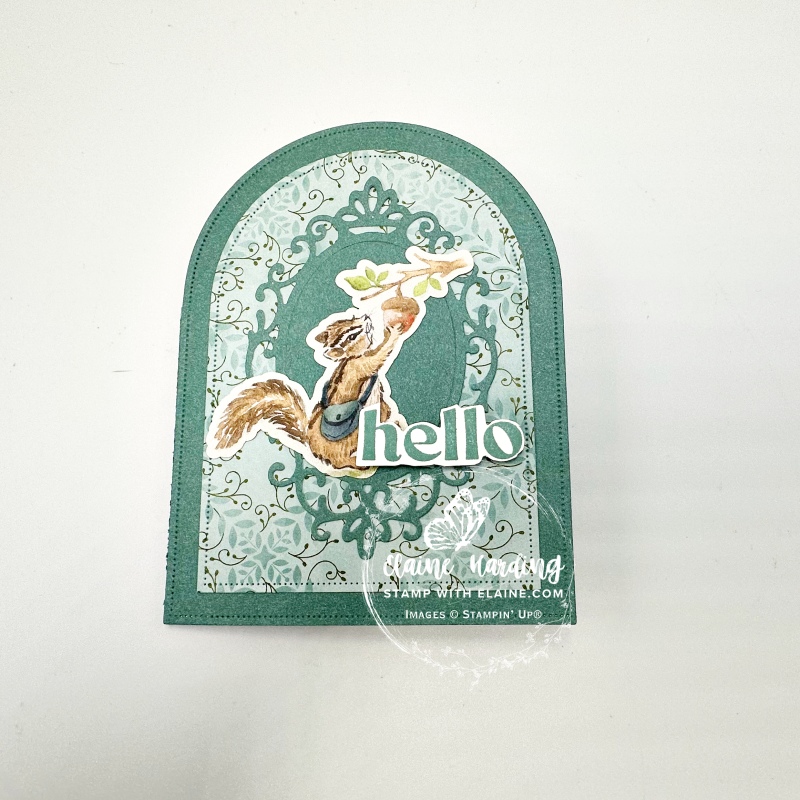
The picture is self-explanatory. Adhere the two darker tones of Lost Lagoon two-tone card stock to the two outside panels and the lighter shade in the middle. Cut and adhere two pieces of Storybook Moments DSP with the 2nd Largest Everyday Arches die and adhere as shown.
Choose a different frame and cut them out with the Lost Lagoon two-tone card stock and adhere to outside panels. Select your desired pop-out images and adhere on top of respective frames.
Stamp the sentiment, fussy cut and adhere to the right end panel because when closed, this will be the front of the card.
Constructing the trifold this way means that the arch will retain its symmetry. I tried folding the card stock and positioning the die so it wouldn’t cut all the way through and just wasn’t happy with the result. I hope you’ll agree that by doing it this way, it is more pleasing to the eye!
Supply list
Listed below is the supply list. Just click on the picture to take you directly to the item in my online store.
Product List  Lost Lagoon Classic Stampin’ Pad [133644] |
")

")
")

")
 Designer Series Paper")
 Specialty Designer Series Paper")
 Two Tone Cardstock")


- SHOP ONLINE – EARN 10% REWARDS ON ALL PURCHASES OVER £20
- PURCHASE A STARTER KIT : Get £155 worth of products for only £99. Choose from current catalogues and any specials available. Free Shipping. Read more
- Subscribe to my Video Tutorials – click here