
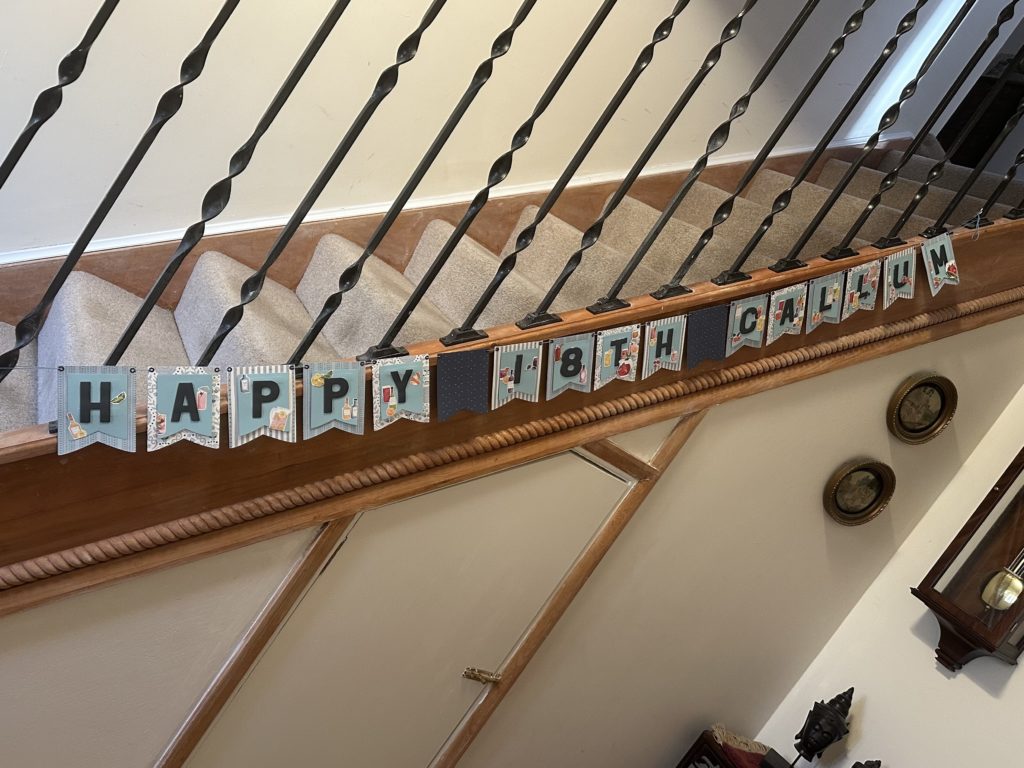
Create a Birthday Banner. My middle grandson turned 18 recently, so I created a birthday banner with the new Party Dies bundle. The dies in this bundle are supersized! Great for scrapbooking. One set is is called the Party Alphabet dies, and the other is called Party Banner dies and can be found in the Bundle section in the new May 25- April 26 Annual Catalogue on page 86.
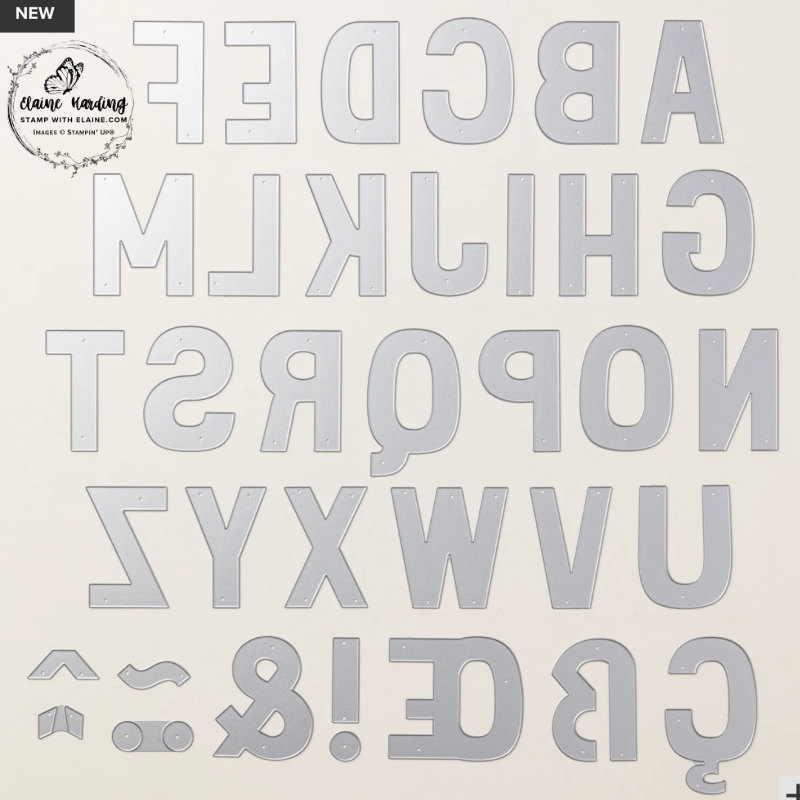
Party Alphabet dies
The Party Alphabet Dies includes all the letters from A to Z and diacritic symbols for French, German and Spanish. There are 35 dies in all and the largest die measures 2-15/16″ x 1-11/16″ (7.5 x 4.3 cm).
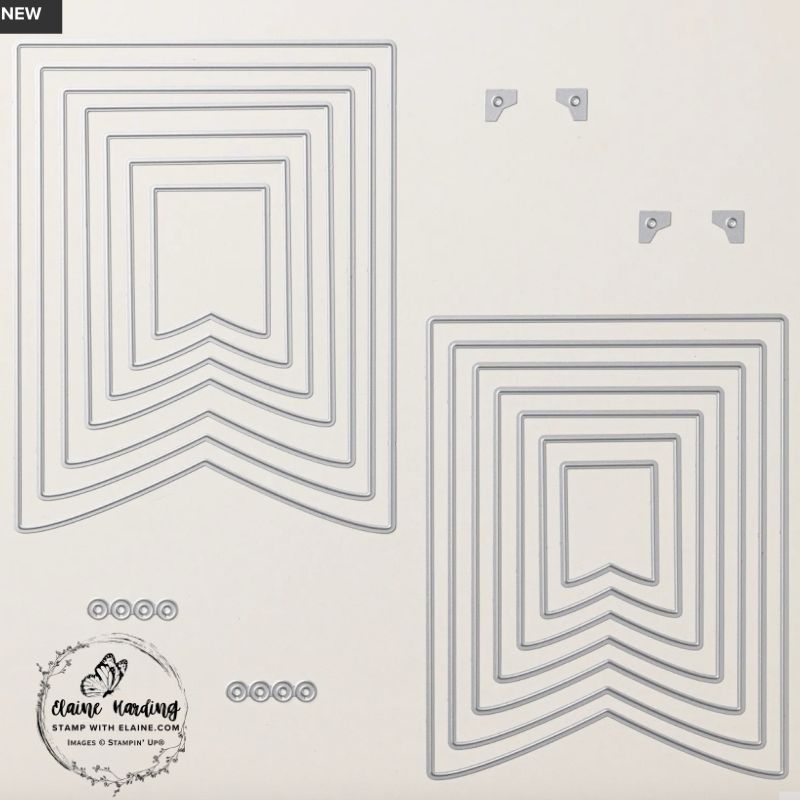
Party Banner Dies
This set consists of 14 nested banner dies, one being the smallest and number 14 being the largest. There are 20 dies altogether with 4 corner dies to cut the holes in the banner and 2 dies to cut the re-enforcement hole elements. The largest die banner die measures 7″ x 5-3/8″ (17.8 x 13.7 cm).
I used number 6 to die cut the Balmy Blue banners and number 9 banner die to cut Countryside Inn 12″x 12″ (30..5 x 30.5 cm) DSP. The number 9 die is just under 4″ (10.2 cm) in width and approximately 5″ in height. I could get 6 pieces out of 12″ x 12″ (30.5 x 30.5 cm) sheet which was the most economical way to cut up the DSP.
The larger banner is die cut from the Countryside Inn 12″ x 12″ (30.5 x 30.5 cm) Designer Series Paper which is currently on the Last Chance List so it’s only available while stocks last.
In addition to the banners, there are dies to die cut the holes in the banners and hole reinforcers too. Paper tears easily so if you’re hanging the banner, it’s a useful addition to have.
If you’re wondering how I created the number 8, I traced the curved side of the “B” letter and flipped it over to the other side and traced the mirror image of it before fussy cutting it.
Celebratory Sips 12″ x 12″ (30.5 cm x 30.5 cm) DSP
The images are all of different types of drink and different coloured bottles of drink. I fussy cut the images from one of the DSP sheets to decorate the Balmy Blue banners as shown in the picture below,
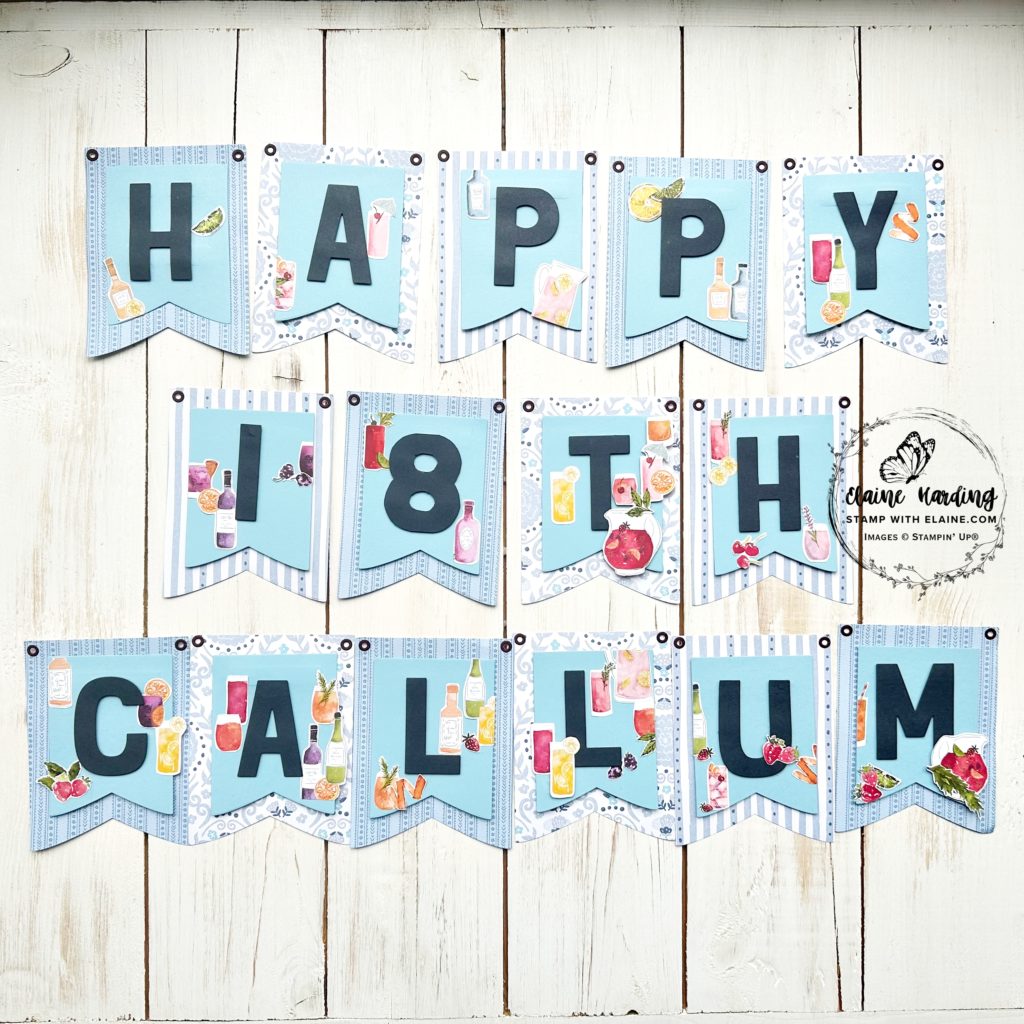
This is what it looks like hung up.
Paper Tags Bundle – Online exclusive
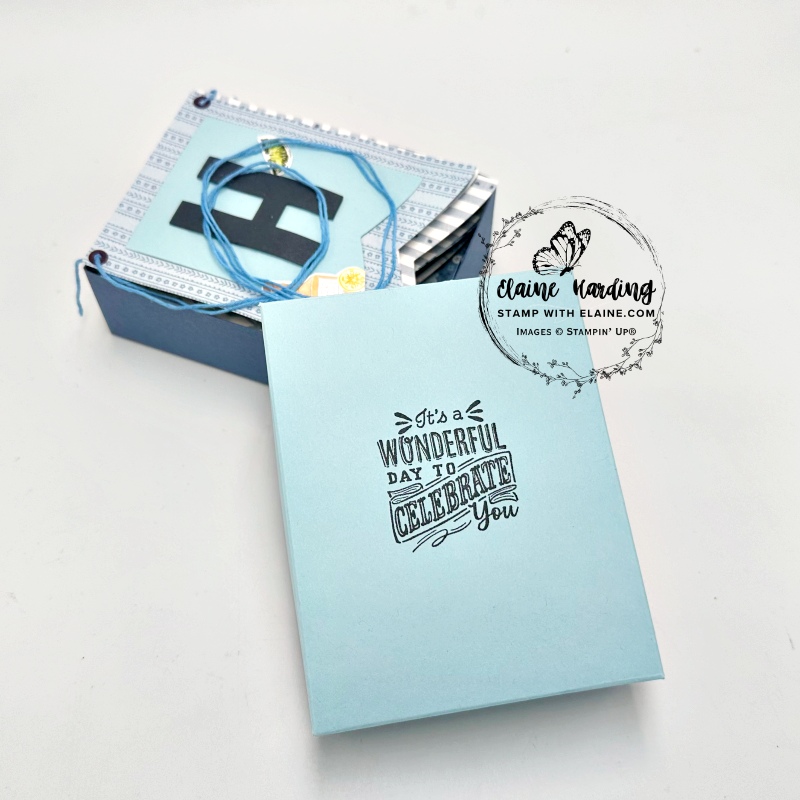
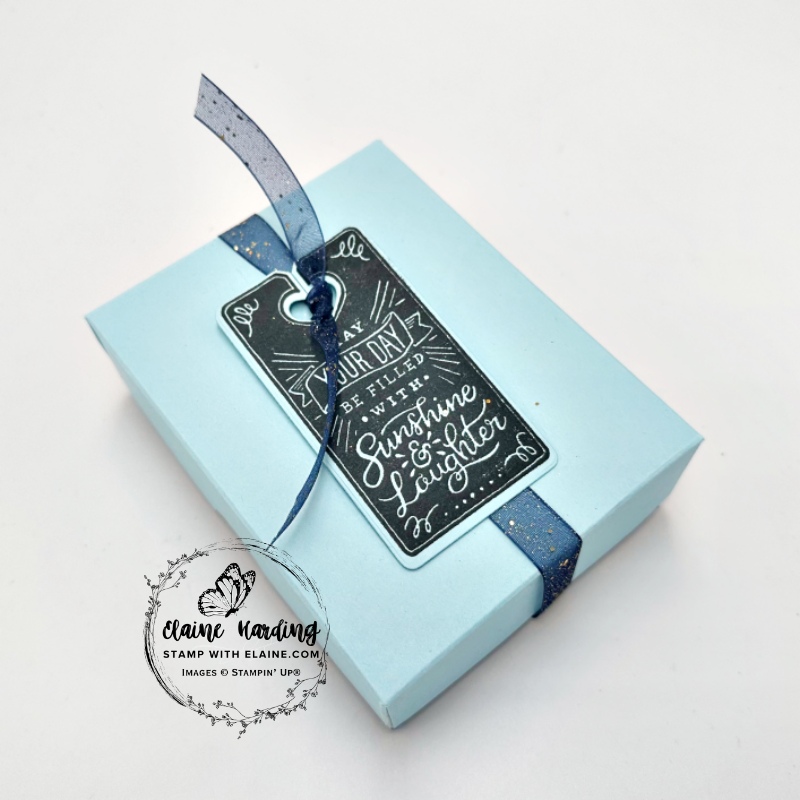
In order to post it, I made a box for it. I used the Paper Tags stamp set to create a tag and also to stamp the front of the box. The box base was made in Secret Sea card stock and the lid in Balmy Blue.
How to make box
- Box Base : Secret Sea cut 7 ½” x 8 ½” (19 cm x 21.6 cm)
- Secret Sea piecce : Score all 4 sides at 1 ¾” (4.5 cm)
- Cut on short side up to 1st score line. Rotate cardstock 180 degrees and repeat.
- Apply adhesive on all 4 outer tabs, adhere to adjacent sides to assemble box base.
- Balmy Blue Lid : cut at 7-1/16″ x 8 1/16″ (19.1 cm x 21.7 cm)
- Score lid on all 4 sides at 1 ½” (3.8 cm).
- Punch semi-circular finger hole with 1″ circle punch on both long sides.
Decorating box
- Stamp the box lid first with Secret Sea ink the repeat steps 3 and 4 to assemble lid.
- On a scrap of Balmy Blue, stamp the tag and die cut.
Supply list
Listed below is the supply list. Just click on the picture to take you directly to the item in my online store.
Product List![Party Banners Dies [ 165264 ]](https://assets1.tamsnetwork.com/images/EC042017NF/165264s.jpg "Party Banners Dies [ 165264 ]")
![Paper Tags Bundle (English) [ 165462 ]](https://assets1.tamsnetwork.com/images/EC042017NF/165462s.jpg "Paper Tags Bundle (English) [ 165462 ]")
![Countryside Inn 12" X 12" (30.5 X 30.5 Cm) Designer Series Paper [ 161467 ]](https://assets1.tamsnetwork.com/images/EC042017NF/161467s.jpg "Countryside Inn 12\" X 12\" (30.5 X 30.5 Cm) Designer Series Paper [ 161467 ]")
![Celebratory Sips 12" X 12" (30.5 X 30.5 Cm) Designer Series Paper & Sticker Sheet (English) [ 166645 ]](https://assets1.tamsnetwork.com/images/EC042017NF/166645s.jpg "Celebratory Sips 12\" X 12\" (30.5 X 30.5 Cm) Designer Series Paper & Sticker Sheet (English) [ 166645 ]")
![Sale A Bration Night Of Navy & Gold 1/2" (1.3 Cm) Glittered Ribbon [ 168073 ]](https://assets1.tamsnetwork.com/images/EC042017NF/168073s.jpg "Sale A Bration Night Of Navy & Gold 1/2\" (1.3 Cm) Glittered Ribbon [ 168073 ]")
![Pack Your Bags Twine Three Pack [ 165582 ]](https://assets1.tamsnetwork.com/images/EC042017NF/165582s.jpg "Pack Your Bags Twine Three Pack [ 165582 ]")
![Balmy Blue A4 Cardstock [ 147007 ]](https://assets1.tamsnetwork.com/images/EC042017NF/147007s.jpg "Balmy Blue A4 Cardstock [ 147007 ]")
![Secret Sea A4 Cardstock [ 165296 ]](https://assets1.tamsnetwork.com/images/EC042017NF/165296s.jpg "Secret Sea A4 Cardstock [ 165296 ]")
![Adhesive Sheets [ 152334 ]](https://assets1.tamsnetwork.com/images/EC042017NF/152334s.jpg "Adhesive Sheets [ 152334 ]")
![Secret Sea Classic Stampin' Pad [ 165285 ]](https://assets1.tamsnetwork.com/images/EC042017NF/165285s.jpg "Secret Sea Classic Stampin' Pad [ 165285 ]")

- SHOP ONLINE – EARN 10% REWARDS ON ALL PURCHASES OVER £20
- PURCHASE A STARTER KIT : Get £155 worth of products for only £99. Choose from current catalogues and any specials available. Free Shipping. Read more
- Subscribe to my Video Tutorials – click here