
Altered Beautiful Blues Kit card – I’ve had this set for a while but finding the time to make up the cards took a while. As its name suggests, all the cards in the kit are shades of blue and it contains everything you need to create nine lovely cards. It features hand-painted floral designs with messages of friendship, support and sympathy.
As per usual, I wanted to stretch the supplies, but only altered one of the cards to make two different designs. I’ll leave the rest for another time.
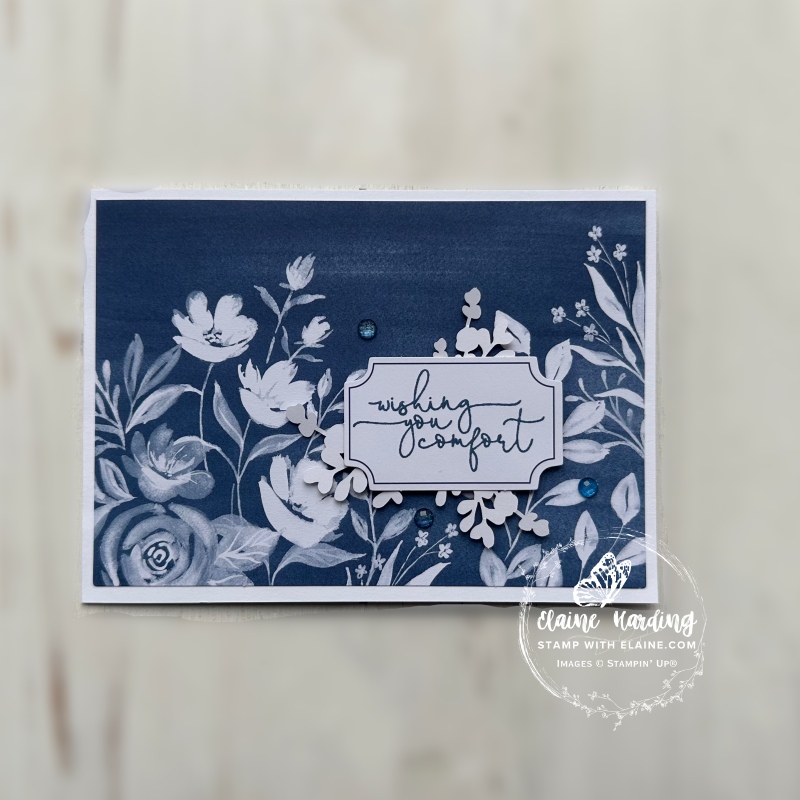
Altered card 1
I wanted to make a “Get Well” card but couldn’t find anything suitable in Stampin’ Up!’s product line. So I cast my eyes on the Beautiful Blues kit.
To make two cards from just the one kit card, I simply cut the original card along the score line and trimmed its top half so that the two separate pieces measured 5 ½” x 3 ⅞” (14 cm x 9.8 cm). I used these as card front mat layers on Basic White Thick card bases in landscape orientation.
- Trim the card so that the two halves measure 5 ½” x 3 ⅞ ” (14 cm x 9.8 cm).
- Cut Basic White card base 4 ⅛” x 11 ½” (10.5 cm x 29 cm) and fold in half. Reserve other half for the second card.
- Stamp “wishing you comfort” on the label provided.
- Arrange laser cut floral element and adhere to pre-printed card front. Attach stamped label with dimensionals on top toward the bottom right of card front.
- Add gems in a triangular formation as shown.
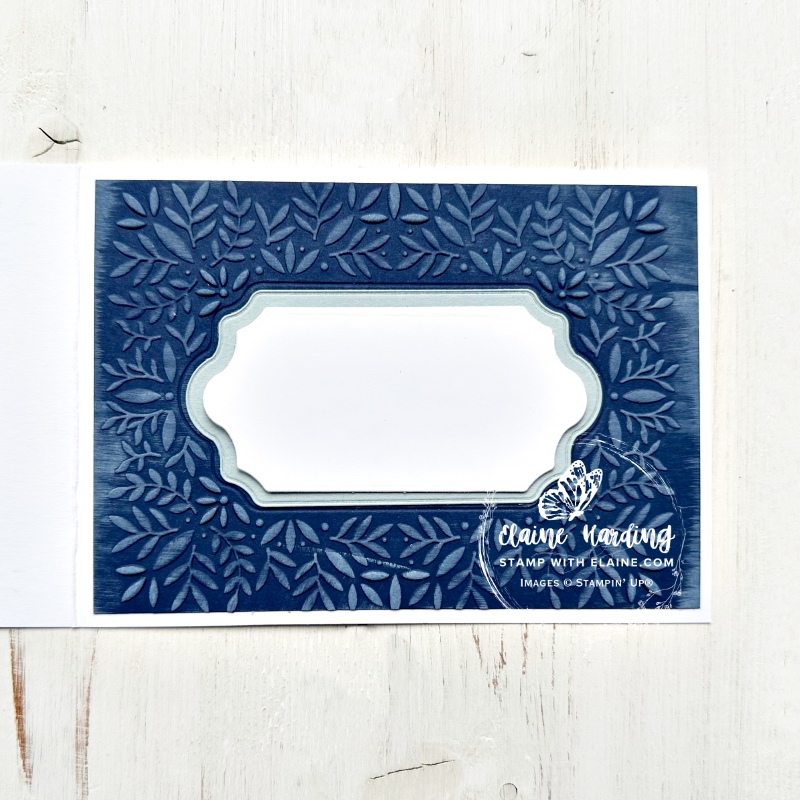
Inside altered card 1
- Cut Night of Navy mat layer 5 ½” x 3 ⅞” and emboss with new Peaceful Greenery 3D embossing folder. Run an inked White Craft ink pad over embossed leaves to highlight the embossed area. Adhere to inside of Basic White card base.
- Die cut larger frame from Peace on Earth dies in Cloud Cover card stock. Align and adhere to inside of Night of Navy embossed piece.
- Basic White card stock – die cut smaller frame from Peace on Earth dies. This is where you can address the recipient.
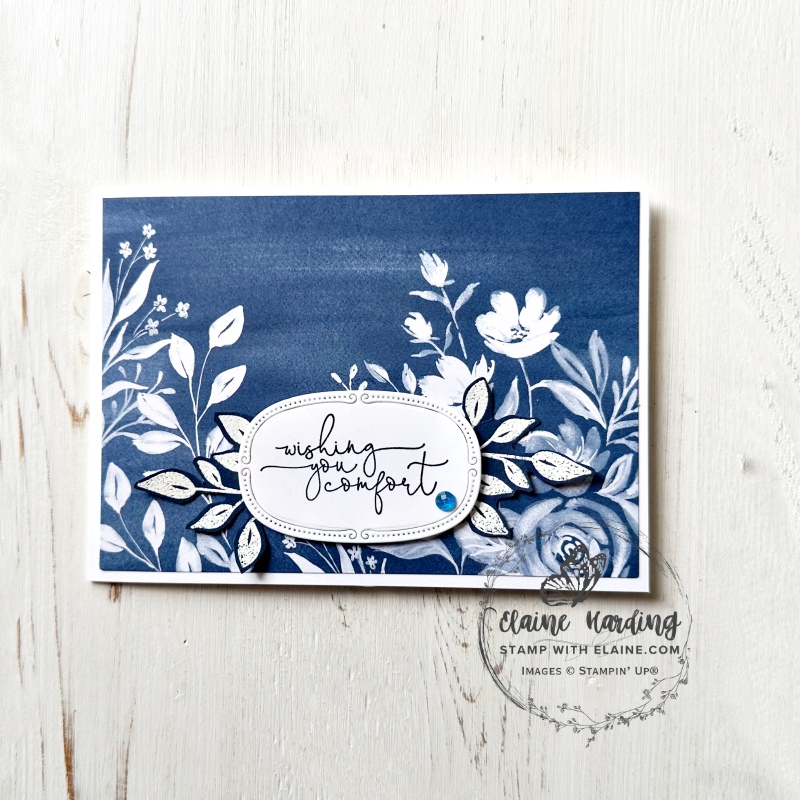
Altered card 2
Altered card 2
- Die cut a Basic White label with the Traditional Labels Dies as pictured above and stamp “wishing you comfort”
- On scrap of Night of Navy card stock, stamp leaves in Versamark and white emboss then fussy cut both.
- Arrange and adhere fussy cut leaves to card front and adhere label on top leaves with dimensionals.
- Add a single gemstone.
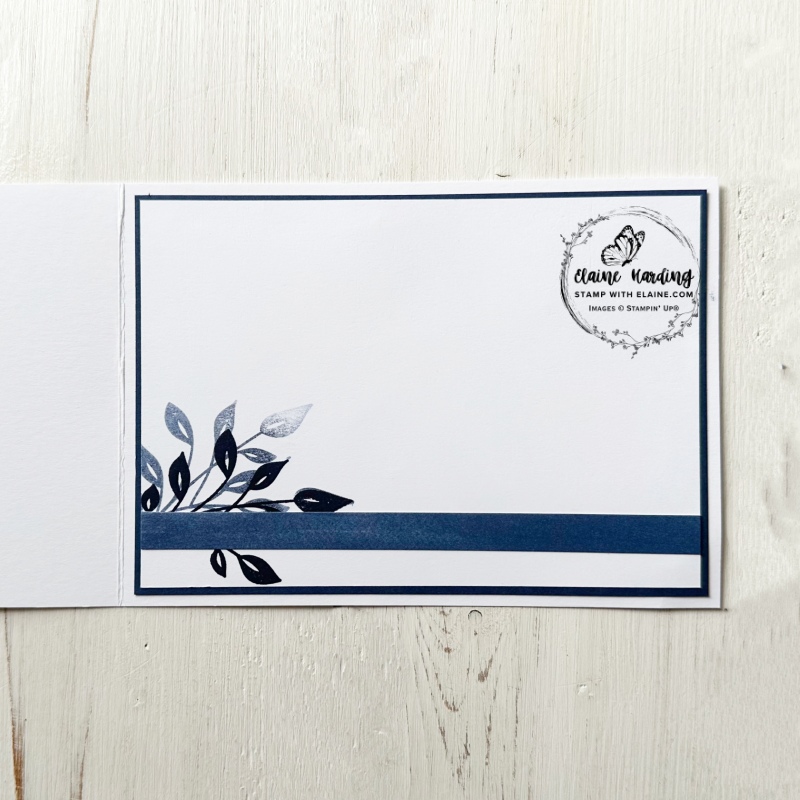
Inside card
- Cut and adhere Night of Navy mat layer 5 ½” x 3 ⅞” (14 cm x 9.8 cm) to inside of card base.
- Basic White mat layer – cut at 5 ⅜” x 3 ¾” (13.7 cm x 9.5 cm)
- Stamp leaf image in first generation ink, then stamp again in a different position without re-inking stamp.
- Adhere remnant from pre-printed card front as shown in photo above. Trim off any excess before adhering to inside of card as shown.
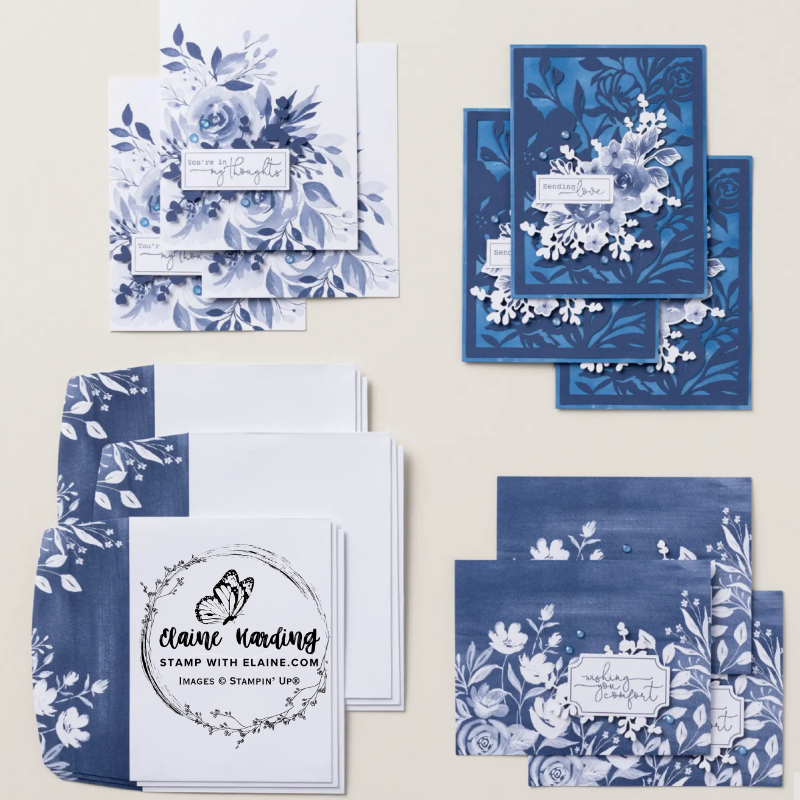
Beautiful Blues Kit
These are the cards created per instructions from the kit. The pre-printed cards are printed front and back which lends itself to making more than the pre-requisite 9 cards with a little bit of creativity and imagination. I hope you liked the two designs made from the original one in the bottom right corner of this photo.
Supply list
Listed below is the supply list. Just click on the picture to take you directly to the item in my online store.

- SHOP ONLINE – EARN 10% REWARDS ON ALL PURCHASES OVER £20
- PURCHASE A STARTER KIT : Get £155 worth of products for only £99. Choose from current catalogues and any specials available. Free Shipping. Read more
- Subscribe to my Video Tutorials – click here