
Elf Christmas card – Words for the Season. Happy Sunday! I promised I would use the elf, so here it is. It’s been paired with another useful bundle from the September-December 2025 mini on page 51 called “Words for the Season”.
There are dies for scripted words like “Merry, Happy, Christmas, Wishes, Greetings, Autumn, New Year, Holidays, Halloween” and also a banner die. Whichever side of the pond you’re on, i.e., whether you say “Merry or Happy Christmas” or “Happy Holiday” all bases are covered!
The stamp set is made out of cling (red rubber) and contains lovely sentiments for the inside of the card. FYI Due to difficulty in sourcing materials to make red rubber stamps and increasing production costs, Stampin’ Up! will no longer manufacture the cling stamps and will only be manufacturing photopolymer stamps.

Cutting guide
- Shaded Spruce card base : 5 ¾” x 8 ¼” (14.5 cm x 21 cm) and folded in half.
- Attach an Adhesive Sheet to back of Shaded Spruce scrap and die cut “Christmas” from Words for the Season Dies and a Shaded Spruce triangular tree.
- Silver Foil – attach adhesive Sheet to back and die cut triangular tree and some snowflakes.
- Die cut snowflake from Basic White scrap.
- Cut 2 pieces Basic White mat layers – 1 for card front and the other for inside card at 5 ½” x 3 ⅞” (14 cm x 9.8 cm).
Assembly
- Remove backing tape from silver foil tree and adhere toward middle left of Basic White layer.
- Stamp elf from Festive Friends in Tuxedo Black Memento Ink. Colour elf with Stampin’ Blends – Petal Pink, Shaded Spruce, Real Red and Lemon Lolly combos as shown. Attach the smallest Real Red & White Adhesive-backed peppermint over his button.
- Use blending brush to add a hint of colour to large die cut snowflake. Apply adhesive to back and attach Basic Rhinestone jewel to centre.
- Adhere adhesive backed snowflakes as pictured. Remove backing tape from “Christmas” and adhere as shown.
- Ground tree and elf with light Shaded Spruce Stampin’ blend.
- Stamp wishes as pictured then adhere Basic White layer to card front leaving an even border on all 4 sides.
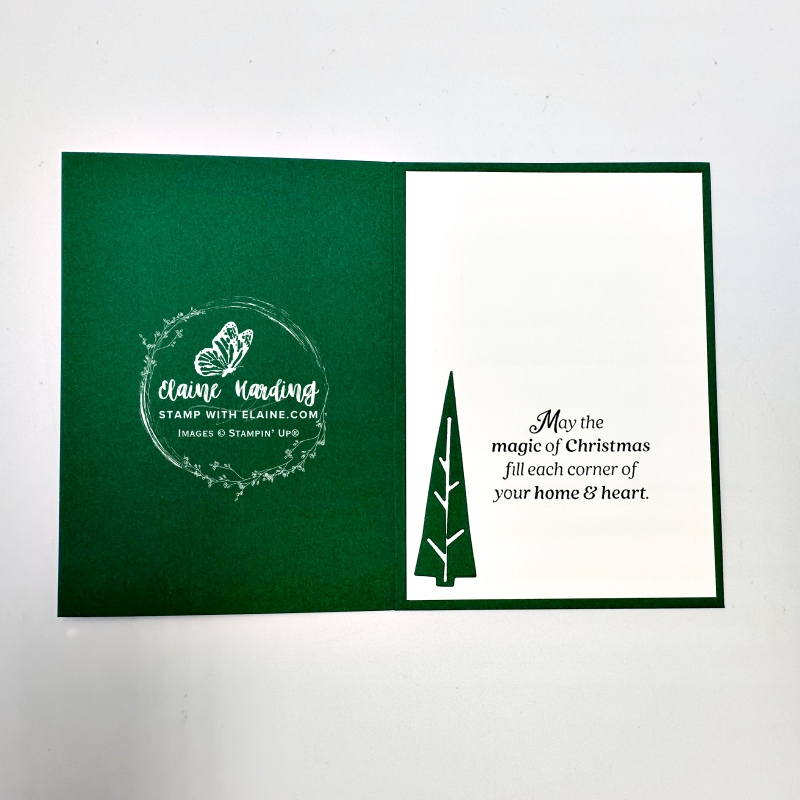
- Inside card – remove backing tape and adhere Shaded Spruce tree and stamp sentiment form Words for the Season in Shaded Spruce, then adhere Basic White layer to inside of card.
Supply list
Listed below is the supply list. Just click on the picture to take you directly to the item in my online store.
Product List![Festive Friends Bundle (English) [ 166039 ]](https://assets1.tamsnetwork.com/images/EC042017NF/166039s.jpg "Festive Friends Bundle (English) [ 166039 ]")
![Festive Friends Cling Stamp Set (English) [ 166035 ]](https://assets1.tamsnetwork.com/images/EC042017NF/166035s.jpg "Festive Friends Cling Stamp Set (English) [ 166035 ]")
![Festive Friends Dies [ 166038 ]](https://assets1.tamsnetwork.com/images/EC042017NF/166038s.jpg "Festive Friends Dies [ 166038 ]")
![Words For The Season Bundle (English) [ 165798 ]](https://assets1.tamsnetwork.com/images/EC042017NF/165798s.jpg "Words For The Season Bundle (English) [ 165798 ]")
![Words For The Season Cling Stamp Set (English) [ 165716 ]](https://assets1.tamsnetwork.com/images/EC042017NF/165716s.jpg "Words For The Season Cling Stamp Set (English) [ 165716 ]")
![Words For The Season Dies (English) [ 165797 ]](https://assets1.tamsnetwork.com/images/EC042017NF/165797s.jpg "Words For The Season Dies (English) [ 165797 ]")
![Silver 12" X 12" (30.5 X 30.5 Cm) Foil Sheets [ 163387 ]](https://assets1.tamsnetwork.com/images/EC042017NF/163387s.jpg "Silver 12\" X 12\" (30.5 X 30.5 Cm) Foil Sheets [ 163387 ]")
![Adhesive Sheets [ 152334 ]](https://assets1.tamsnetwork.com/images/EC042017NF/152334s.jpg "Adhesive Sheets [ 152334 ]")
![Basic White A4 Cardstock [ 166781 ]](https://assets1.tamsnetwork.com/images/EC042017NF/166781s.jpg "Basic White A4 Cardstock [ 166781 ]")
![Shaded Spruce A4 Cardstock [ 147006 ]](https://assets1.tamsnetwork.com/images/EC042017NF/147006s.jpg "Shaded Spruce A4 Cardstock [ 147006 ]")
![Tuxedo Black Memento Ink Pad [ 132708 ]](https://assets1.tamsnetwork.com/images/EC042017NF/132708s.jpg "Tuxedo Black Memento Ink Pad [ 132708 ]")
![Shaded Spruce Classic Stampin' Pad [ 147088 ]](https://assets1.tamsnetwork.com/images/EC042017NF/147088s.jpg "Shaded Spruce Classic Stampin' Pad [ 147088 ]")
![Balmy Blue Classic Stampin' Pad [ 147105 ]](https://assets1.tamsnetwork.com/images/EC042017NF/147105s.jpg "Balmy Blue Classic Stampin' Pad [ 147105 ]")
![Lemon Lolly Stampin’ Blends Combo Pack [ 161673 ]](https://assets1.tamsnetwork.com/images/EC042017NF/161673s.jpg "Lemon Lolly Stampin’ Blends Combo Pack [ 161673 ]")
![Petal Pink Stampin' Blends Combo Pack [ 154893 ]](https://assets1.tamsnetwork.com/images/EC042017NF/154893s.jpg "Petal Pink Stampin' Blends Combo Pack [ 154893 ]")
![Real Red Stampin' Blends Combo Pack [ 154899 ]](https://assets1.tamsnetwork.com/images/EC042017NF/154899s.jpg "Real Red Stampin' Blends Combo Pack [ 154899 ]")
![Shaded Spruce Stampin' Blends Combo Pack [ 154903 ]](https://assets1.tamsnetwork.com/images/EC042017NF/154903s.jpg "Shaded Spruce Stampin' Blends Combo Pack [ 154903 ]")
![Blending Brushes [ 153611 ]](https://assets1.tamsnetwork.com/images/EC042017NF/153611s.jpg "Blending Brushes [ 153611 ]")
![Rhinestone Basic Jewels [ 144220 ]](https://assets1.tamsnetwork.com/images/EC042017NF/144220s.jpg "Rhinestone Basic Jewels [ 144220 ]")
![Real Red & White Adhesive Backed Peppermints [ 164050 ]](https://assets1.tamsnetwork.com/images/EC042017NF/164050s.jpg "Real Red & White Adhesive Backed Peppermints [ 164050 ]")
Enjoy the rest of your weekend. Thanks for popping by. Happy crafting!

- SHOP ONLINE – EARN 10% REWARDS ON ALL PURCHASES OVER £20
- PURCHASE A STARTER KIT : Get £155 worth of products for only £99. Choose from current catalogues and any specials available. Free Shipping. Read more
- Subscribe to my Video Tutorials – click here