
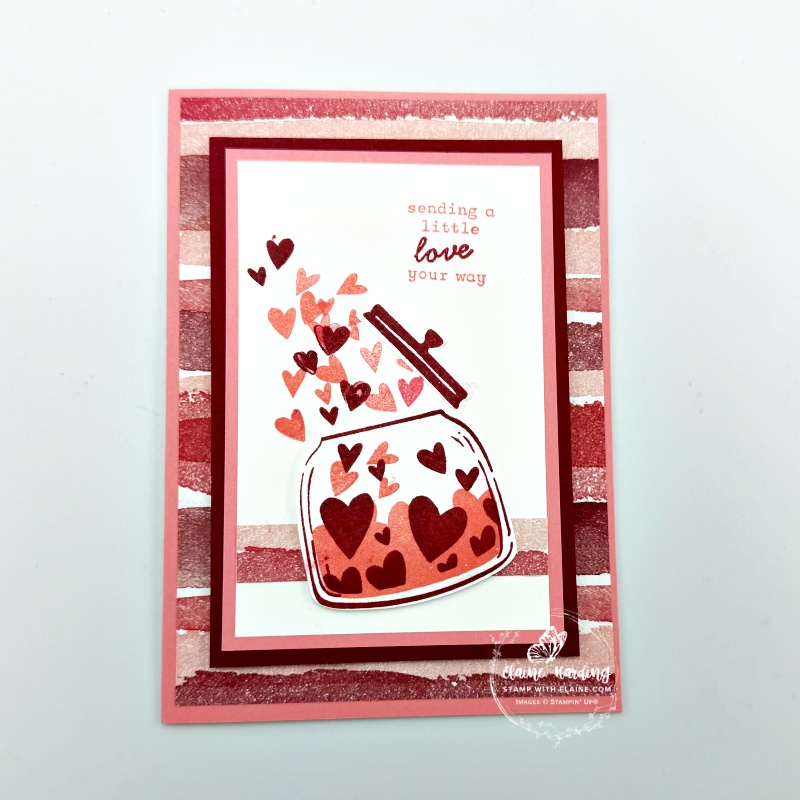
Clean simple valentine card. Valentine’s day is almost upon us. Staying with the Love Notes 6″x 6″ (15.2 x 15.2 cm) Designer Series Papers (DSP) and adding the Sweet Jar Bundle which comprises a stamp set and coordinating punch to make my card.
Sweet Jar Bundle
This bundle includes the Sweet Jar Stamp Set—perfect for adding a touch of delight to your cards, invitations, and scrapbook pages. You can use the Sweet Jar Builder Punch for quick jar-shaped cut-outs from your favourite paper or cardstock. Use both products to create stunning layered effects or use them individually for simple yet charming designs.
Cutting guide
- Card base : Flirty Flamingo 5 ¾” x 8 ¼” (14.5 cm x 21 cm) and folded in half.
- Love notes layer : 5 ½” x 3 ⅞” (14 cm x 9.8 cm)
- Cherry Cobbler layer #1 : 3 ¼” x 4 ¼” (8.2 cm x 10.8 cm)
- Flirty Flamingo layer #2 : 3″ x 4 ½” (7.6 cm x 11.4 cm)
- Basic White layer #3 : 2 ¾” x 4 ¼” (7 cm x 10.8 cm)
- Love notes strip : ½” x 3″ (1.3 cm x 7.6 cm)
- Scrap of Basic White to stamp and punch out jar and lid
Inside card
- Basic White : 5 ½” x 3 ⅞” (14 cm x 9.8 cm)
- Love notes strip (remnant from card front strip) : ½” x 3 ¼” (1.3 cm x 10.8 cm)
How to assemble card
Card front
- Adhere large Love notes piece to front of card base leaving an even border on all 4 sides.
- On the scrap of Basic White stamp the jar, and lid in Cherry Cobbler ink. Stamp the inside of jar with Flirty Flamingo and the hearts in Cherry Cobbler then punch both lid and jar with Jar Builder punch.
- Adhere the ½” x 3″ (1.3 cm x 7.6 cm) Love note strip toward the bottom of the Basic White Layer #3.
- Stamp a cluster of Flirty Flaming hearts with the small trio of hearts stamp, then a couple with the duo heart stamp in Cherry Cobbler.
- Apply dimensionals on back of jar and adhere as pictured. Then adhere lid directly on to Basic White layer #3 as shown.
- In the top right corner stamp the greeting in Flirty Flamingo and fill in with “love” in Cherry Cobbler inks.
- Now you can adhere this layer to the Flirty Flamingo mat layer, then Cherry Cobbler layer leaving an even border for each on all 4 sides.
- Apply dimensionals to the back of the Cherry Cobbler layer and centre and adhere to the card front.
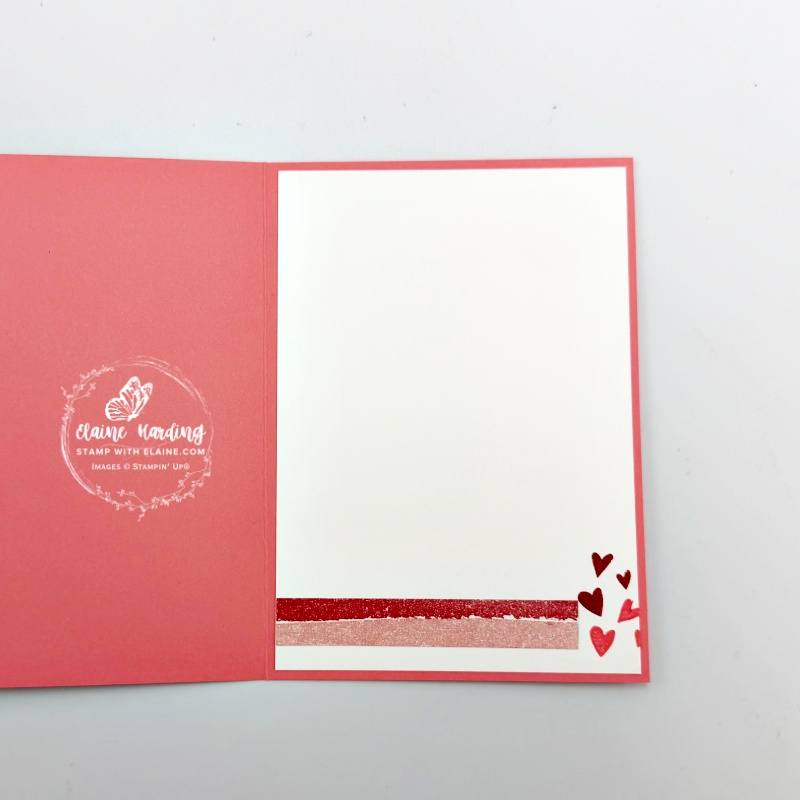
Inside card
- On the Basic White piece, adhere the ½” x 3 ¼” (1.3 cm x 10.8 cm) strip of DSP as pictured.
- Stamp a trio of hearts in the gap in Flirty Flamingo and a second trio in Cherry Cobbler ink.
- Lastly adhere Basic White piece on to inside of card leaving an even border on all 4 sides.
Supply list
Listed below is the supply list. Just click on the picture to take you directly to the item in my online store.
Product List![Sweet Jar Bundle (English) [ 165507 ]](https://assets1.tamsnetwork.com/images/EC042017NF/165507s.jpg "Sweet Jar Bundle (English) [ 165507 ]")
![Sweet Jar Builder Punch [ 165506 ]](https://assets1.tamsnetwork.com/images/EC042017NF/165506s.jpg "Sweet Jar Builder Punch [ 165506 ]")
![Sweet Jar Photopolymer Stamp Set (English) [ 165501 ]](https://assets1.tamsnetwork.com/images/EC042017NF/165501s.jpg "Sweet Jar Photopolymer Stamp Set (English) [ 165501 ]")
![Love Notes 6" X 6" (15.2 X 15.2 Cm) Mix & Match Designer Series Paper [ 166985 ]](https://assets1.tamsnetwork.com/images/EC042017NF/166985s.jpg "Love Notes 6\" X 6\" (15.2 X 15.2 Cm) Mix & Match Designer Series Paper [ 166985 ]")
![Basic White A4 Cardstock [ 166781 ]](https://assets1.tamsnetwork.com/images/EC042017NF/166781s.jpg "Basic White A4 Cardstock [ 166781 ]")
![Cherry Cobbler Classic Stampin' Pad [ 147083 ]](https://assets1.tamsnetwork.com/images/EC042017NF/147083s.jpg "Cherry Cobbler Classic Stampin' Pad [ 147083 ]")
![Flirty Flamingo Classic Stampin' Pad [ 147052 ]](https://assets1.tamsnetwork.com/images/EC042017NF/147052s.jpg "Flirty Flamingo Classic Stampin' Pad [ 147052 ]")

- SHOP ONLINE – EARN 10% REWARDS ON ALL PURCHASES OVER £20
- PURCHASE A STARTER KIT : Get £155 worth of products for only £99. Choose from current catalogues and any specials available. Free Shipping. Read more
- Subscribe to my Video Tutorials – click here