
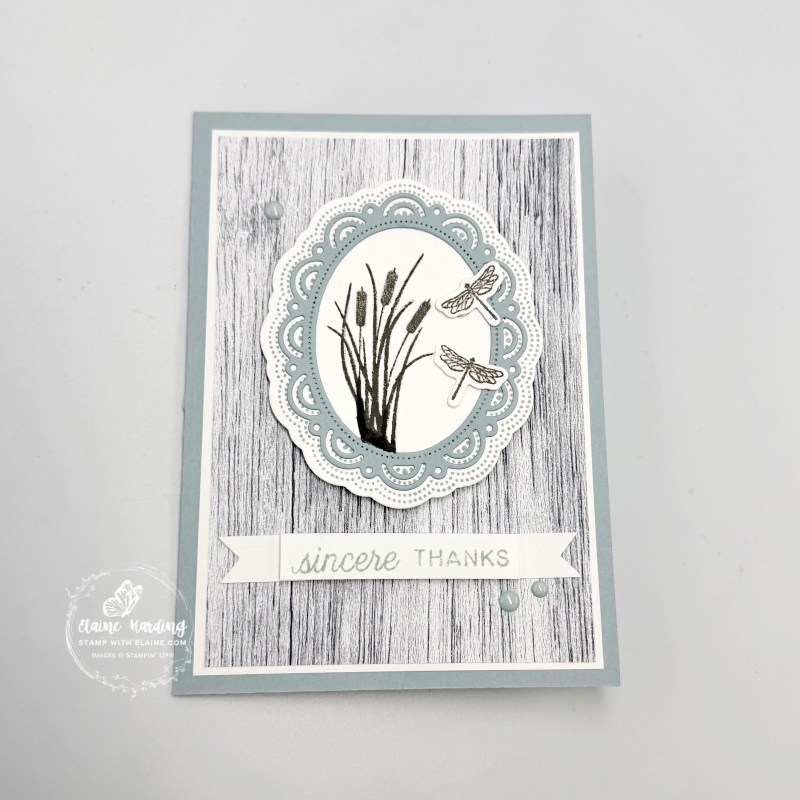
More sneak peeks – Scalloped Wishes. Featuring gracefully scalloped frames, thoughtful sentiments, and delicate details like flowers and dragonflies, this bundle is perfect for creating sophisticated handmade cards and tags. Today, I’ve used it to make a “thank you” card. This bundle will be available on 3 March.
Cutting guide
- Card base : Cloud Cover 5 ¾” x 8 ¼” (14.5 cm x 21 cm) folded in half.
- Basic White layer (card front) 3 ¾” x 5 ⅜” (9.5 cm x 13.7 cm)
- Mixed Up Patterns 12″x 12″ (30.5 x 30.5 cm) Mix-in DSP cut at 3 ⅝” x 5 ¼” (9.2 cm x 13.3 cm)
- Scrap of Basic White 4″ x 3 ½” (10 cm x 9 cm). Stamp with Cloud Cover ink spot scalloped oval and die cut with corresponding Scalloped Wishes die. Set aside.
- Cloud Cover scrap – die cut medium scalloped oval as pictured.
- Basic White scrap, stamp 2 little dragonflies and die cut.
- Inside card – cut Basic White 3 ⅞” x 5 ½” (9.8 cm x 14 cm).
Assembling card
- Adhere Basic White 3 ¾” x 5 ⅜” (9.5 cm x 13.7 cm) piece to card front leaving an even border on all 4 sides.
- Next adhere the Mixed Up Patterns sheet.
- Align Cloud Cover die cut frame over the stamped frame (in Step 4) and use a pencil to trace the inside of the frame, then stamp the bulrushes in Basic Gray.
- Erase the pencil mark then apply adhesive on back of Cloud Cover frame to the White stamped scalloped frame.
- Apply dimensionals on the back and centre and adhere to card front toward the top so that you have room for the sentiment at the bottom.
- Adhere the mini dragonflies as pictured. Use a glitter wink of stella brush and highlight the bulrushes and dragonfly wings.
- Add Moody Palette Glossy Dots to embellish with.
Making sentiment tag
- Mask and stamp “sincere thanks” in a line and trim ½” x 2 ¼” (1.5 cm x 6 cm).
- Cut 2 pieces Basic White ½” x ¾” (1.5 cm x 2 cm). Stack them on top of each other and cut flag ends on one side.
- Apply dimensionals on back of “sincere thanks” and adhere underneath scalloped oval frame.
- Take one of the flag ends and apply adhesive and adhere to left side then adhere the remaining one on the right. This gives the illusion that the “banner” is longer than it is and folded over.
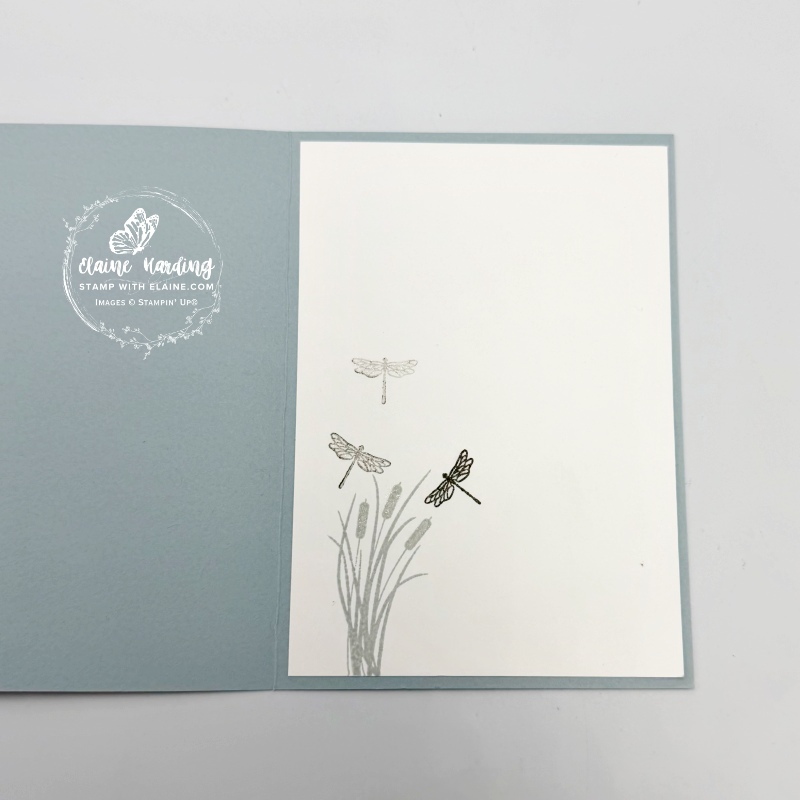
Inside card
- Stamp the bulrushes with Cloud Cover stampin’ spot.
- Basic Gray ink – stamp 3 generations of dragonflies without re-inking so that the 1st generation is darkest, 2nd generation lighter, and 3rd generation is the lightest.
- Use glitter Wink of Stella brush to highlight bulrushes and wings of dragonflies to finish.
I will add the supply list once it becomes available.

- SHOP ONLINE – EARN 10% REWARDS ON ALL PURCHASES OVER £20
- PURCHASE A STARTER KIT : Get £155 worth of products for only £99. Choose from current catalogues and any specials available. Free Shipping. Read more
- Subscribe to my Video Tutorials – click here