
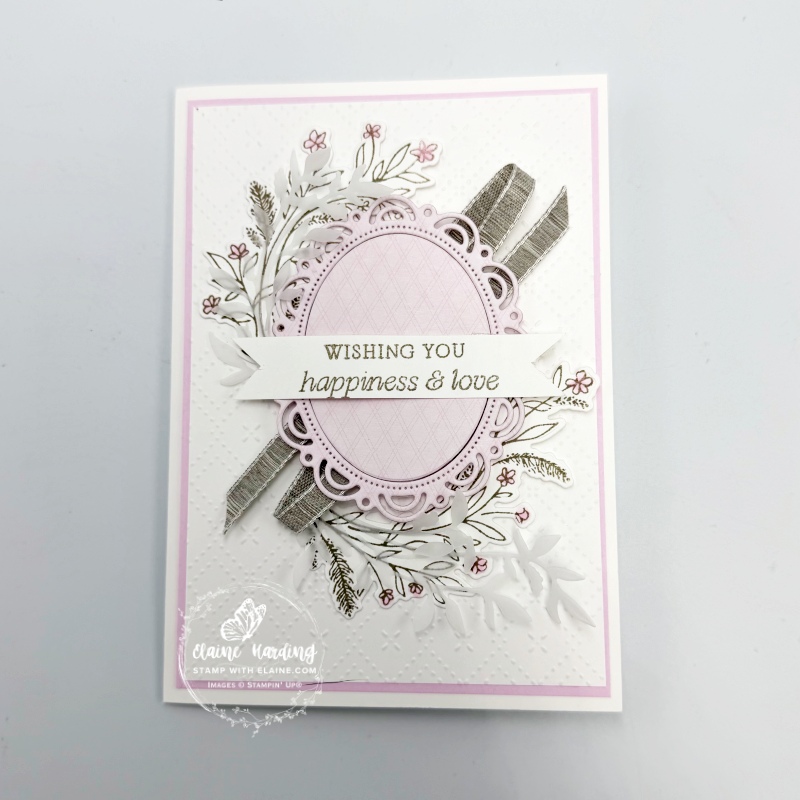
Sneak Peek – Delicate Whispers. The new Delicate Whispers bundle will be available at the beginning of March – would you like a sneak peek?
My card features another sneak peek at the Scalloped Wishes bundle also. I’ve used something new with something older – a November online exclusive called Beautiful Pattern 3D embossing folder. I chose this embossing folder because the pattern resembled the Bubble Bath pink sheet in the Mixed Up Patterns 12″ x 12″ (30.5 x 30.5 cm) Mix-in Designer Series Paper.
Cutting guide
- Card base : Basic White 5 ¾” x 8 ¼” (14.5 cm x 21 cm) folded in half.
- Cut 2 pieces Bubble Bath card stock at 3 ⅞” x 5 ½” (9.8 cm x 14 cm)
- Basic white piece cut at 3 ¾” x 5 ⅜” (9.5 cm s 13.5 cm) emboss with Beautiful Pattern 3D embossing folder.
- Cut Bubble Bath card stock 3″ x 3 ½” (7.5 cm x 9 cm).
- Select the Bubble Bath sheet of Mixed Up Patterns 12″x 12″ (30.5 X 30.5 CM) Mix-in Designer Series Paper and cut a piece @ 3″ x 3 ½” (7.5 cm x 9 cm) and adhere this to the Bubble Bath card stock of the same size. Then die cut with medium scalloped frame from *Scalloped Wishes dies.
- *When die cut, it will come as a scalloped frame and the oval centre can be used as a separate piece. I used them together so attach dimensionals on the top, bottom and two sides of frame to keep it together.
- Inside card Basic White piece cut at 3 ¾” x 5 ⅜” (9.5 cm s 13.5 cm).
Extra materials
- Basic White scrap for stamping floral sprays
- Vellum card stock for die cutting leaf sprigs
- ¼” (6.44 cm) Gray Granite Variegated trim (available March)
Assembling card
Card front
- Adhere Bubble Bath layer first followed by the Basic White Beautiful Pattern 3D embossed piece. Ensure you leave an even border on all 4 sides for each piece.
- On a scrap of Basic White, stamp the sprigs, one of each and die cut with corresponding dies from Delicate Wishes dies.
- Colour flowers with Bubble Bath Stampin’ Blends.
- Put tear n’tape on back of scalloped label and remove backing tape. Arrange ribbon back and forth as pictured. Place a dimensional in the centre on top of ribbon and centre on card and adhere.
- Partially tuck the floral sprays through gaps under label and adhere, followed by the vellum leaf sprigs as pictured.
- Mask the greeting stamp so you can stamp “wishing you” on one line and “happiness and love” on the second line. Trim flag ends on both ends and adhere across the middle of scalloped label.
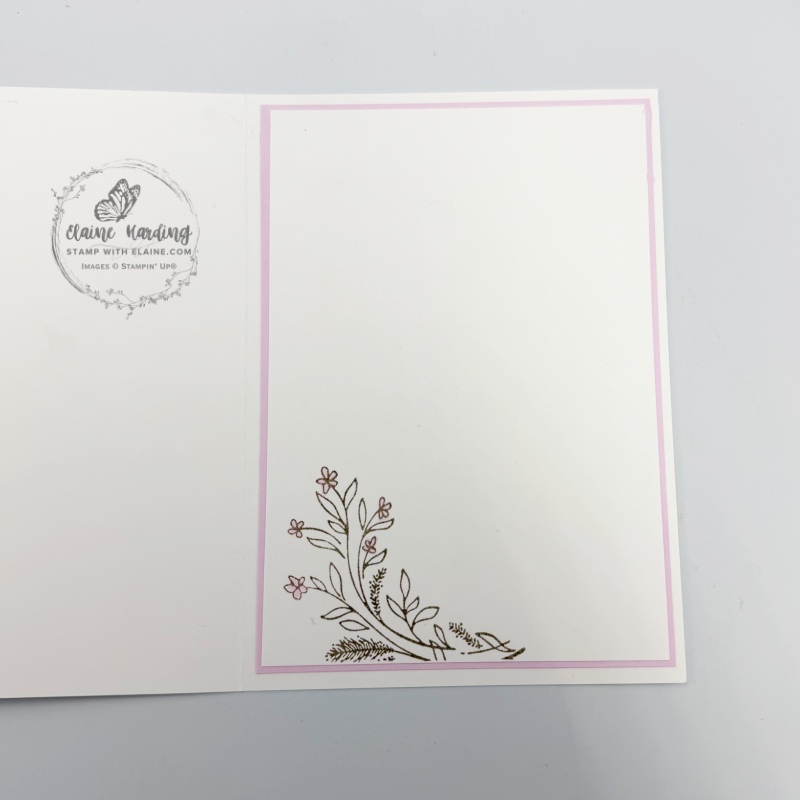
Inside card
- Adhere the second Bubble Bath piece to inside of card.
- Stamp a floral spray as pictured with Gray Granite ink and colour in the flowers with Bubble Bath Stampin’ Blends.
- Apply adhesive to back and adhere on top of Bubble Bath layer to complete card.
Supply list
Listed below is the supply list. Just click on the picture to take you directly to the item in my online store.
Product List![Delicate Whispers Bundle (English) [ 167506 ]](https://assets1.tamsnetwork.com/images/EC042017NF/167506s.jpg "Delicate Whispers Bundle (English) [ 167506 ]")
![Scalloped Wishes Bundle (English) [ 167453 ]](https://assets1.tamsnetwork.com/images/EC042017NF/167453s.jpg "Scalloped Wishes Bundle (English) [ 167453 ]")
![Beautiful Pattern 3 D Embossing Folder [ 167097 ]](https://assets1.tamsnetwork.com/images/EC042017NF/167097s.jpg "Beautiful Pattern 3 D Embossing Folder [ 167097 ]")
![Delicate Dreams 12" X 12" (30.5 X 30.5 Cm) Specialty Designer Series Paper [ 167498 ]](https://assets1.tamsnetwork.com/images/EC042017NF/167498s.jpg "Delicate Dreams 12\" X 12\" (30.5 X 30.5 Cm) Specialty Designer Series Paper [ 167498 ]")
![Bubble Bath A4 Cardstock [ 161727 ]](https://assets1.tamsnetwork.com/images/EC042017NF/161727s.jpg "Bubble Bath A4 Cardstock [ 161727 ]")
![Basic White A4 Cardstock [ 166781 ]](https://assets1.tamsnetwork.com/images/EC042017NF/166781s.jpg "Basic White A4 Cardstock [ 166781 ]")
![Gray Granite Classic Stampin' Pad [ 147118 ]](https://assets1.tamsnetwork.com/images/EC042017NF/147118s.jpg "Gray Granite Classic Stampin' Pad [ 147118 ]")
![Bubble Bath Stampin’ Blends Combo Pack [ 161675 ]](https://assets1.tamsnetwork.com/images/EC042017NF/161675s.jpg "Bubble Bath Stampin’ Blends Combo Pack [ 161675 ]")
![Gray Granite 1/4" (6.4 Mm) Variegated Trim [ 167511 ]](https://assets1.tamsnetwork.com/images/EC042017NF/167511s.jpg "Gray Granite 1/4\" (6.4 Mm) Variegated Trim [ 167511 ]")
Just a reminder, if you have bonus coupons from Bonus Days, do redeem them because they expire on February 28.

- SHOP ONLINE – EARN 10% REWARDS ON ALL PURCHASES OVER £20
- PURCHASE A STARTER KIT : Get £155 worth of products for only £99. Choose from current catalogues and any specials available. Free Shipping. Read more
- Subscribe to my Video Tutorials – click here