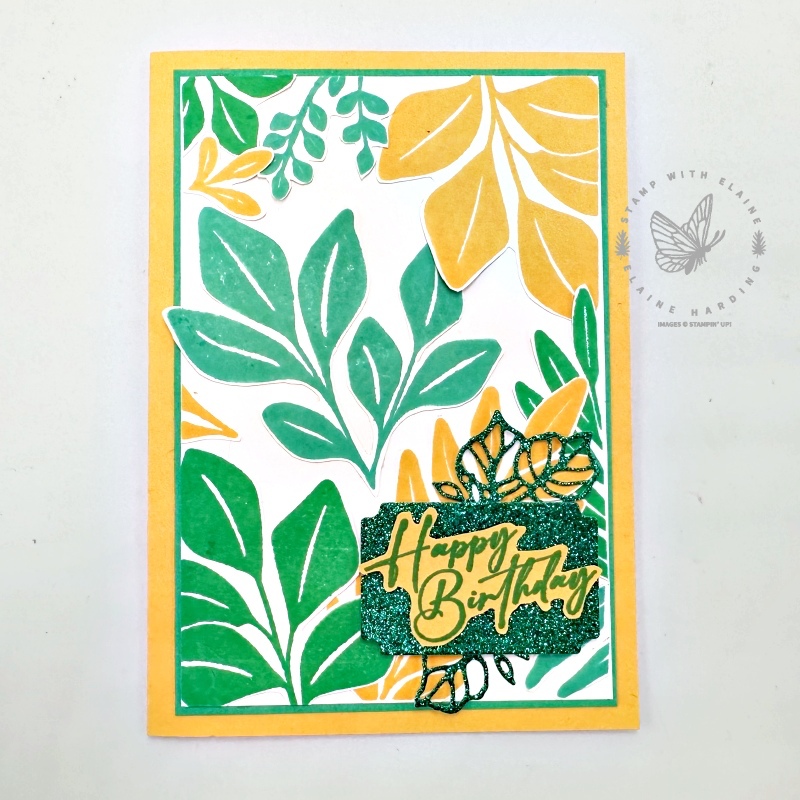
How to create backgrounds with the new Leaf Collection background stamp. As always, the catalogue is a great source of inspiration. Background stamps are enormous! They fit on Stampin’ Up!’s “F” block. If you still have the retired Stampin’ Up! Stamparatus, you can use that too.
Background stamps are exactly that, it covers a large area as a back drop for what you want to feature on the front of your card. The Leaf Collection background stamp has a variety of leaf images with ample space in between the images so ideal for fussy cutting should you wish to do so. One way of using this stamp is to stamp the same image in three different colours. Then you can fussy cut the leaves and mix and match the different colours for your card front.

Card Details
I stamped the Leaf Collection stamp with the new 2024-26 In Colors. One each in Peach Pie, Shy Shamrock and Summer Splash. There is a subtle difference between the Shy Shamrock and Summer Splash. At a glance they both appear to be green, but on closer inspection, the Shy Shamrock is greener whereas Summer Splash has more blue in it. See if you can spot the difference in the photo above. I fussy cut a selection of leaves in all three colours then adhered them to a Basic White mat layer.
Unbounded Beauty Suite
One of the bundles I used is from the Unbounded Beauty Suite Collection (pages 52-55). It is called Unbounded Love. There are two bundles in this suite – the other is the Flowers of Beauty bundle which contains floral images and dies only. Consequently, the Unbounded Love bundle contains all the sentiments and label dies. I cut the labels and leaves out of the 2024-2026 In Color Glimmer 12″x 12″ (30.5 x 30.5 cm) Specialty paper. These In Color Glimmer Papers are gorgeous!
I stamped “Happy Birthday” on Peach Pie card stock and fussy cut it. Tip : It is tricky getting things to stick to glimmer paper. To adhere it properly, cut a channel on the label through which you can attach dimensionals and adhere it directly onto card base. It will be hidden from view behind the fussy cut sentiment. I put dimensionals on the back of the fussy cut “happy birthday” sentiment and threaded it through the slot in the label and adhered it directly to the card base.
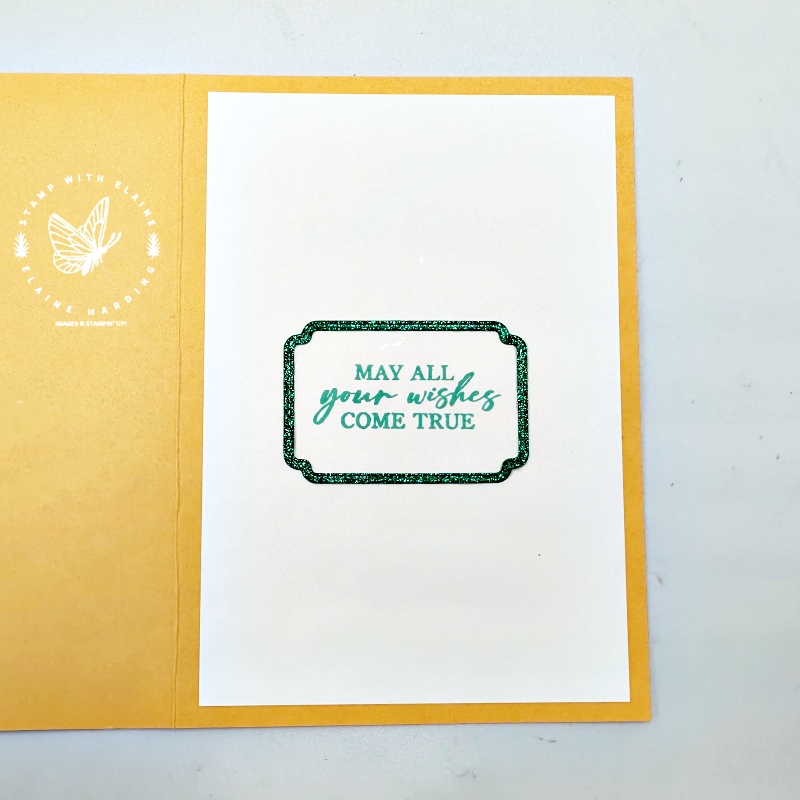
Inside card

The die I used to cut the label actually cuts out a frame which I used to frame the sentiment inside the card. So as not to waste what was the remnant, I used it as the backing for the “Happy Birthday” sentiment on the front of the card.
Supply list
Listed below is the supply list. Just click on the picture to take you directly to the item in my online store.
Product List
- SHOP ONLINE – EARN 10% REWARDS ON ALL PURCHASES OVER £20
- PURCHASE A STARTER KIT : Get £155 worth of products for only £99. Choose from current catalogues and any specials available. Free Shipping. Read more
- Subscribe to my Video Tutorials – click here


Pingback: Quick easy birthday card - Stamp with Elaine