
Quick and Easy Options. A brand new section in the 2024-25 Annual Catalogue is called Quick & Easy Options. You can find it on pages`12-29. It has new crafting ideas and a variety of paper pieces, card stock, envelops to add your own personal touch. Unlike the “step-by-step” section where the kits provide you with full instructions and all the materials you need from pre-printed cards, envelops, laser-cut pop outs etc, the “quick & easy options” section takes it up a notch.
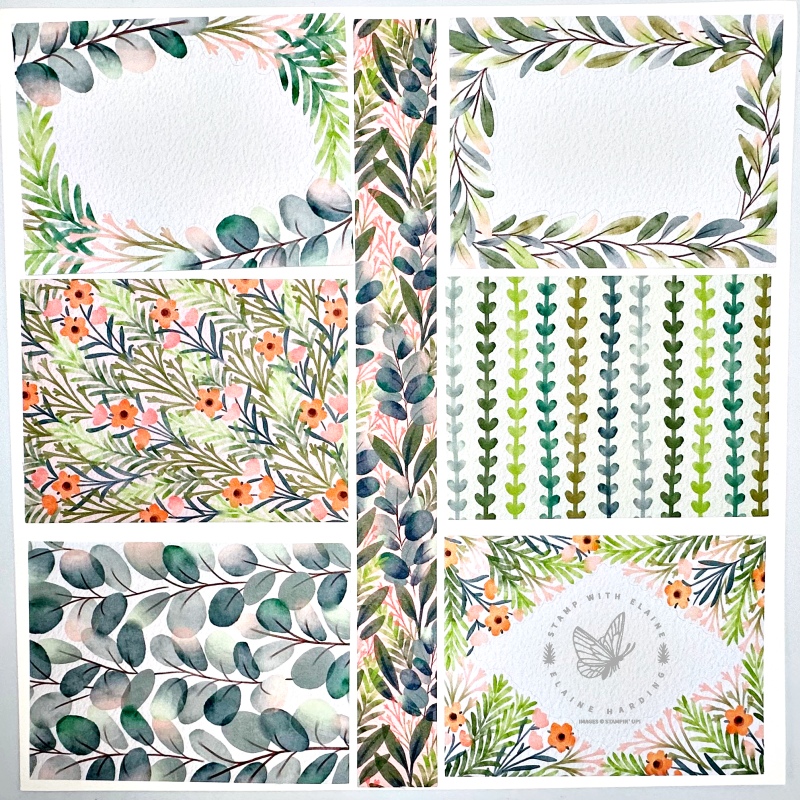
I’ve made gift packaging and a gift tag today. The page spread “Wrap it Up” was all about gift wrapping. We always need those, don’t we? There are samples of sour cream packaging, gift boxes and tags to inspire you. The Frames & Flowers specialty DSP pack contains 6 sheets of patterned paper, 1 each of 3 double sided designs and 1 each of 3 single-sided die-cut designs.
How to create a sour cream pouch
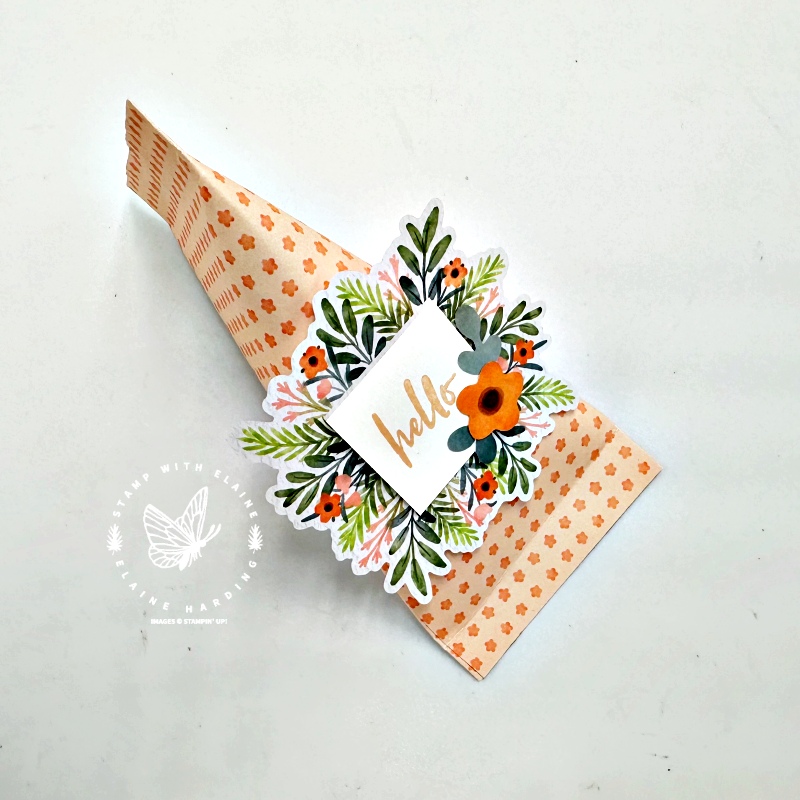
You can make a sour cream pouch out of a 6″x 6″ (15.2 x 15.2 cm) piece of patterned paper. Place a bone folder on top of the paper on the work surface and run the paper through a few times to break up the fibres and train the paper to curl a little. This will help form a tube shape. Run adhesive along the edge and glue it together. Pinch one end and glue together. Fill it with a little candy. Then pinch the tube in the opposite direction at the opposite end to form a triangular shape and glue the edges together. Alternatively, you could use a peg or mini bull dog clip to keep it closed.
Creating a label
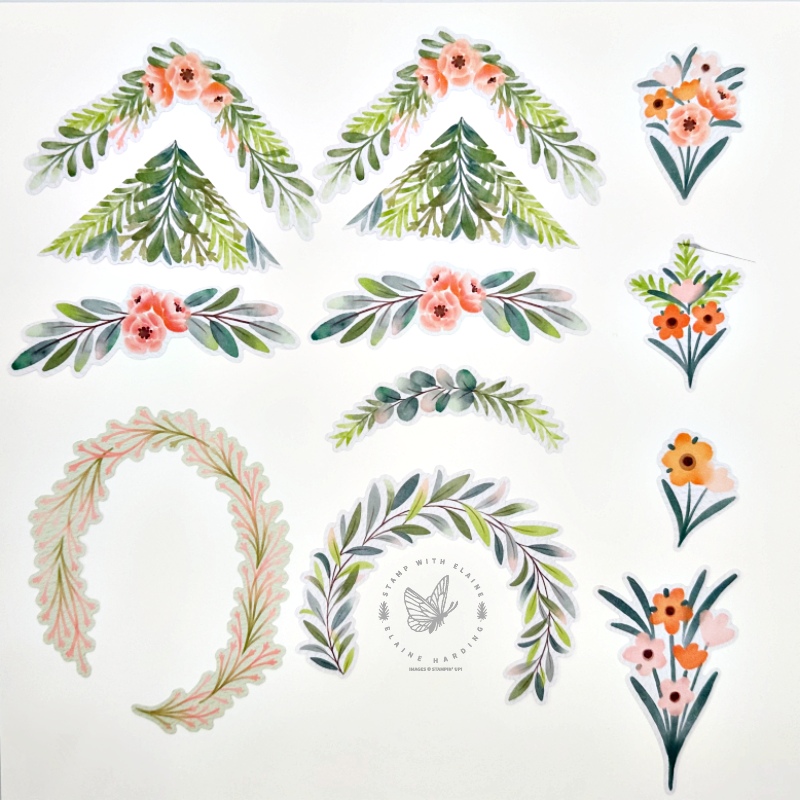
I popped out most of the laser-cut pieces but forgot to take a picture of the one with the wreaths. The pictures below are of some of the single-sided die-cut designs. It’s easier to see when laid out like this.
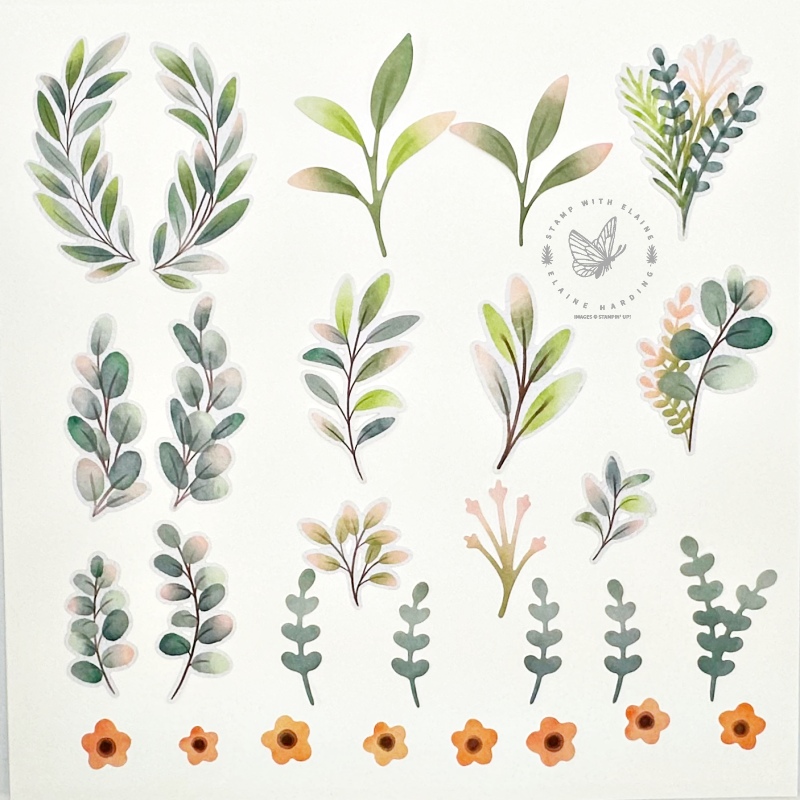
I chose the square pre-printed die-cut label from the Frames & Flowers Specialty 12″x 12″ (30.5 x 30.5 cm) Designer Series Paper to adhere to the front of the Sour Cream pouch. I cut a Basic White 1 ⅜” square and stamped “hello” in Petal Pink from the Poised Peony stamp set. Then I adhered it to the label and used the laser cut pop out flower and leaves in the bottom right corner.
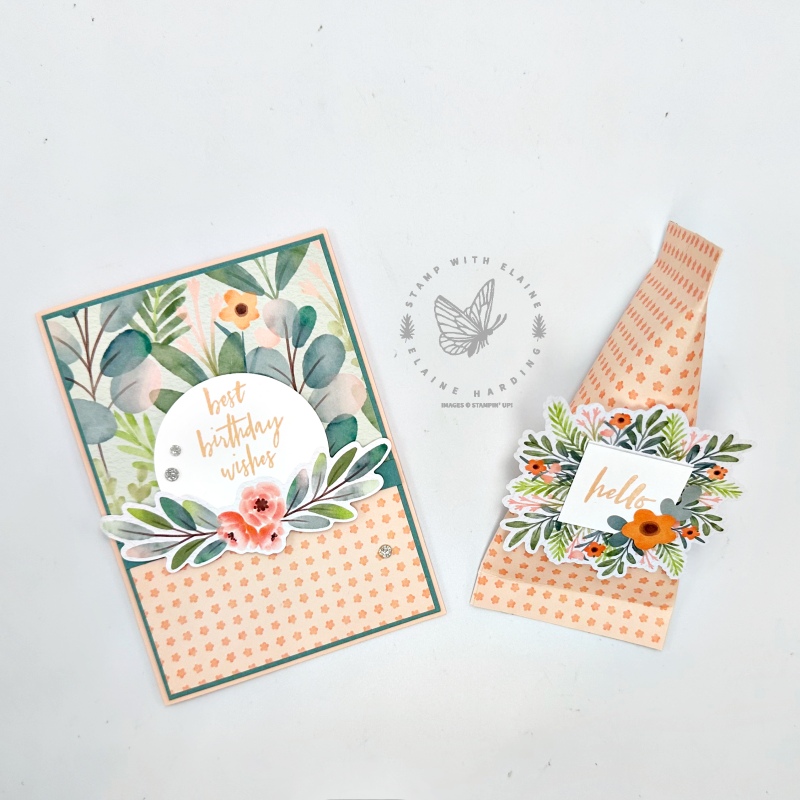
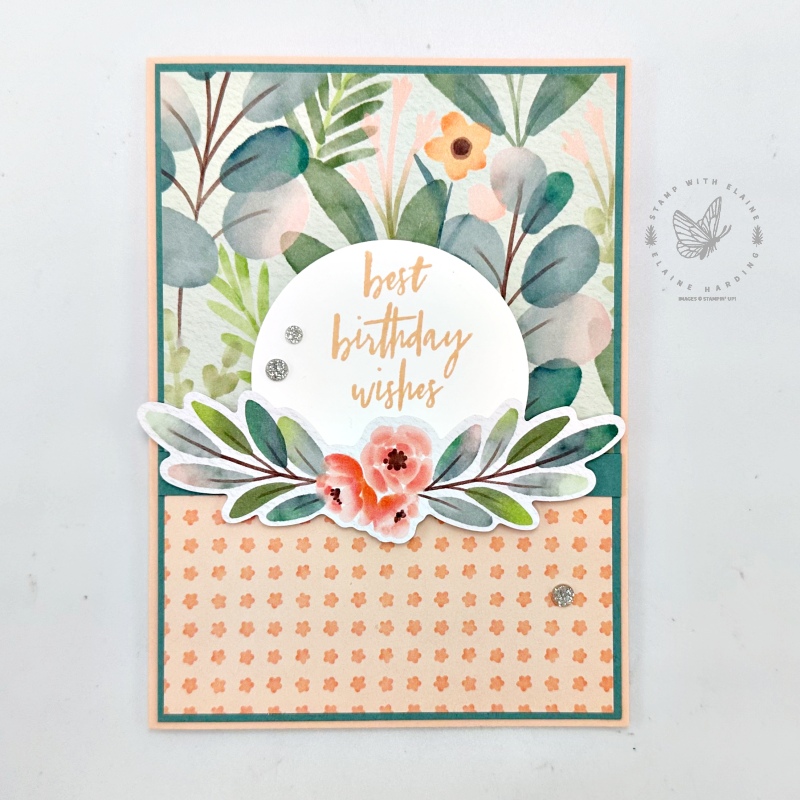
Card to accompany Sour Cream pouch
It goes without saying, that I needed a card to go with the pouch. Here’s close up. I used the same patterned paper for the card front and cut a third off the bottom so that the pattern on one side would co-ordinate with the sour cream pouch. The reverse side features leaves and floral elements which is rather busy.
I punched a 2 ⅜” circle in Basic White to stamp my sentiment and used one of the laser cut pop-out double ended floral sprig to adhere to the bottom of the circle as a decoration. Lastly, I attached some Adhesive-backed sparkle gems.
Cutting guide
- Card base Petal Pink : 5 ¾” x 8 ¼” (14.5 cm x 21 cm)
- Lost Lagoon Mat layer : 5 ⅝” x 4″ (14.3 cm x 10.2 cm)
- Frames & Flowers Specialty DSP : 5 ½” x 3 ⅞” (14 cm x 9.8 cm). Long side on top, align at 3 ½” (9 cm). Adhere larger floral section on top. Flip to the reverse side and adhere below as pictured above.
- Lost Lagoon ¼” x 4″ (0.5 cm x 10.2 cm) adhere between the two patterned pieces to hide the join.
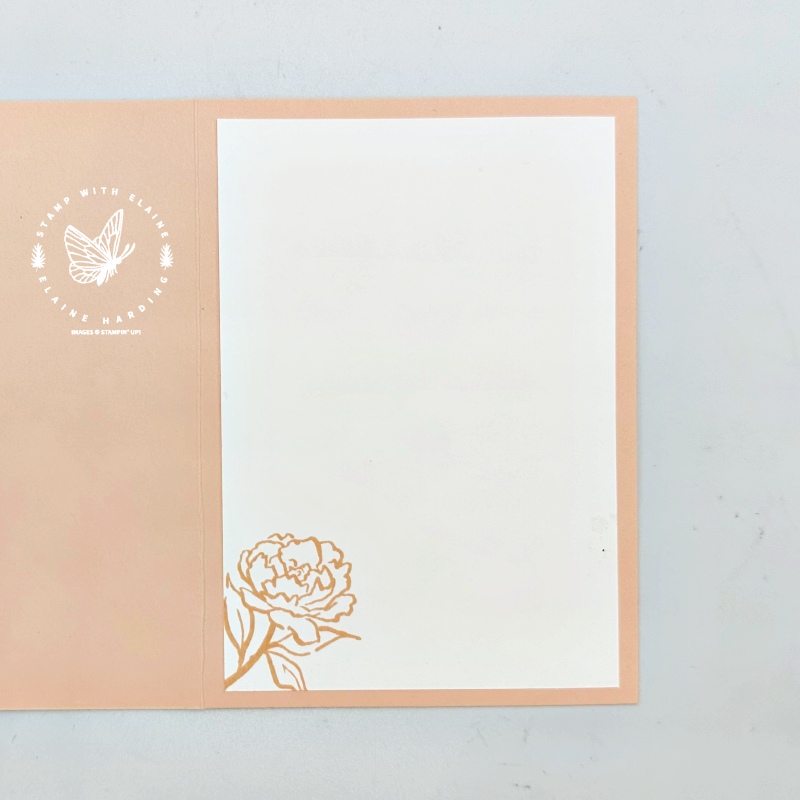
- Inside card Basic White 5 ½” x 3 ¾” (14 cm x 9.5 cm)
- Punch a 2 ⅜” circle in Basic White and sentiment.
Supply list
Listed below is the supply list. Just click on the picture to take you directly to the item in my online store.
Product List")
 Designer Series Paper")
 Circle Punch")


Thanks for popping by – have a lovely weekend – or what’s left of it!

- SHOP ONLINE – EARN 10% REWARDS ON ALL PURCHASES OVER £20
- PURCHASE A STARTER KIT : Get £155 worth of products for only £99. Choose from current catalogues and any specials available. Free Shipping. Read more
- Subscribe to my Video Tutorials – click here