
New online exclusives available today! You won’t find these items in any catalogue and the easiest way is to look at it online!
Do you like to get ready for Christmas early? I’ve never been an advocate of it myself, but if you are, then here’s your chance to get ahead! I touched on the two Christmas suites in a previous post so today I’m going to feature the new Online Exclusive called Changing Leaves Bundle.
This bundle is special, because it includes a hybrid embossing folder which works in conjunction with its dies. The die fits inside the embossing folder and you can die cut and emboss the image simultaneously with spectacular results!
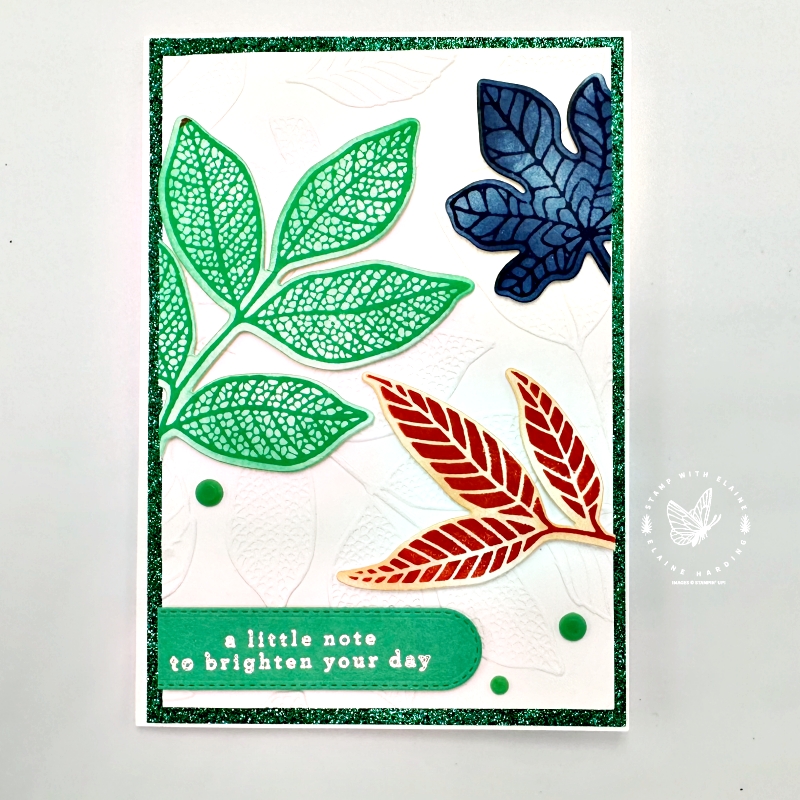
I took my inspiration for this card from Stampin’ Up!’s promotional flyer and was intrigued by how the concept artist had created it. In the sample they’d stamped the leaf images from the stamp set to adhere on top an embossed layer. Of course I’ve tweaked mine by adding a Shy Shamrock specialty glimmer paper ½” border frame.
How to mount stamps with the hybrid embossing folder die
In the photo, I’d already mounted the stamps, so it was photographed upside-down. that’s why the cutting edge of the die is visible.
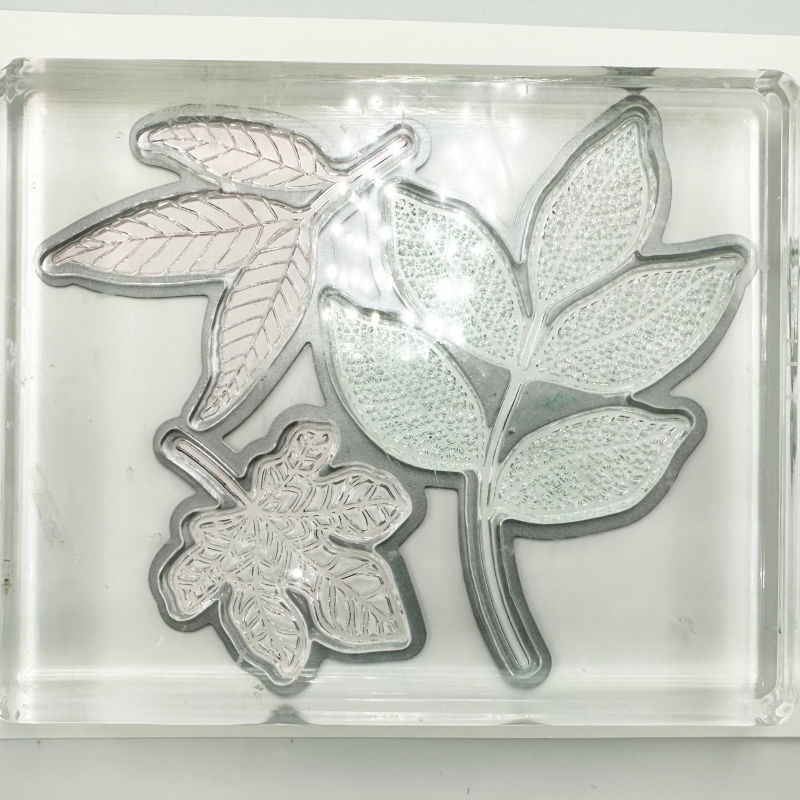
This die is the one that will fit inside the embossing folder, but I wanted to be able to use the die to cut my stamped leaves without using the embossing folder. In order to do that, place the die on a flat surface with the cutting edge face down. Drop the corresponding leaf stamps into the die, and use the “F” block to pick up the stamps. Then ink up each leaf in the colour of your choice and stamp on Basic White card stock. The stamps are sufficiently distant from one another for you to ink them in different colours.
Position die over the top of your stamped images using the standard die-cutting sandwich i.e., Platform 1>thin die adapter Platform 2>Cutting Plate 3>cardstock>die cutting edge face down>2nd Platform 3.
Once the leaves had been die cut, I used a blending brush to add colour to the inside of the leaves and its perimeter.
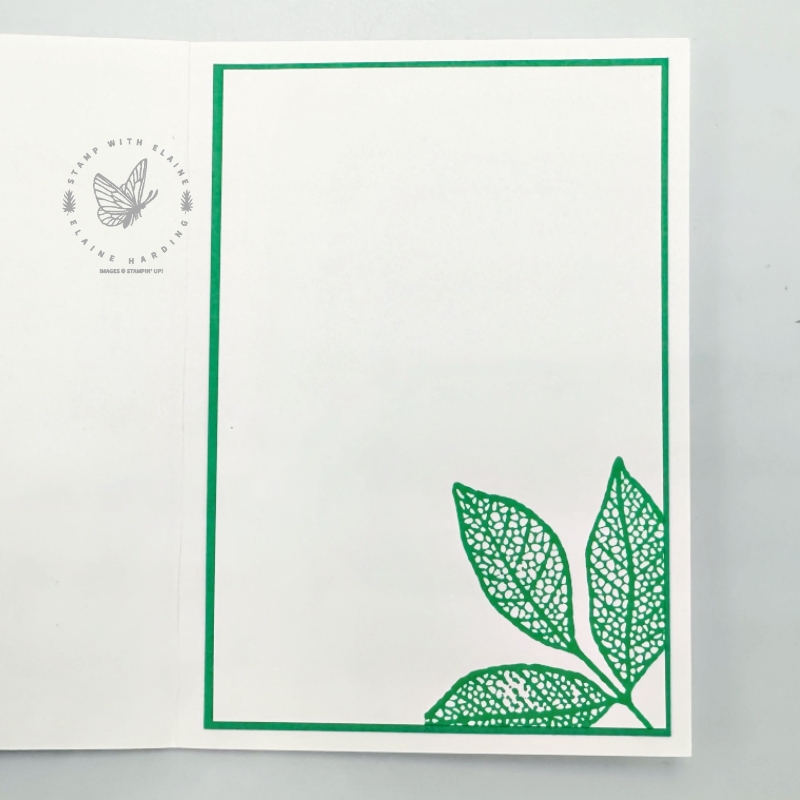
Inside card
I added a Shy Shamrock mat layer to the inside of the card to balance the weight with the card front.
Cutting guide
- Card base Basic White : 5 ⅞” x 8 ¼” (14.9 cm x 21 cm) folded in half
- 2024-2026 In Color Glimmer 12″x 12″ (30.5 x 30.5 cm) Specialty Paper : 4″ x 5 ¾” (10.2 cm x 14.6 cm). Gut the piece by cutting a ½” (1.5 cm) frame and reserve insides for another project.
- Basic White layer for embossing with Changing Leaves Hybrid Embossing folder : 3 ¾” x 5 ½” (9.5 cm x 14 cm)
- Mount stamps on block per instructions on “How to Mount stamps” paragraph. Stamp on Basic White card stock and die cut leaves.
- Inside card – cut Shy Shamrock layer 3 ¾” x 5 ½” (9.5 cm x 14 cm)
- Cut Basic White layer 3 ⅝” x 5 ⅜” (9 cm x 13.5 cm)
Supply list
Listed below is the supply list. Just click on the picture to take you directly to the item in my online store.

- SHOP ONLINE – EARN 10% REWARDS ON ALL PURCHASES OVER £20
- PURCHASE A STARTER KIT : Get £155 worth of products for only £99. Choose from current catalogues and any specials available. Free Shipping. Read more
- Subscribe to my Video Tutorials – click here