
New kits added in July. Two new kits have been added in July in the online Kits Collections. The card kit is called Expressions of Kindness and the second kit is called the Scenic Route Travel Journal kit for those of you who love scrapbooking and memory keeping!
In today’s project I’m going to show you how I altered an envelop to create more cards. It’s always a challenge to make the supplies in a kit go further. Of course, it goes without saying that you can make the cards following the choreographed kit experience. I usually take one design of each card to see how I can make “extras” just by adding minimal supplies and perhaps items I already have in my stash to make it go further. The envelops are really pretty too, so in today’s project, I’ve made 4 cards from the one envelop.
Kit card original designs with co-ordinating envelops
I created the original cards below following the instructions in the kit. The cards are lovely, with a water colour effect. The envelop in the second picture is the one I used to alter and made 4 cards out of the one envelop.
Altering the envelope
To deconstruct the envelop I cut the tiniest sliver off the 2 sides of the envelop. Then once I could lay it flat, I cut along the score lines to yield 3 pieces, the back, front and envelop flap. I then cut the front of the envelop diagonally along the blank space. Altogether, deconstructing the envelop yielded 4 pieces of “patterned” papers I could use to decorate the cards with.
I confined myself to the embellishments and laser-cut elements allocated for one card, a gold leaf sprig, the thistle sprig, 6 ¼” of ribbon and 5 embellishment dots which I distributed among the 4 cards I made. Extra card stock needed was Petunia Pop, Lost Lagoon and Basic White for the card bases and mat layers.
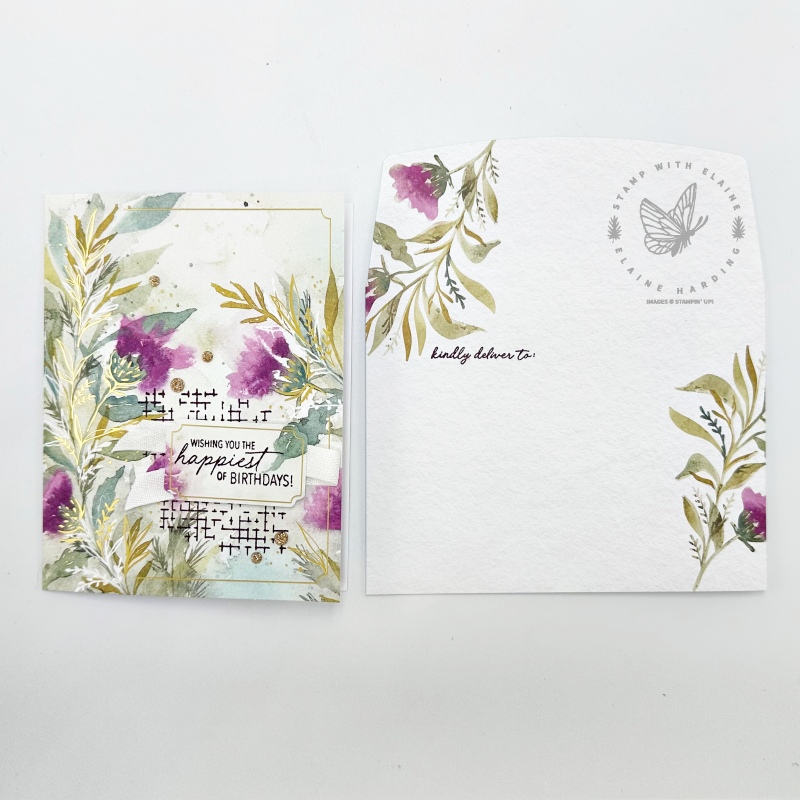
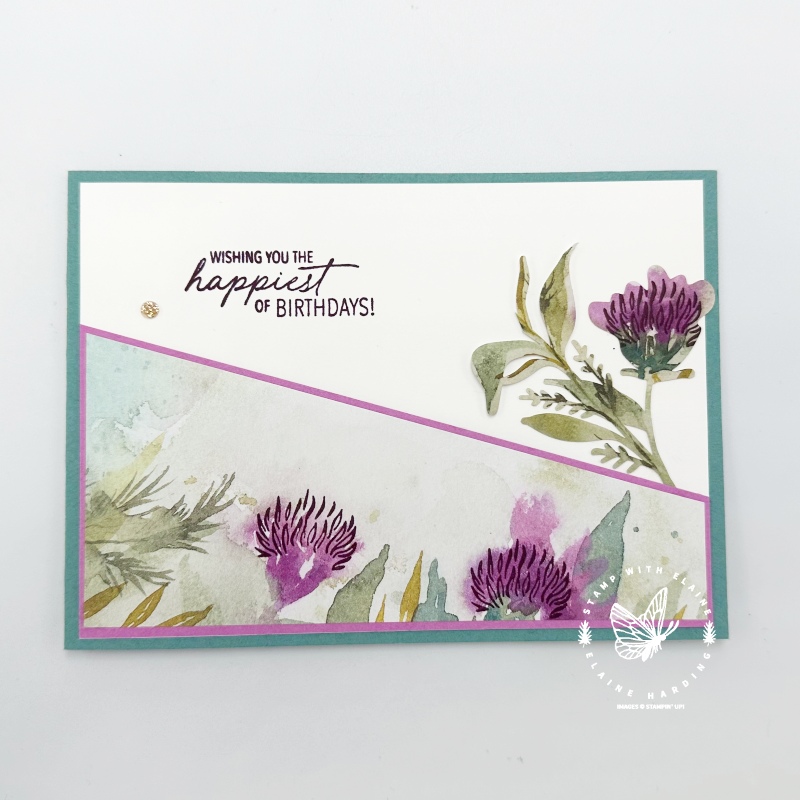
Card 1
Front of envelop part 1.
- Card base Petunia Pop : 4 ⅛” x 11 ½” (10.5 cm x 29.2 cm) fold in half.
- Trim larger of the two diagonally cut envelop [Left H 3 ⅜” x W 5 ⅝” x Right H1 ¾” (8.6 cm x 13.7 cm x 14.3 cm)] front to Petunia Pop card front leaving ⅛” (0.3 cm) border on the bottom and two sides.
- Stamp greeting in Petunia Pop ink on Basic White and fussy cut. Set aside.
- Ink up grid stamp in Petunia Pop and stamp in top right corner then stamp a second time without re-inking.
- Adhere greeting with dimensionals.
- Trim the gold foil laser leaf sprig by cutting bottom third and arrange as pictured.
- Add one of the smaller “rhinestones”
- Inside card – Cut and adhere Basic White piece 3 ⅜” x 5 ½” (8.5 cm x 13.5 cm) and stamp grid in bottom left corner as shown.
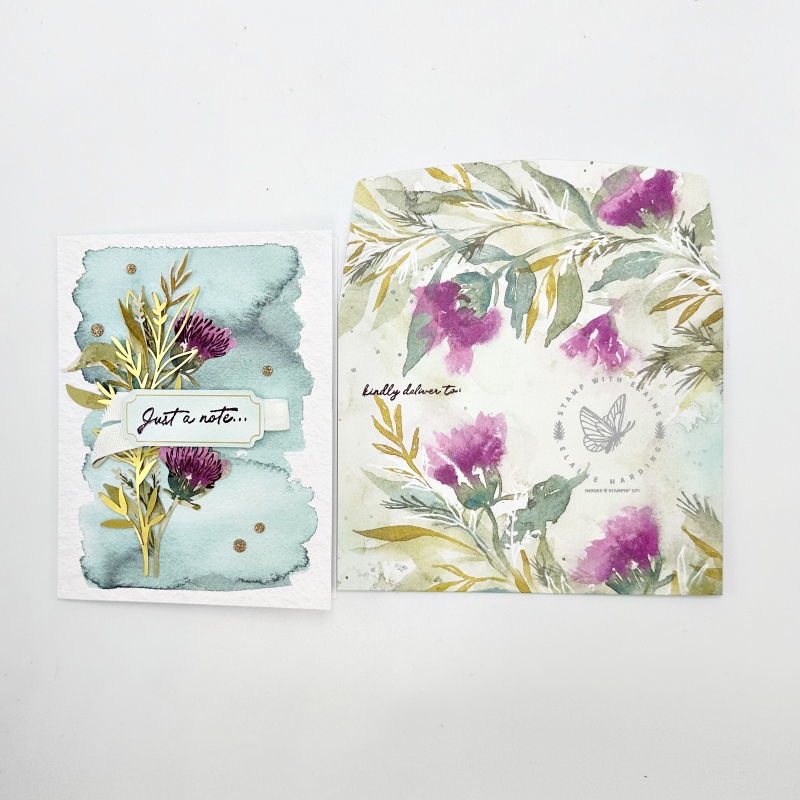
Card 2
Front of envelop part 2
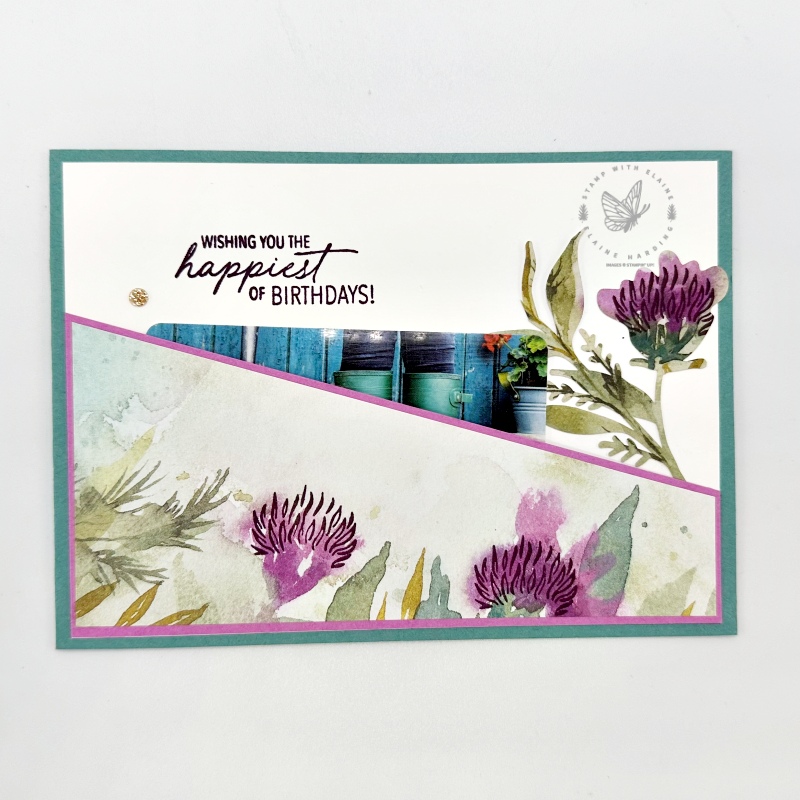
- Cut card base in Lost Lagoon : 4 ⅛” x 11 ½” (10.5 cm x 29.2 cm) fold in half.
- Basic White layer card front : 3 ⅞” x 5 ½” (9.8 cm x 14 cm)
- Cut mat layer in Petunia Pop [H 2 ¾” x 5 ½” x 1 ⅛” (7 cm x 14 cm x 2.9 cm)] for smaller diagonal piece for front of envelop. The second smaller diagonal piece should measure [left H 2 ½” x W 5 ⅜” x Right H 1″ (6.4 cm x 13.7 cm x 2.5 cm).
- Only apply adhesive to 3 sides, but not on the diagonal to create a pocket. Adhere to Basic White layer ensuring the bottom and 2 sides are aligned with Basic White layer. (I’ve inserted a gift card into the pocket in the middle photo).
- Trim the bottom third of thistle floral sprig and insert into pocket and adhere with adhesive.
- Stamp greeting in top left of Basic White layer.
- Add embellishment as shown.
- Inside card : Basic White piece and adhere to inside of card.
- Stamp as desired in bottom right corner.
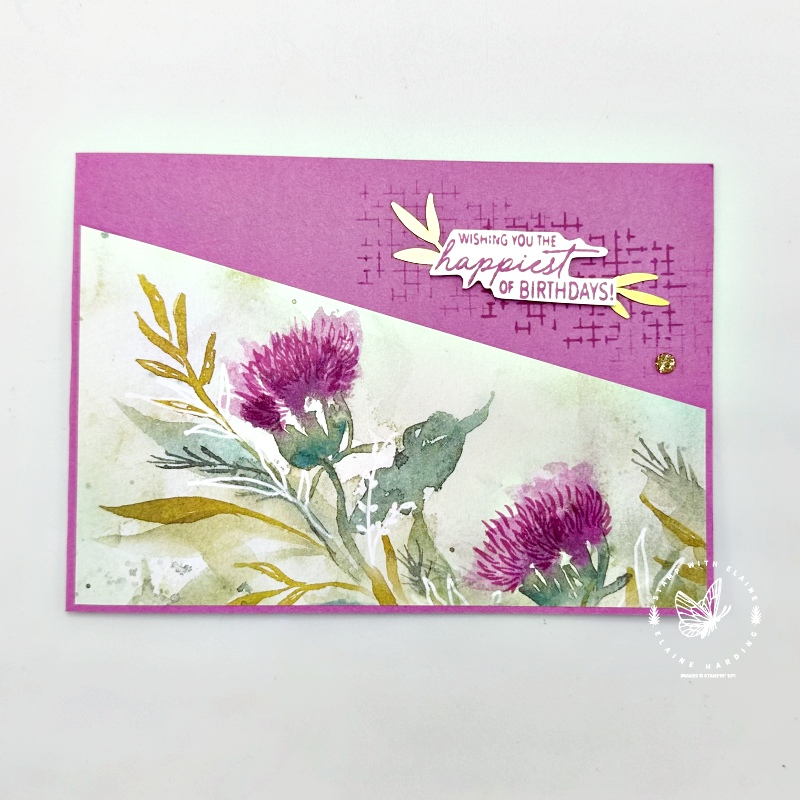
Card 3
Back of envelop
- Cut card base Lost Lagoon : 5 ¾” x 8 ¼” (14.5 cm x 21 cm) fold in half.
- Petunia Pop mat layer ⅛” larger than envelop piece. Adhere to card front leaving even border on 3 sides.
- Stamp greeting in Blackberry Bliss on Basic White card stock 1″ x 2″ (2.5 cm x 5 cm)
- Adhere to Petunia Pop layer 1 ⅛” x 2 ⅛” (2.8 cm x 5.3 cm)
- Attach remaining gold laser cut piece, then attach greeting with dimensionals as pictured.
- Lastly attach 1 large and 1 small embellishment in top right corner.
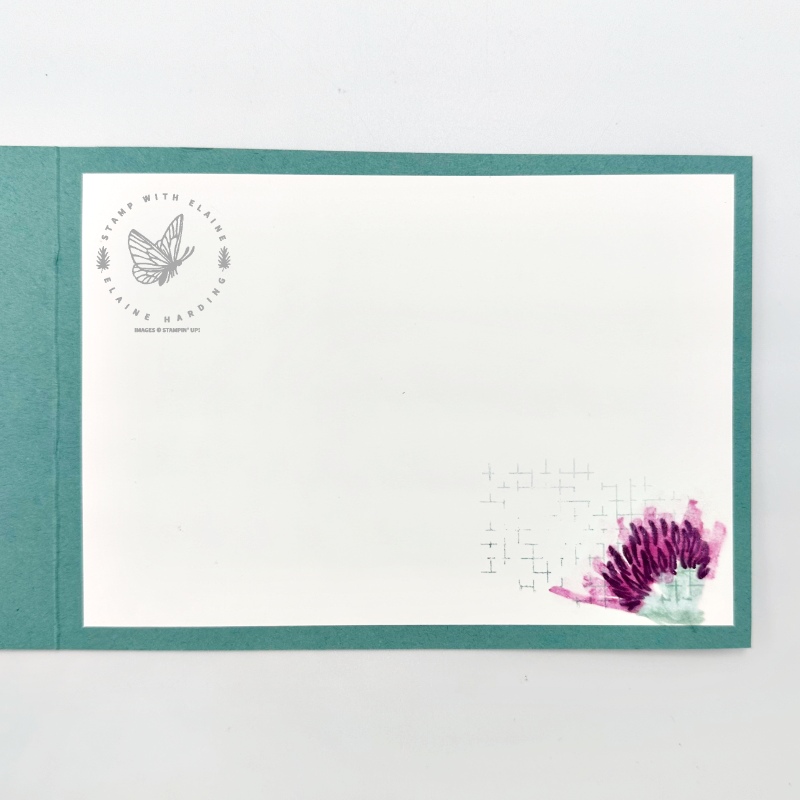
- Mat layer inside card Petunia Pop : 3 ¾” x 5 ½” (9.5 cm x 14 cm)
- Basic White layer : 3 ⅝” x 5 ⅜” (9.2 cm x 13.7 cm) -adhere to Petunia Pop mat layer and then adhere to inside of card leaving an even border all round.
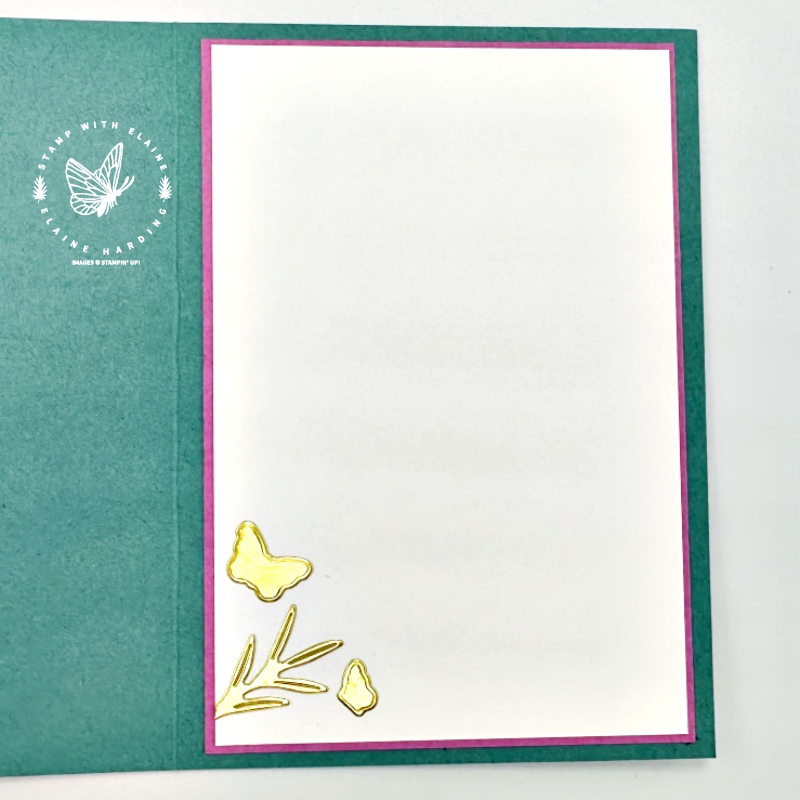
- Use scraps from laser cut gold foil leaf sprigs to die cut butterflies and corner of leaf with Perrenial Lavender Dies set and adhere to bottom left.
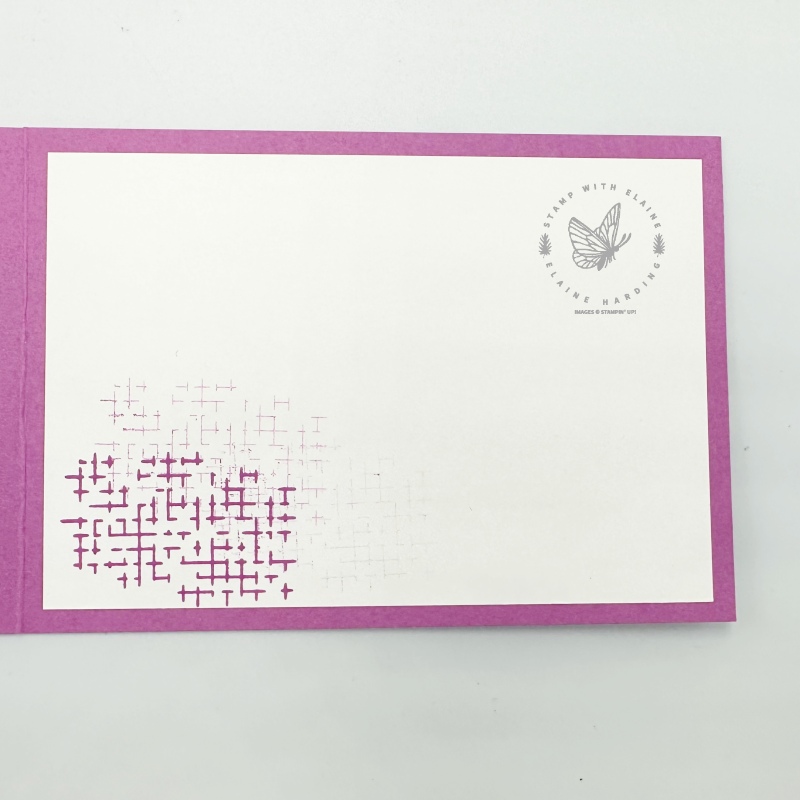
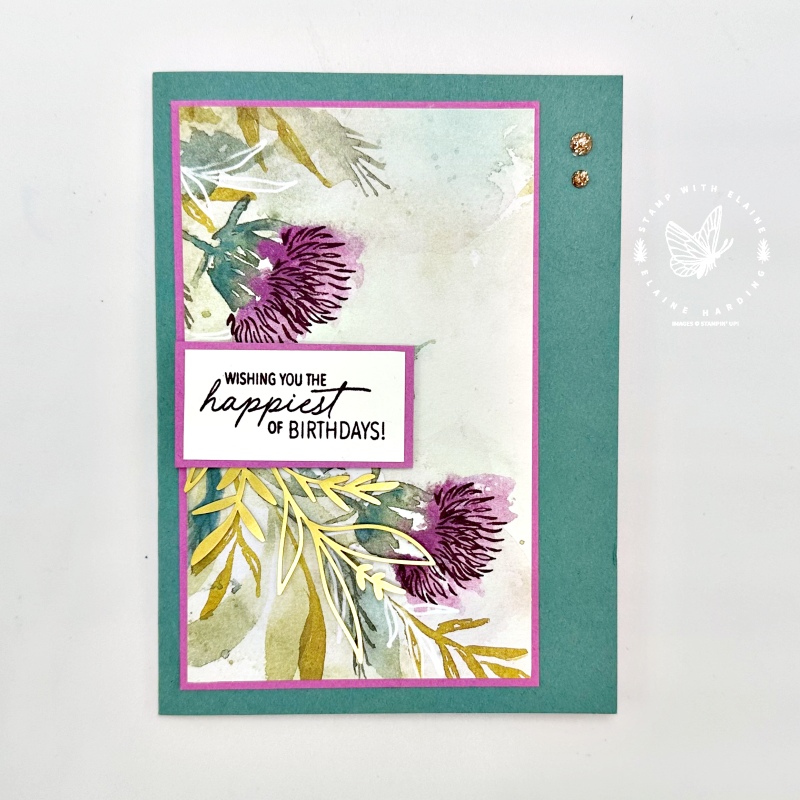
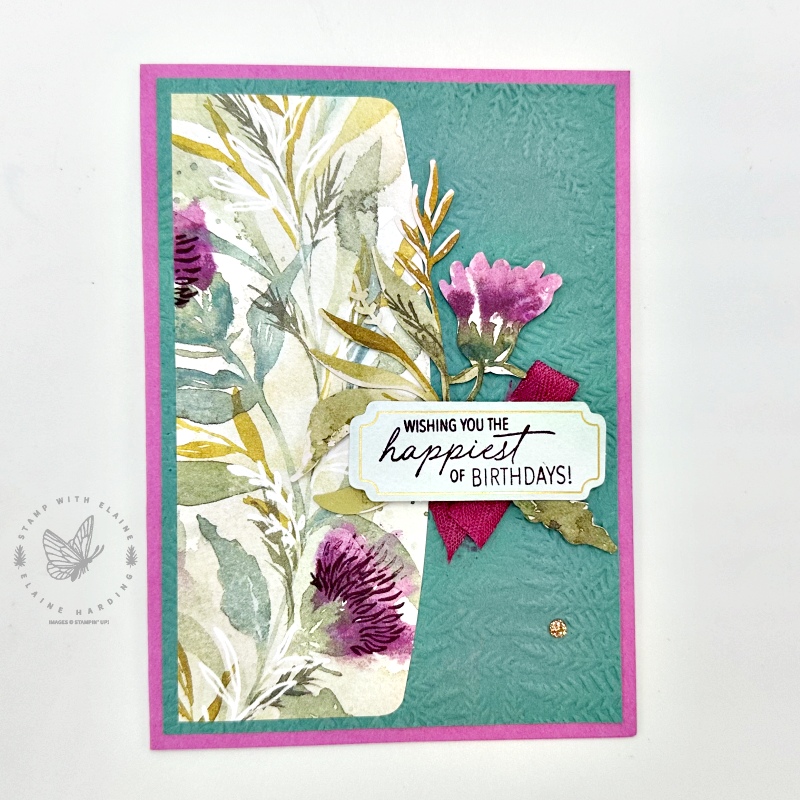
Card 4
Envelop flap
- Card base Petunia Pop : 5 ¾” x 8 ¼” (14.5 cm x 21 cm) fold in half.
- Lost Lagoon cut at 3 ¾” x 5 ½” (9.5 cm x 14.5 cm) and emboss with the Fern 3D embossing folder.
- Trim envelop flap so that the overall length is 5 ¼” (13.3 cm). You’re simply straightening the sides of the flap but keeping the rounded corners.
- Adhere envelop flap to Lost Lagoon embossed layer leaving an even border on 3 sides.
- Stamp the greeting on the pre-cut label in the kit
- Trim off one of the leaves from remaining thistle floral sprig. Attach as shown in picture. Reserve single leaf for later.
- Colour ribbon with Petunia Pop stampin’ blends. Allow to dry before folding and tucking behind label.
- Adhere label on top of thistle sprig and ribbon.
- Attach single leaf with dimension to bottom right of label.
- Add “rhinestone” at bottom right of card front.
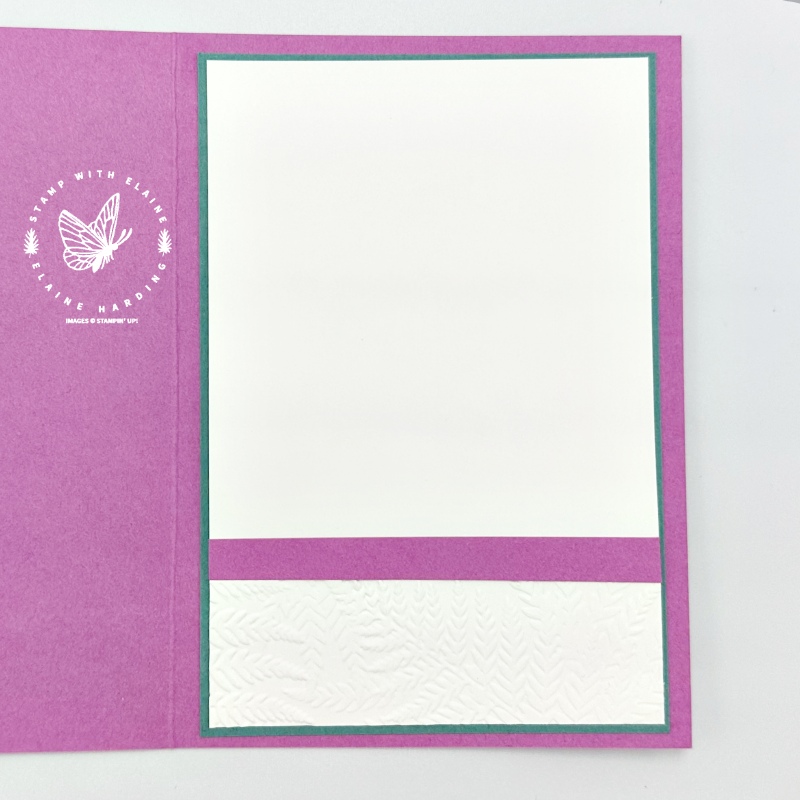
- Cut a Lost Lagoon mat layer 3 ¾” x 5 ½” (9.5 cm x 14 cm)
- Inside card : cut Basic White 3 ⅝” x 5 ⅜” (9.2 cm x 13.7 cm). Partially emboss bottom ¼ of this piece with Fern 3D embossing folder and adhere to Lost Lagoon Mat layer.
- Cut a strip of Petunia Pop ½” x 3 ⅝” (1.3 cm x 9.2 cm) and adhere along the embossed line.
Supply list
Listed below is the supply list. Just click on the picture to take you directly to the item in my online store.
Product List")


I hope you’ve been inspired by today’s project. Simply by introducing your own card bases and whatever you have in your stash, you can make the kit supplies stretch to so much more. Thanks for visiting.

- SHOP ONLINE – EARN 10% REWARDS ON ALL PURCHASES OVER £20
- PURCHASE A STARTER KIT : Get £155 worth of products for only £99. Choose from current catalogues and any specials available. Free Shipping. Read more
- Subscribe to my Video Tutorials – click here