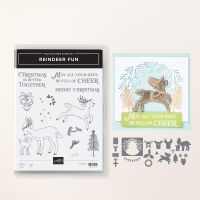
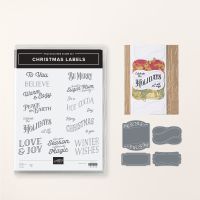
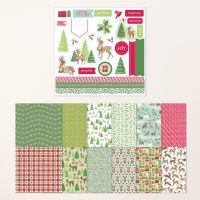
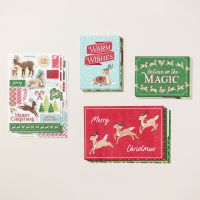
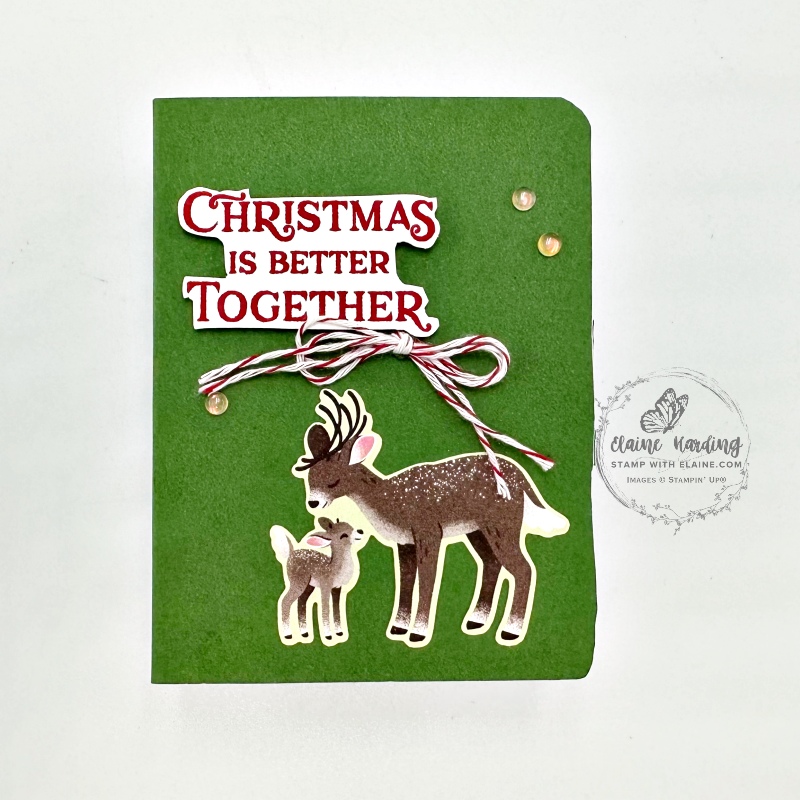
5 altered Book Treat Boxes. In week 10 of 12 in my Christmas series I”m turning my attention from card making to something else! We all need stocking fillers don’t we. What you fill them with is at your discretion – it could be toiletries, like lip balm, or candy, or a stocking filler toy which will fit inside these adorable book treat boxes that Stampin’ Up! supplies.
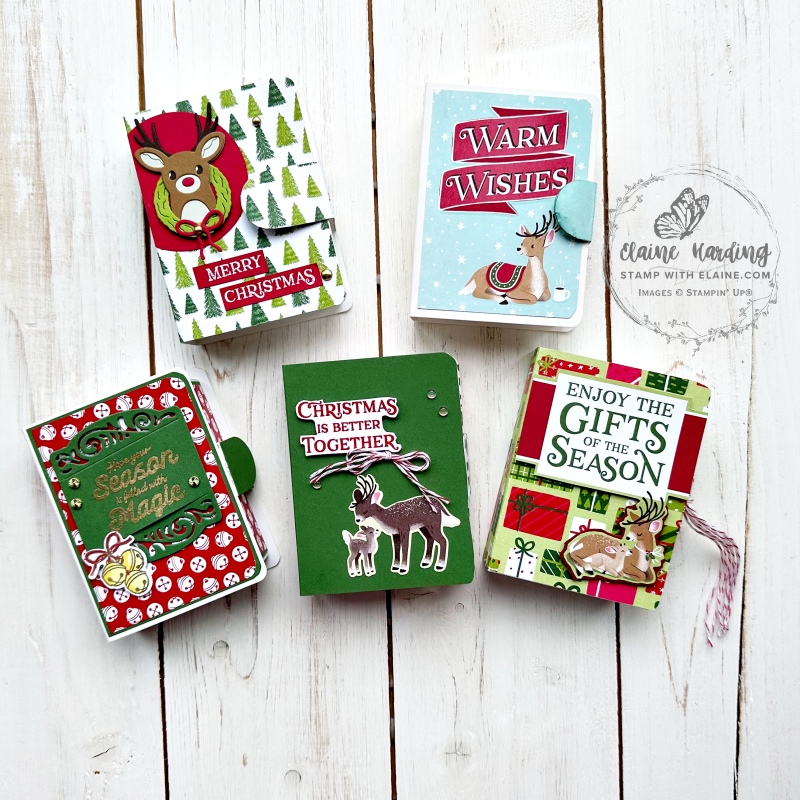
The Book Treat boxes were designed so that it would adhere to the front of the box. This means you can only use them once. However, I wanted to be able to reuse them again and again. Consequently, I created different closures for them by using hook & loop velcro, magnets, on its side as well as flipping the box so that the closure is at the back.
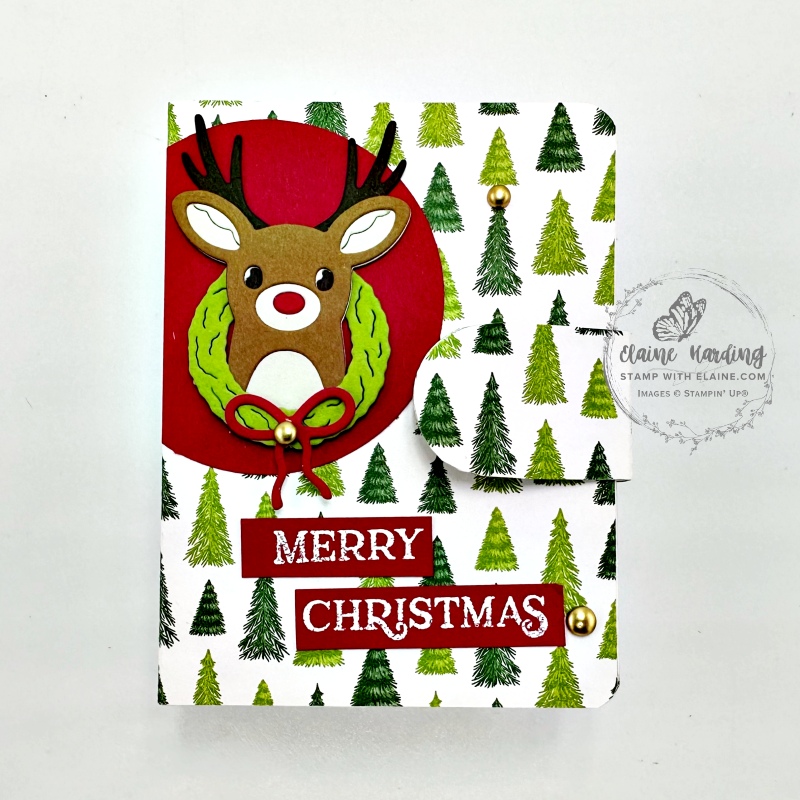
1. Velcro fastening at front
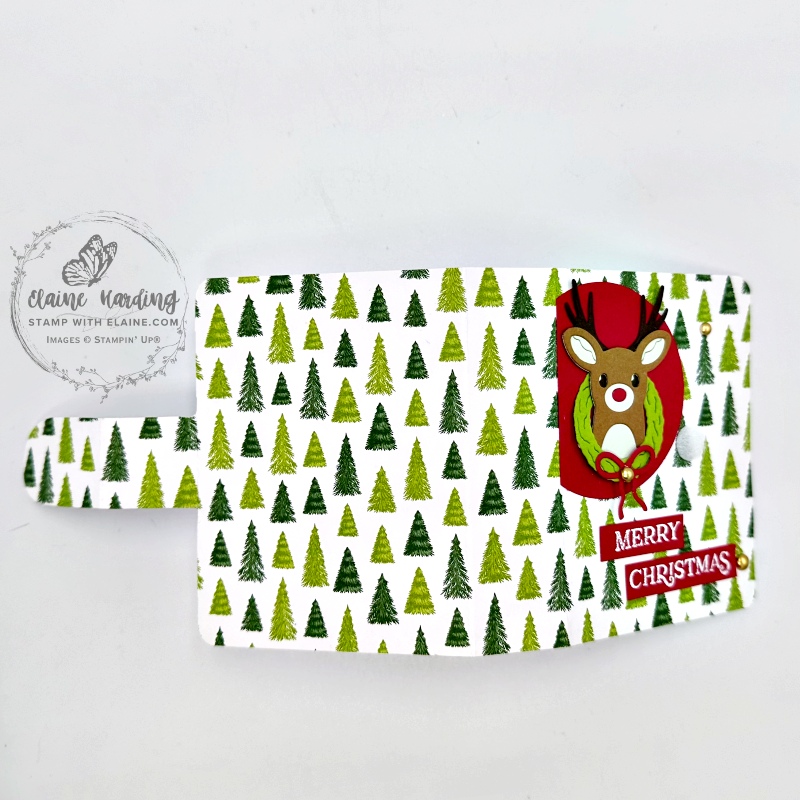
Be aware of paper orientation if you are using a directional pattern – ask me how I know!
- Reindeer Days 12 x 12 DSP : 4″ x 12″ (10.2 cm x 30.5 cm)
- The closure tab and front and back of box is cut from one piece. Adhere piece as shown in pic and trim off excess.
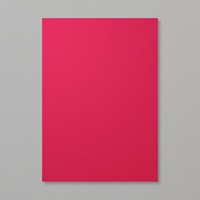
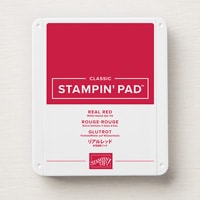
- Punch a 2″ circle with Real Red Card stock and adhere as shown.
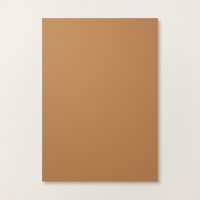
- Decorate with die cut elements from Granny Apple Green, Early Espresso, Beige, Pecan Pie card stock.
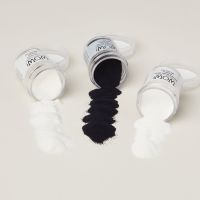
- White emboss greeting on Real Red card stock and trim and embellish as desired.
2. Shortened magnetic closure on front
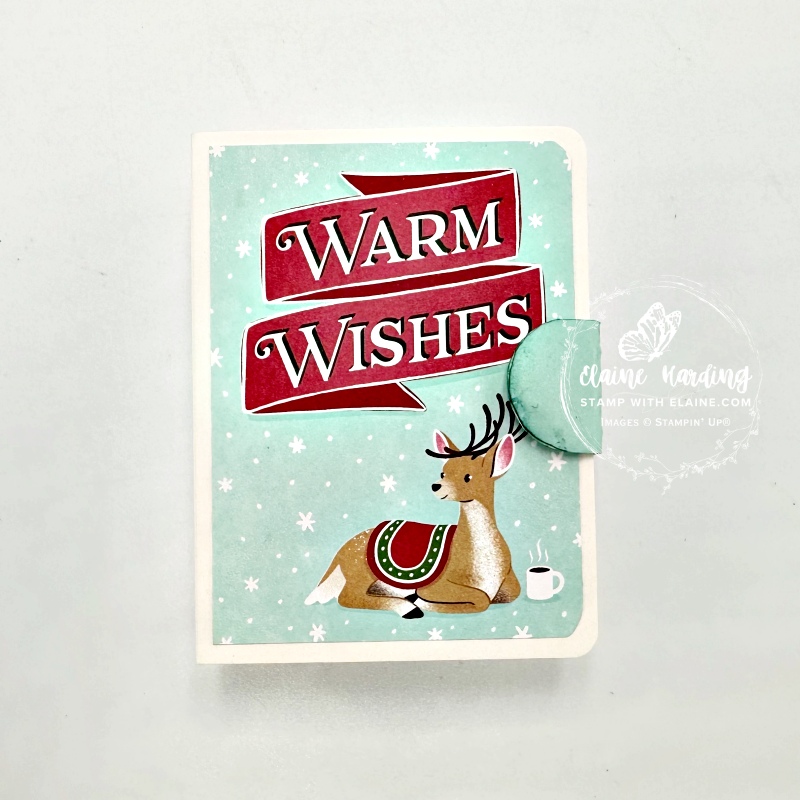
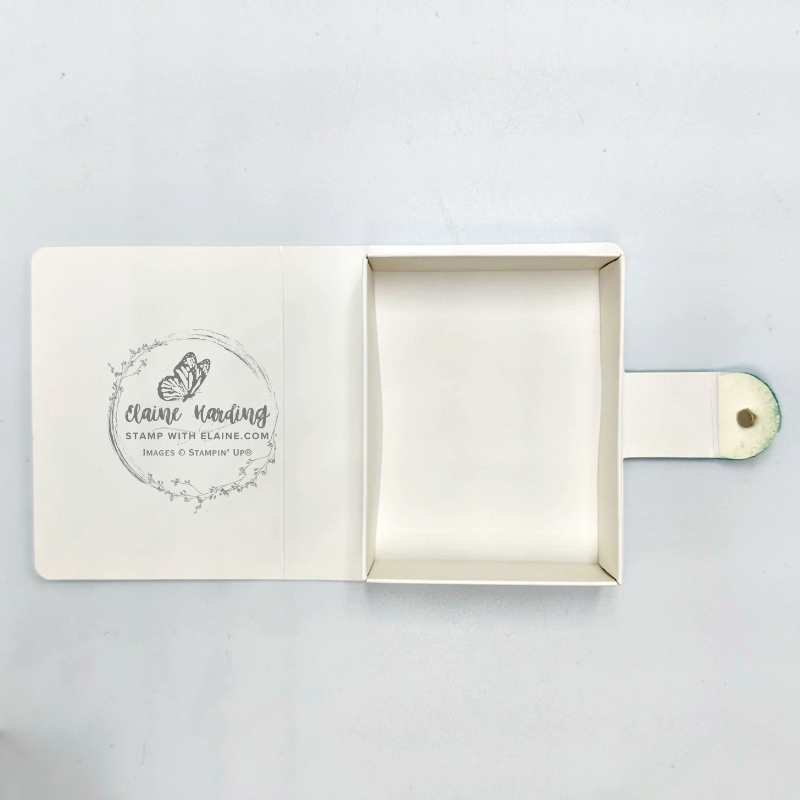
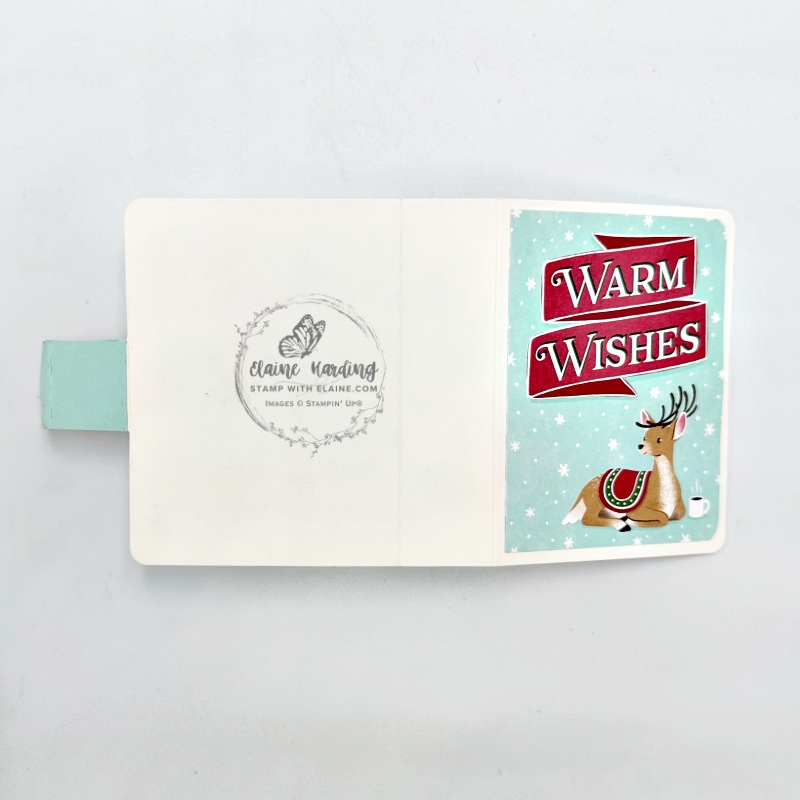
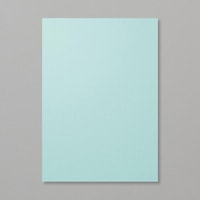
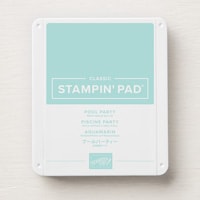
- Trim closure tab as shown and cut 1″ width of Pool Party card stock. Adhere to closure and use rounded end as template to trim same profile.
- Attach pair of magnets to underside of closure tab with glue dot.
- Put another glue dot on the top magnet and close over top of front of box lid to attach the second magnet.
- Trim and round corners on right side of Reindeer Days Memory & More card and adhere to front of box on top of the magnet.
- Use blending brush to add colour to closure tab.
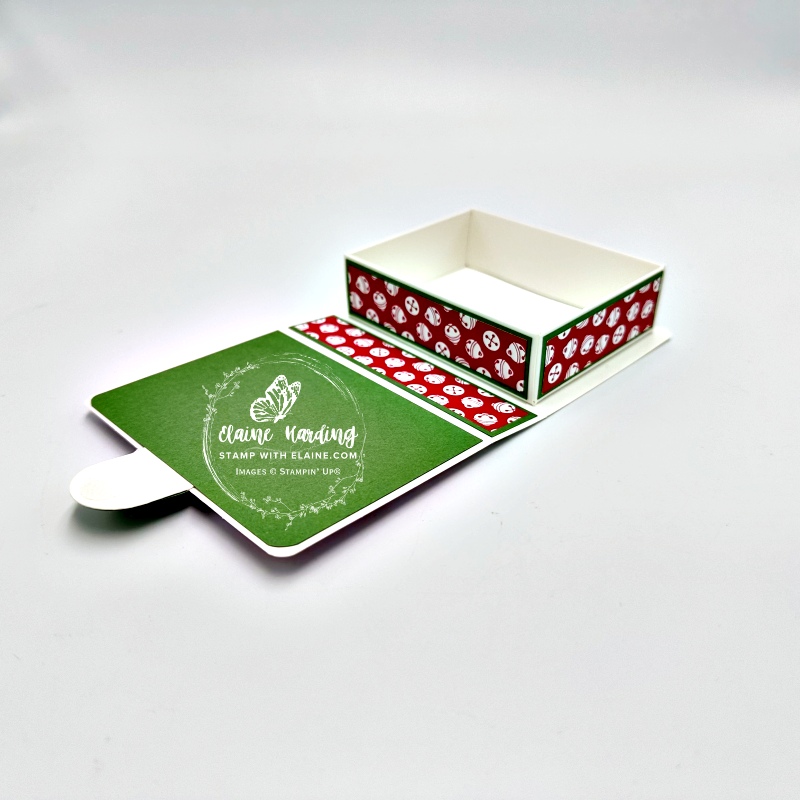
3. Reverse closure on bottom
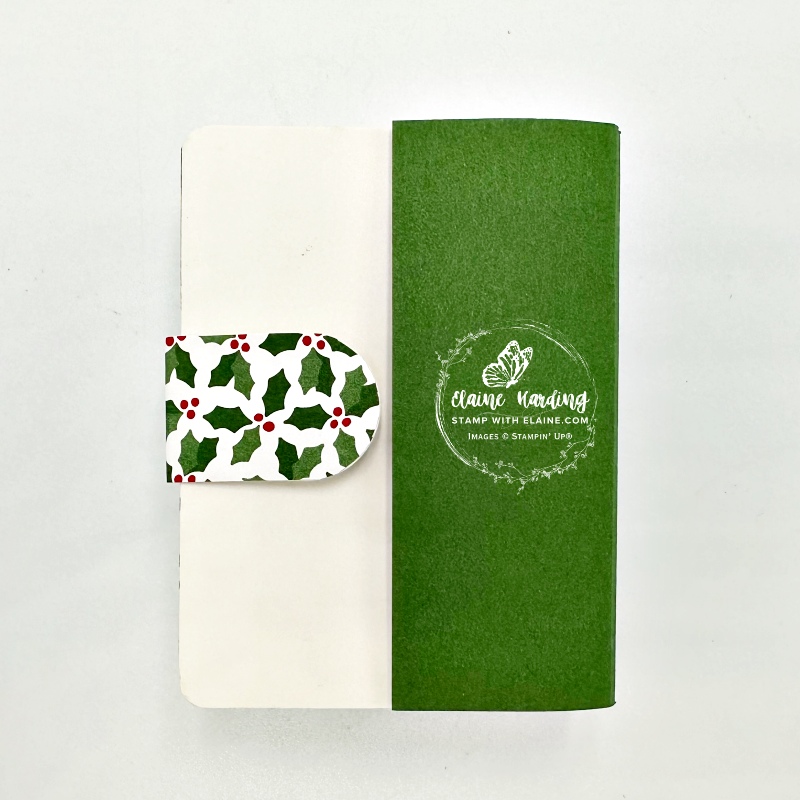
- *Cut Garden Green piece at 5 ¾” x 4″ (14.6 cm x 10.2 cm). See left picture below. * With the velcro fastening on the back, the box won’t lie flat. Consequently, this Garden Green piece will partially wrap around the back, spine and front of lid in order to hide two rows of dimensionals. There is a row of double stack dimensionals on the left edge and a triple stack on right edge next to the spine.
- DSP for closure tab : Strip of DSP 1″ (2.5 cm) width – adhere to tab then trim to cover whole of tab.
- Cut DSP 7 ¼” x 4″ (18.5 cm x 10.2 cm) and adhere to inside of box – trim round corners and any excess before adhering inside box base.
- Add tear and tape to the right side of book box base cover and adhere internal box base on top.
- Stamp and fussy cut greeting in Real Red ink on Basic White card stock. Adhere to front of box with dimensionals.
- Use one of the stickers from the Reindeer Days Memories & More cards.
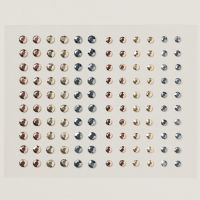
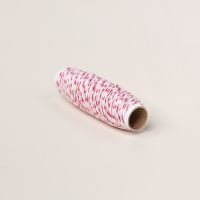
- Tie a box with Bakers Twine and add Adhesive-backed metallic gems as a finishing touch.
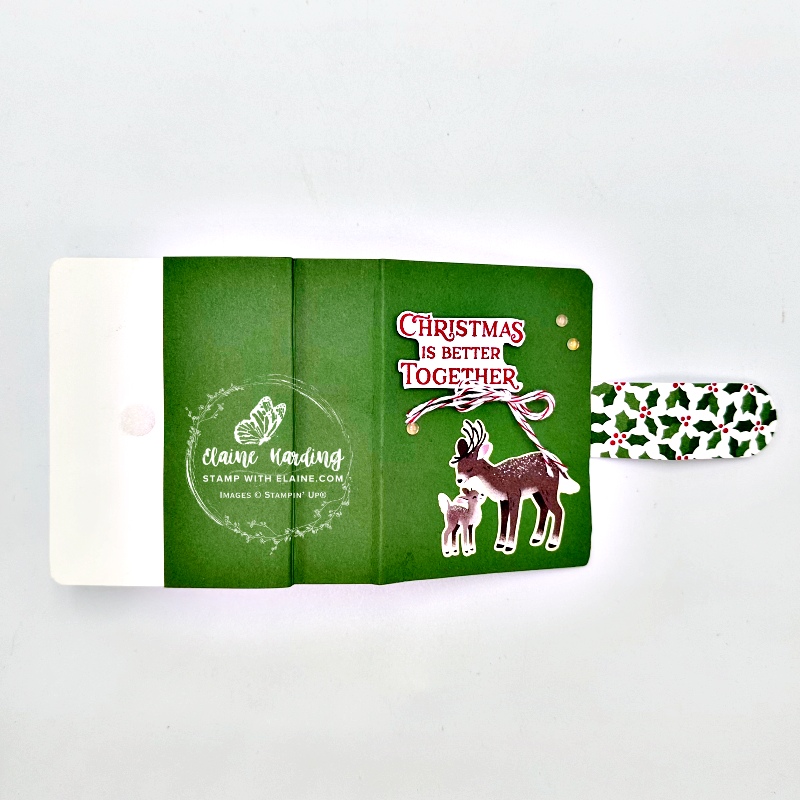
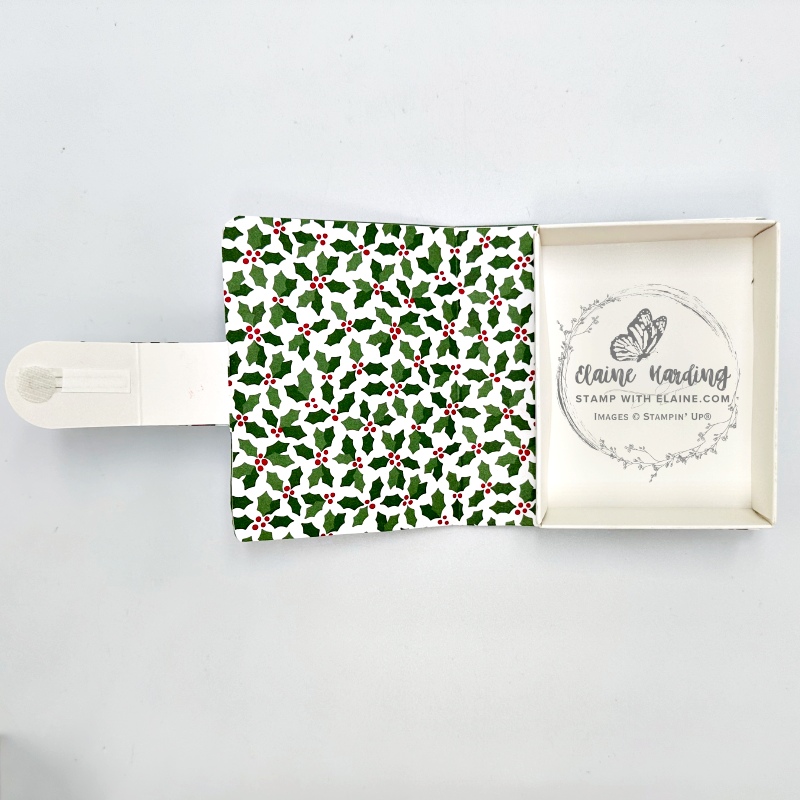
4. Side closure with Baker’s Twine
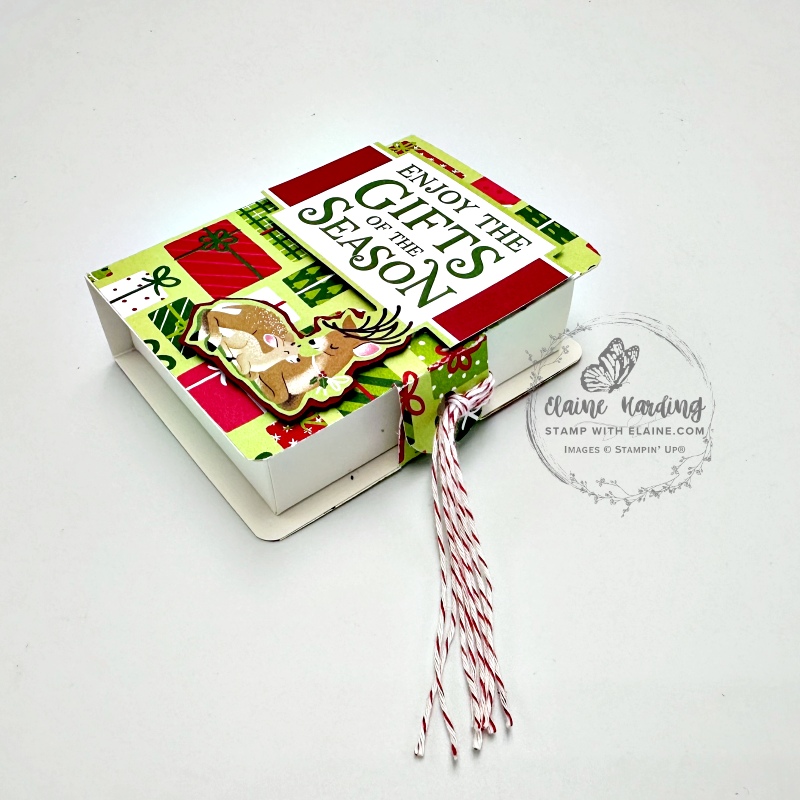
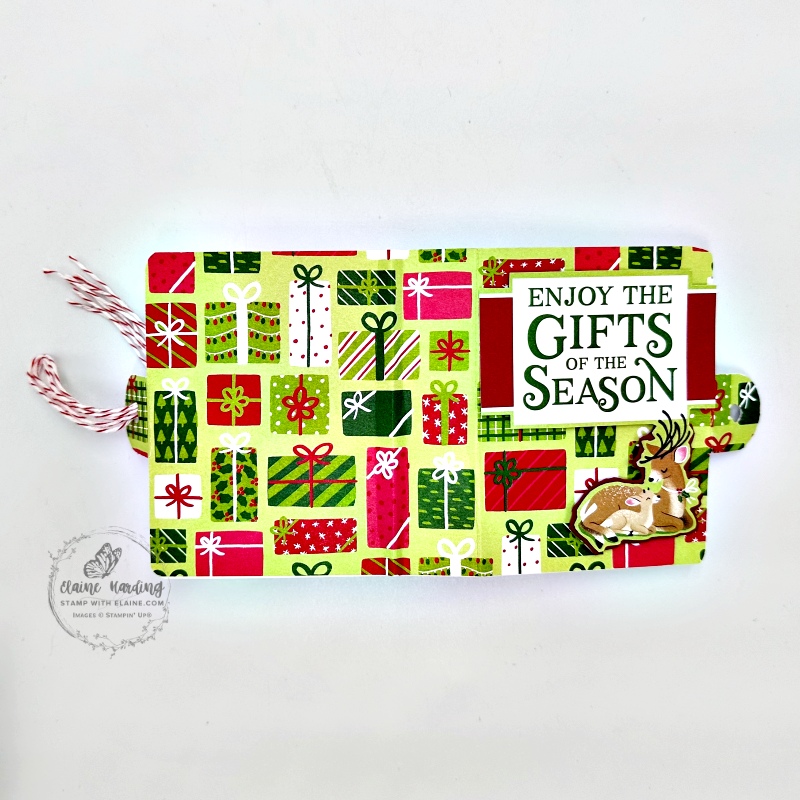
- Trim the Reindeer Days Memories & More card and set aside.
- Cut off part of the closure, score and trim to same rounded profile and attach to box lid. Trim lower closure to same rounded profile.
- Adhere DSP trimmed to cover the whole of the box including the closures as pictured.
- Punch a hole through both rounded tab closures.
- Cut several lengths of Baker’s twine and make a loop to thread through both holes stacked on top of each other and pull through as pictured.
5. Velcro Closure on side
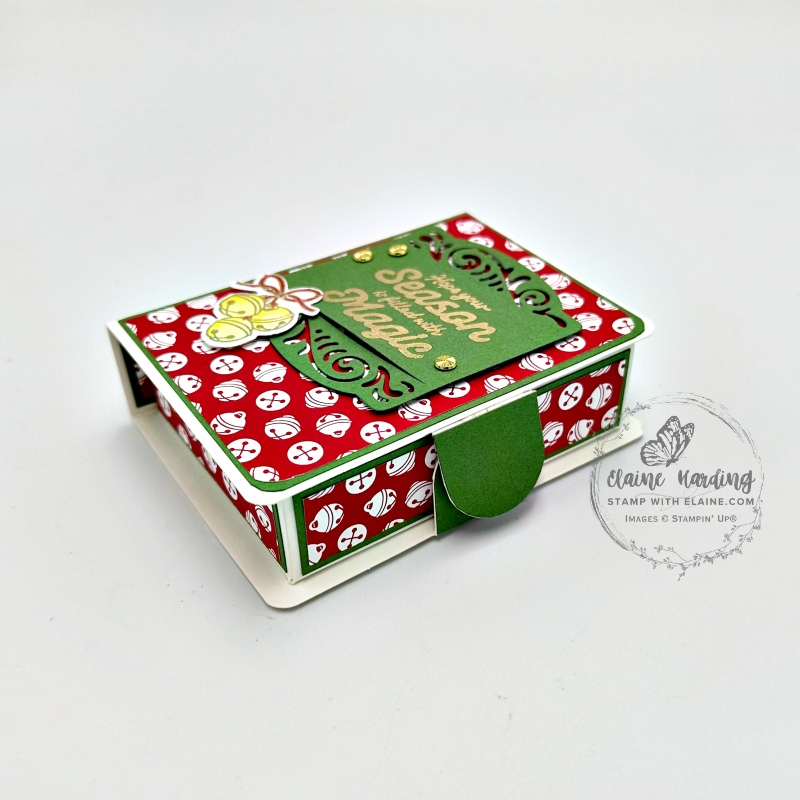
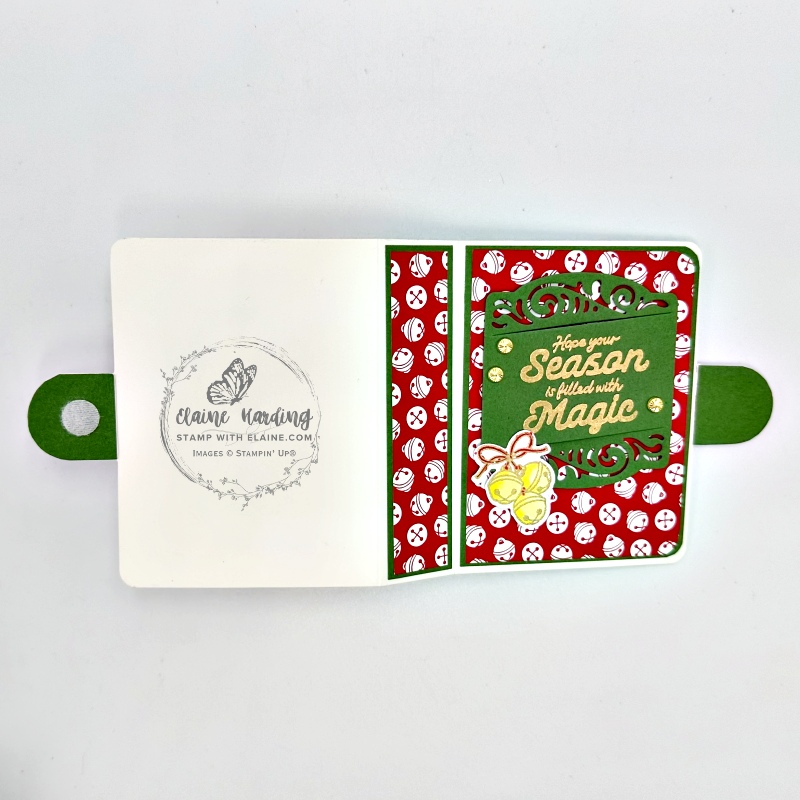
Mat layer #1 Garden Green
- Front and inside cover : 2 pieces cut at 2 ⅞” x 3 ⅞” (7.5 cm x 9.5 cm)
- Spine of book box : 2 pieces cut at 3 ⅞” x ⅞” (9.5 x 2 cm) one for outside and one for inside
- Internal Box Base : 2 pieces 2 ⅝” x ⅞” (6.5 cm x 2 cm) and 2 pieces 3 ⅜” x ⅞” (8.5 x 2 cm).
Reindeer Days 12 x 12 DSP non-directional pattern (Mat layer #2)
- Front and inside cover : 2 pieces cut at 2 ¾” x 3 ¾” (7 cm x 9 cm)
- Spine of book box : 2 pieces cut at 3 ¾” x ¾” (9 cm x 6.5 cm)
- Internal Box Base : 2 pieces 2 ½” x ¾” (6 cm x 1.5 cm) and 2 pieces 3 ¼” x ¾” (8.5 cm x 1.5 cm)
Supply list
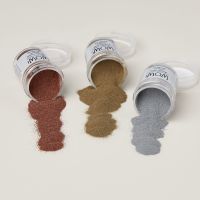
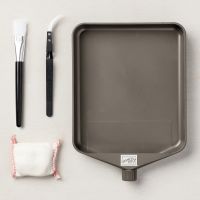
Listed below is the supply list. Just click on the picture to take you directly to the item in my online store.
Product ListI hope you’ve been inspired by today’s projects. Thanks for visiting.

- SHOP ONLINE – EARN 10% REWARDS ON ALL PURCHASES OVER £20
- PURCHASE A STARTER KIT : Get £155 worth of products for only £99. Choose from current catalogues and any specials available. Free Shipping. Read more
- Subscribe to my Video Tutorials – click here

