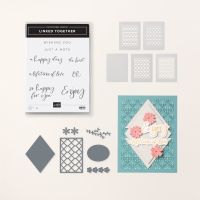
Decorative Masks – Sneak peek. New Linked Together Masks coming soon and will be available from 7 January 2025. Not long to wait now. Use the masks to create lovely backgrounds. Use them singly, or combine them for different effects.
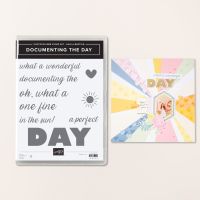
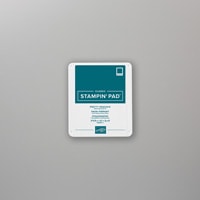
Today’s card, I created the background with the Linked Together Decorative Mask with Pretty Peacock Ink, then used Sale-a-bration’s Documenting the Day stamp set which you can earn free with a £55 purchase excluding shipping/handling, to add the greeting. This stamp set would be ideal for incorporating on a scrapbook page because the font is on the large side.
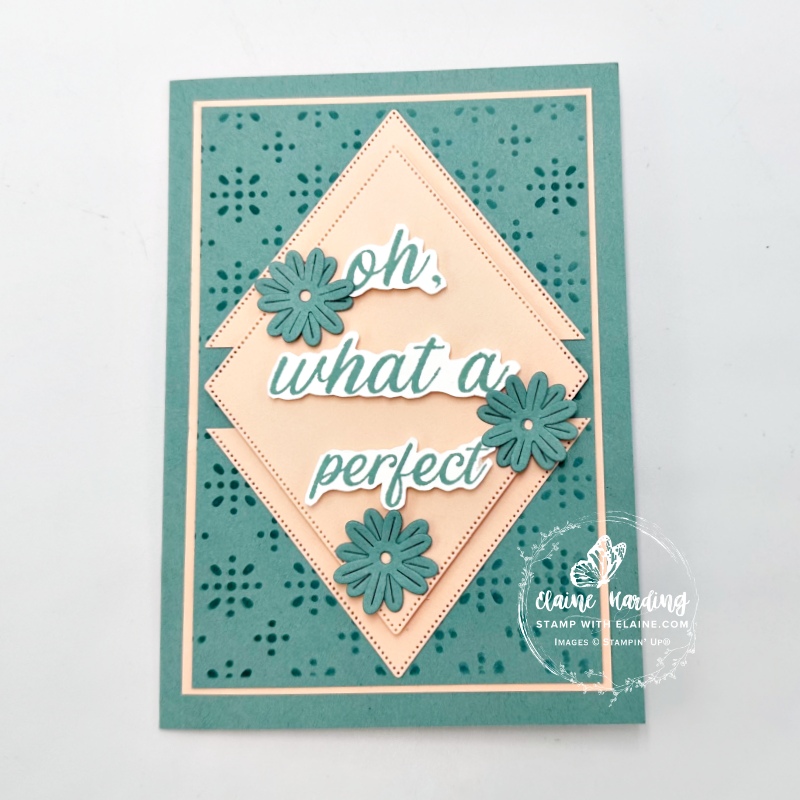
How to make the card
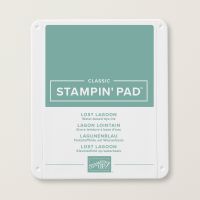
- Card Base Lost Lagoon – cut at 5 ¾” x 8 ¼” (14.5 cm x 21 cm) folded in half.
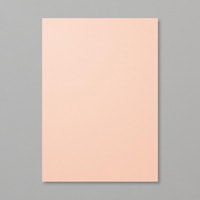
- Cut Petal Pink mat layer 3 ⅝” x 5 ¼” (9.2 cm x 13.3 cm)
- Die cut 2 diamond shaped pieces in Petal Pink with the Linked Together Dies.
- Second mat layer in Lost Lagoon cut at 3 ½” x 5 ¼” (8.9 cm x 13.3 cm)
- Die cut two diamond shapes from Linked Together dies.
- Cut one of them in half as shown in picture above and adhere to decorative mask piece.
- Apply dimensionals on the back of the second diamond, centre and adhere to front of card.
Sale-a-bration’s Documenting the Day
- Stamp “oh what a” , “perfect” and “DAY” in Lost Lagoon on scrap of Basic White and fussy cut.
- Attach dimensionals on the back of the words “oh what a” and “perfect” and adhere as shown in picture above centred on diamond shape with dimensionals.
- Set aside “DAY” for the inside of the card.
Floral elements
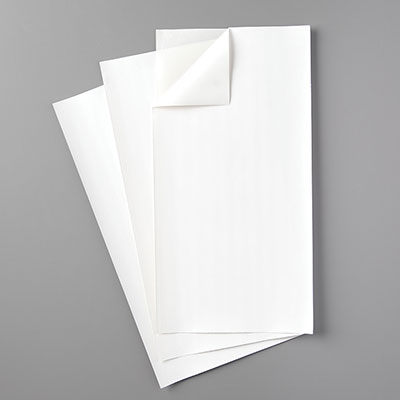
- Cut 2″ strip of Lost Lagoon and attach adhesive sheet to back.
- Die cut 3 pairs of flowers with floral die from Linked Together Dies. Stagger each flower before applying adhesive . (The die will cut a pair of flowers with just one pass through the die cutting machine)
- Adhere “oh”, “what a” and “perfect” with dimensionals and adhere to diamond as pictured.
- Arrange and adhere pairs of flowers on front of card as shown in picture above.
Inside card
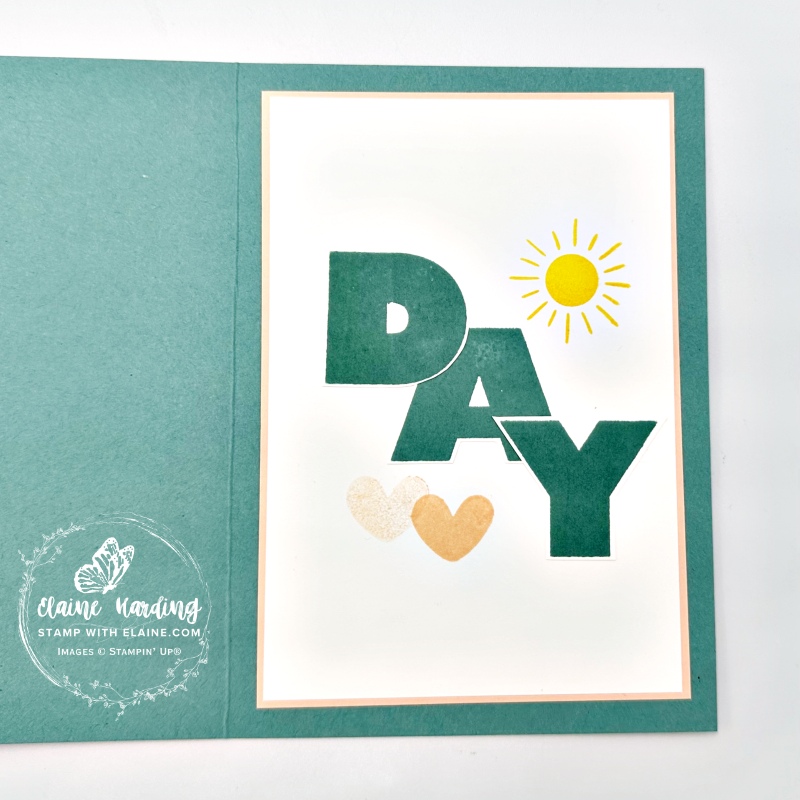
- Petal Pink mat layer cut at 3 ⅝” x 5 ¼” (9.2 cm x 13.3 cm)
- Cut Basic White mat layer at 3 ½” x 5 ⅛” (8.9 cm x 13 cm)
- Stagger and adhere “DAY” as pictured above.
- Stamp the Sun in Daffodil Delight as pictured above.
- Lastly stamp off once and stamp heart as shown above another heart at full strength.
Supply list
Listed below is the supply list. Just click on the picture to take you directly to the item in my online store.
Product List
- SHOP ONLINE – EARN 10% REWARDS ON ALL PURCHASES OVER £20
- PURCHASE A STARTER KIT : Get £155 worth of products for only £99. Choose from current catalogues and any specials available. Free Shipping. Read more
- Subscribe to my Video Tutorials – click here

