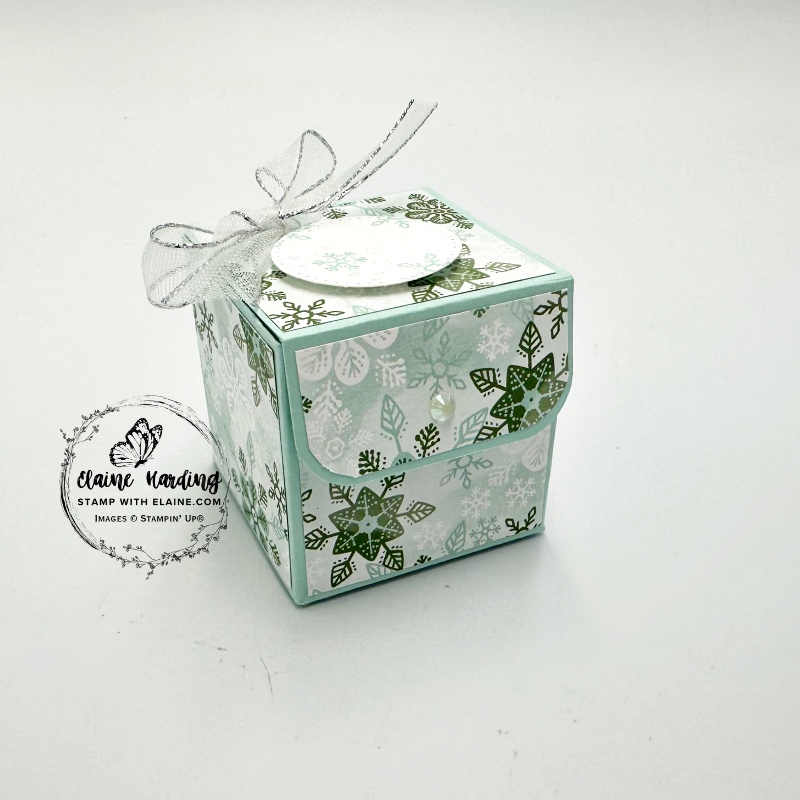
Table favour – lift reveal box. Make these adorable “lift and reveal” boxes which contain a single chocolate. After a sumptious festive meal, it’s just the right morsel to finish off a meal with a cup of coffee! I put a Lindor Salted Caramel in mine.
Lift and Reveal Box Base
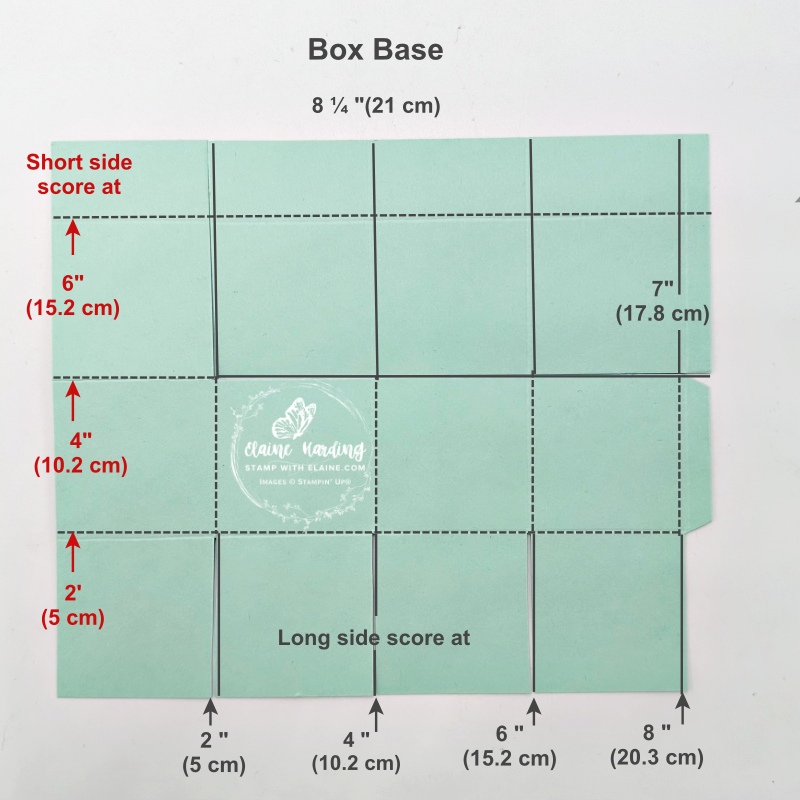
- Cut the box base 8 ¼” x 7″. Long side on top score at 2″, 4″, 6″ and 8″. (5 cm, 10.2 cm, 15.2 cm and 20.3 cm)
- Short Side on top score at 2″, 4″ and 6″ (5 cm, 10.2 cm, 15.2 cm)
- Refer to picture above on left. Keep first panel. With narrow tabs on right, bottom panel, cut up to the first score line at 2″, 4″, 6″ and 8″ (5 cm, 10.2 cm, 15.2 cm and at 20. 3 cm).
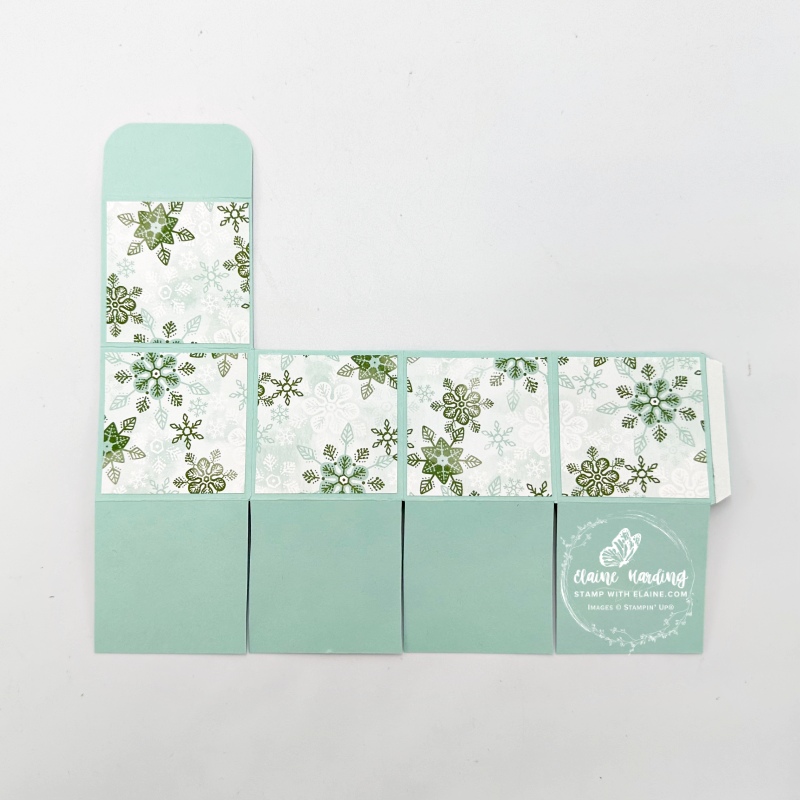
- Cut away the 2nd, 3rd, 4th and 5th panels as pictured above on the right.
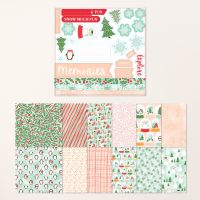
- Snowy Scenes 12 x 12 DSP Main box base : cut 5 pieces 1 ⅞” x 1 ⅞”. Adhere to box base before assembling as shown in picture above.
- Cut 1 piece Snowy Scenes 12 x 12 DSP measure ⅞” x 1 ⅞” and corner round the corners on the long edge and adhere to front flap of main box lid. (not shown)
Concealed box insert
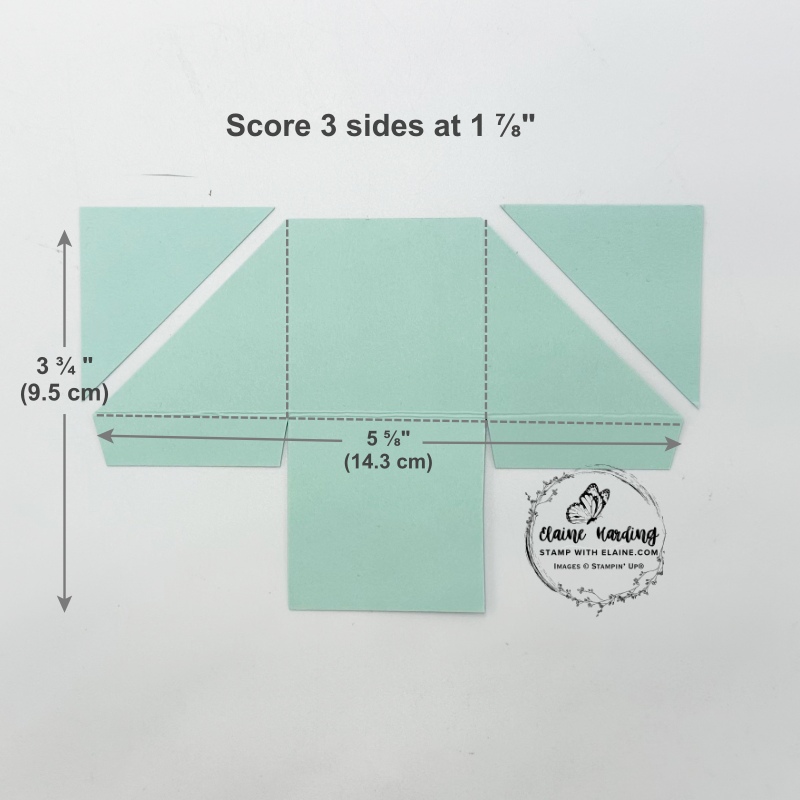
- Cut a Pool Party piece 3 ¾” x 5 ⅝” (9.5 cm x 14.3 cm) for the concealed box insert.
- Score three sides at 1 ⅞” (4.8 cm)
- Cut opposite corners as shown in picture.
- Keep the centre panel, but trim the flaps on either side to attach to the underside of the centre panel. This will give you a nice flat surface to adhere the DSP. It also form the base for the concealed box.
- Snowy Scenes 12 x 12 DSP – cut 2 pieces 1 ¾” x 1 ¾” (4.5 cm x 4.5 cm) and adhere to the back and bottom inside of concealed box insert.
DSP for Concealed Box Sides
The measurement for this square of DSP has to be cut on the diagonal, hence the odd number. Because of the tricky dimensions, this is only in Imperial.
- Cut 1 piece Snowy Scenes 12 x 12 DSP : 1-11/16″ x 1-11/16″ – Tip: on trimmer align edge of paper at 1 ½” (which is 8/16″) and count 3 marks past 1 ½” to get to 1-11/16″ – apologies, but no metric conversion for this measurement.
- Cut the square from corner to corner so you have two triangles.
- Adhere 1 piece to each triangular box side before assembling box insert.
Attaching concealed box to main box lid
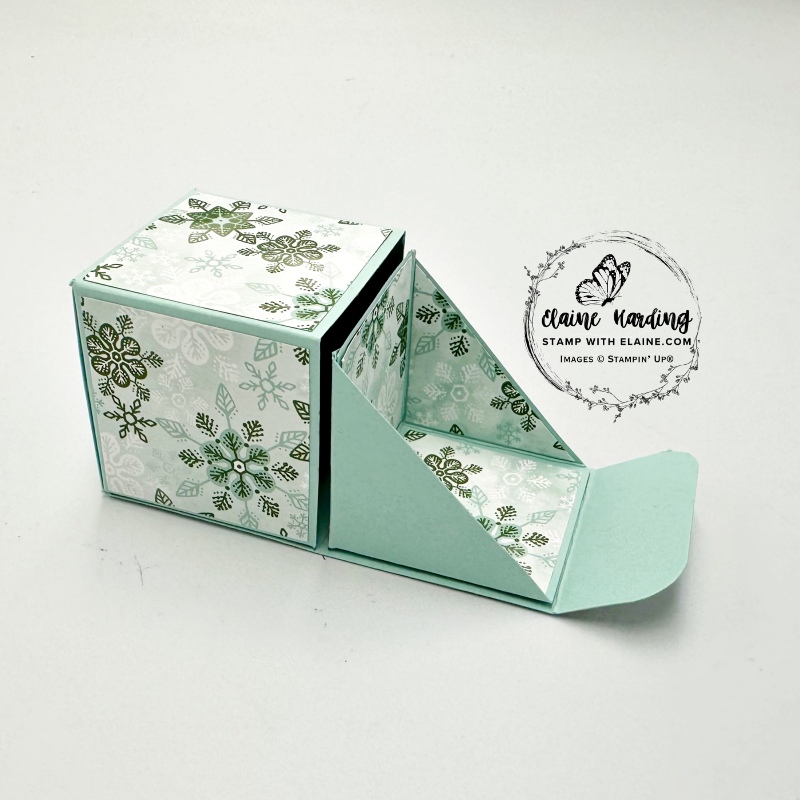
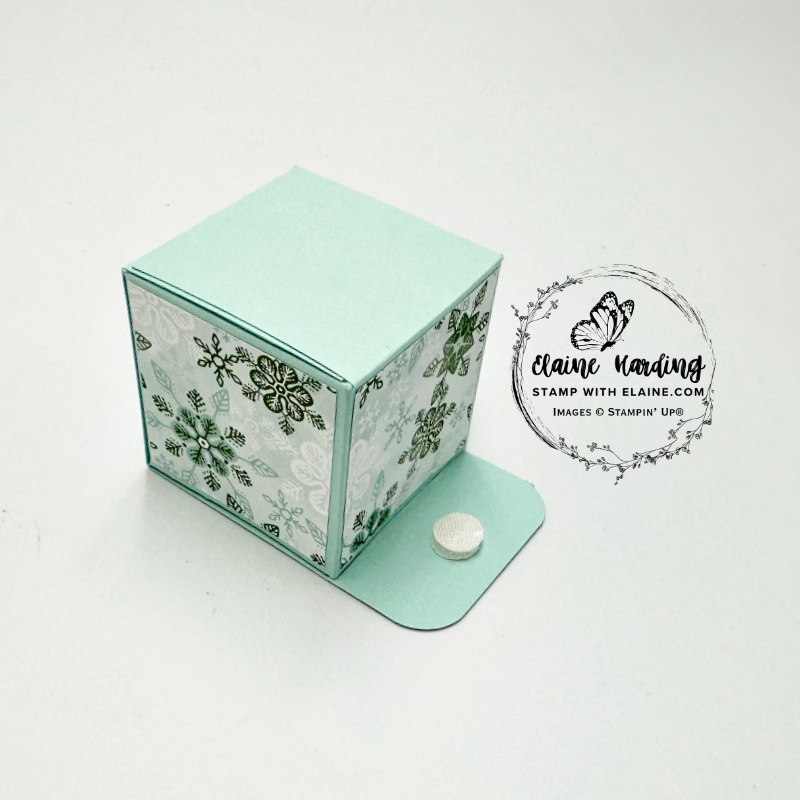
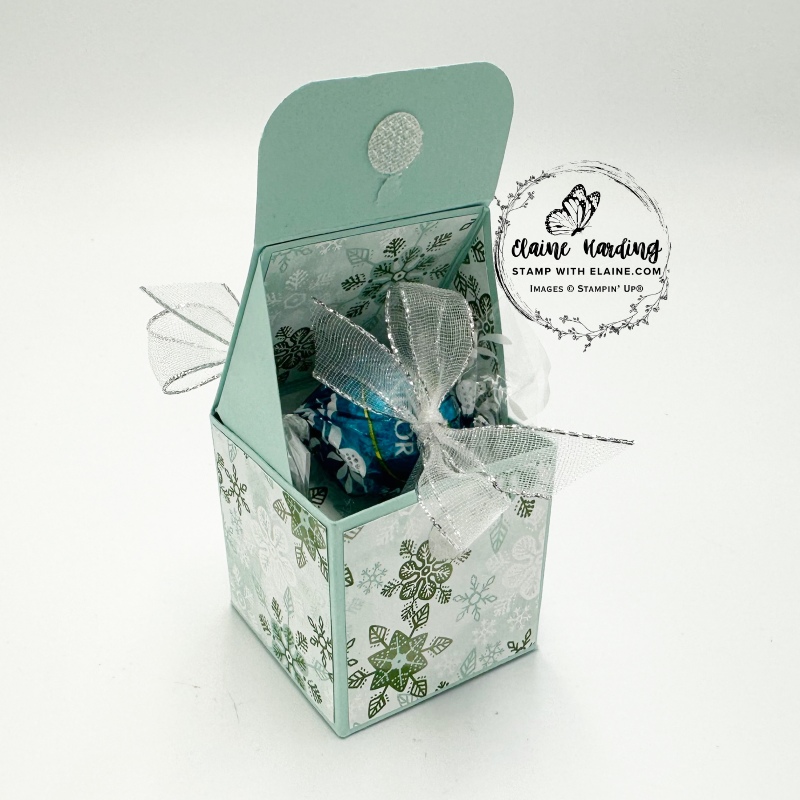
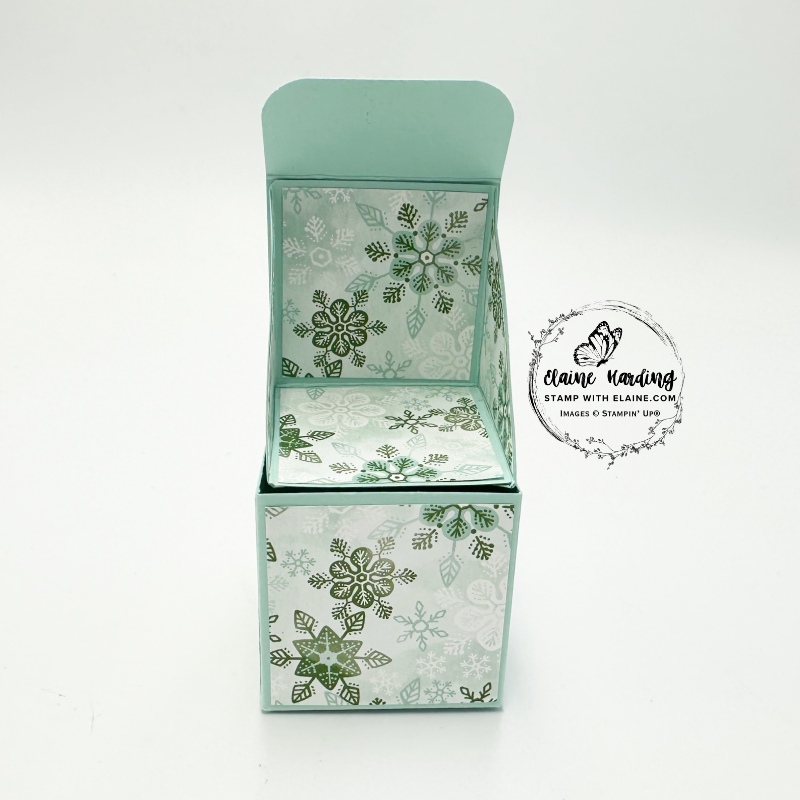
- Apply adhesive to the back upright section of Concealed box insert and adhere to main box lid.
- Attach a pair of hook & loop (10 mm) to underside of main box lid flap as pictured. Close lid to adhere other half of hook & loop to box base.
- Gently prise apart and press each half of hook & loop pieces in order to embed them firmly to the box/lid.
Piercing ribbon holes
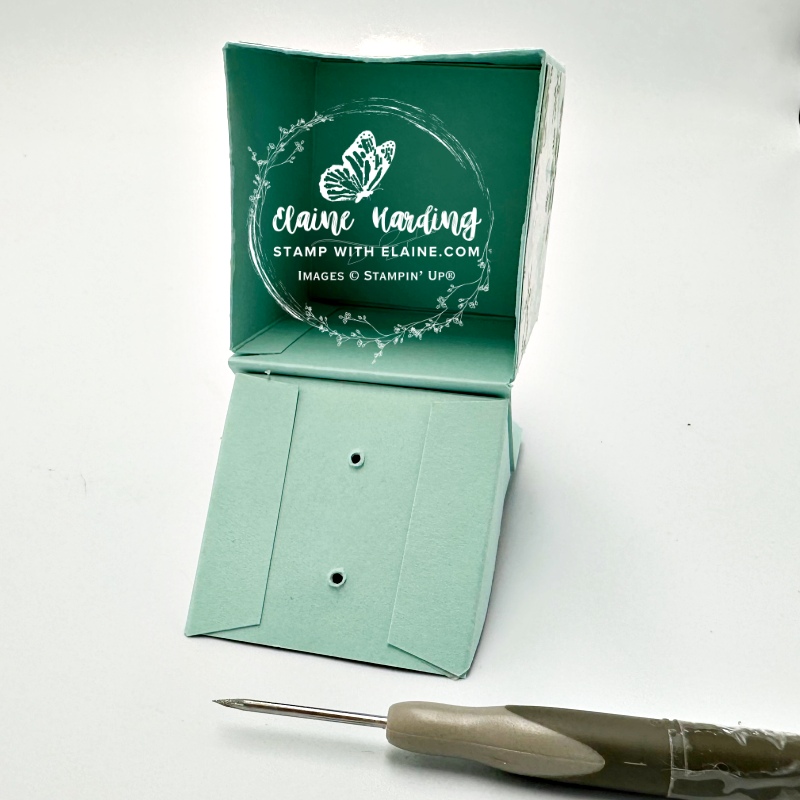
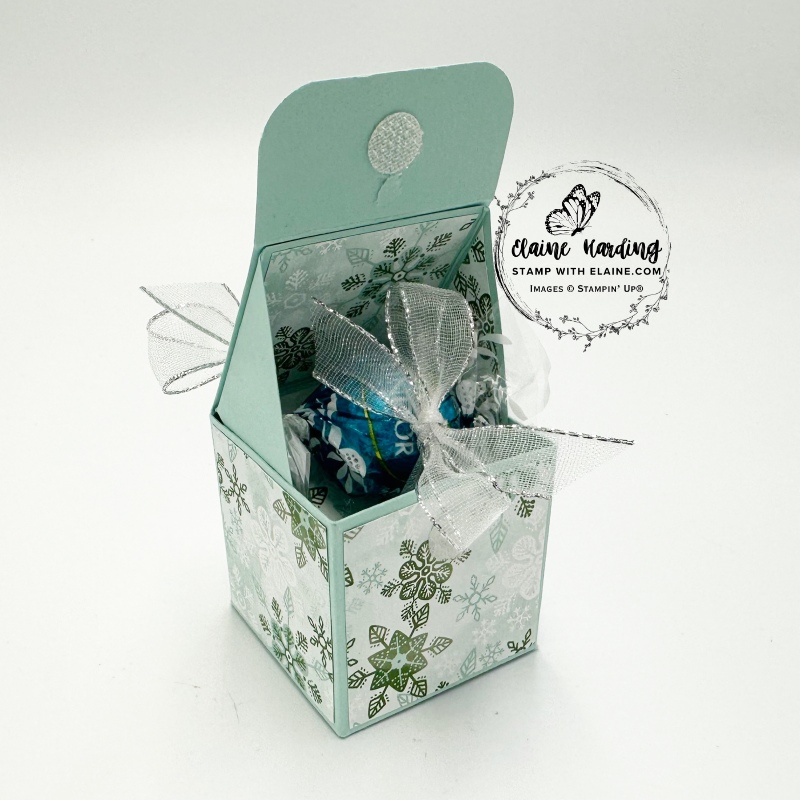
- Puncture two holes in the base of Concealed box insert with a piercing tool.
- Thread ribbon through it. Allow sufficient length so that you can easily tie a bow round the chocolate or whatever goodie you want to gift. Tip: attach glue dots to the item to keep it in place while you’re tying the bow.
Finishing touches
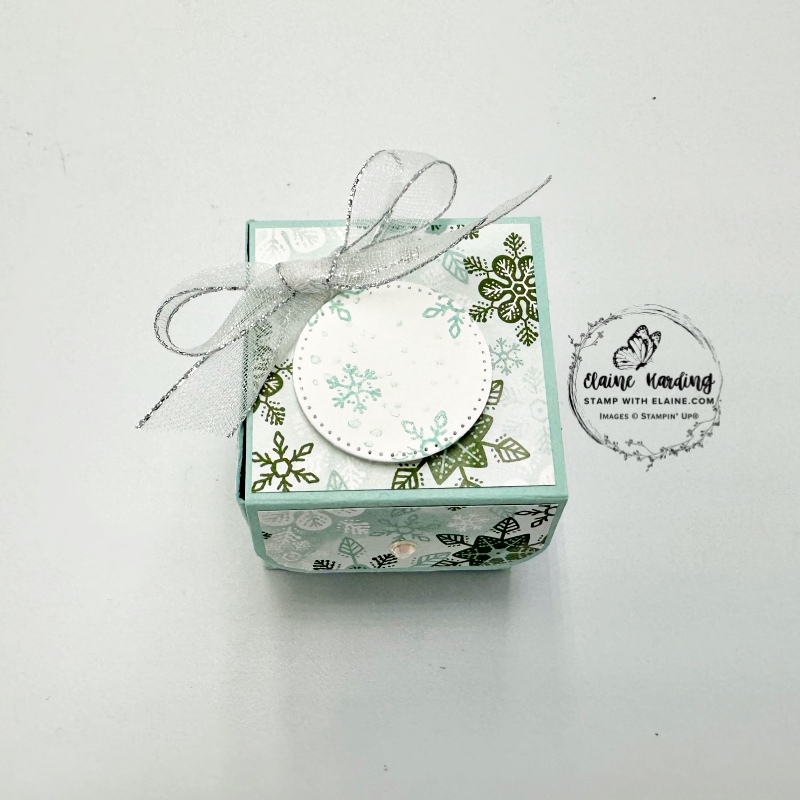
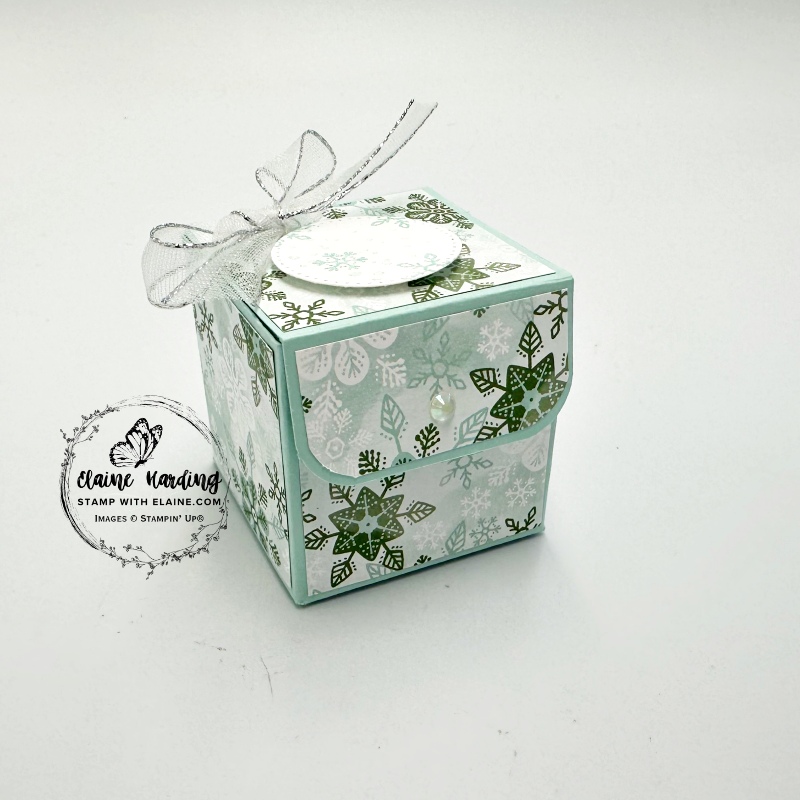
- Die cut a Basic White circle with the smallest stitched circle die from Stylish Shapes Dies.
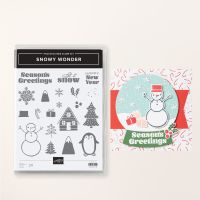
- Stamp small snowflakes photopolymer stamps from Snowy Wonder stamp set in Pool Party ink. Attach with dimensionals to top of lid as pictured.
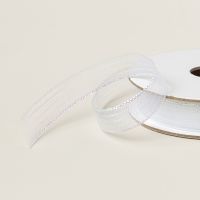
- Tie a bow with Iridescent striped ribbon and attach with glue dots to box lid.
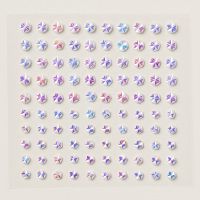
- Finally add an Iridescent faceted gem in the centre of front flap of lid as pictured.
Supply list
Listed below is the supply list. Just click on the picture to take you directly to the item in my online store.
Product List
- SHOP ONLINE – EARN 10% REWARDS ON ALL PURCHASES OVER £20
- PURCHASE A STARTER KIT : Get £155 worth of products for only £99. Choose from current catalogues and any specials available. Free Shipping. Read more
- Subscribe to my Video Tutorials – click here

