
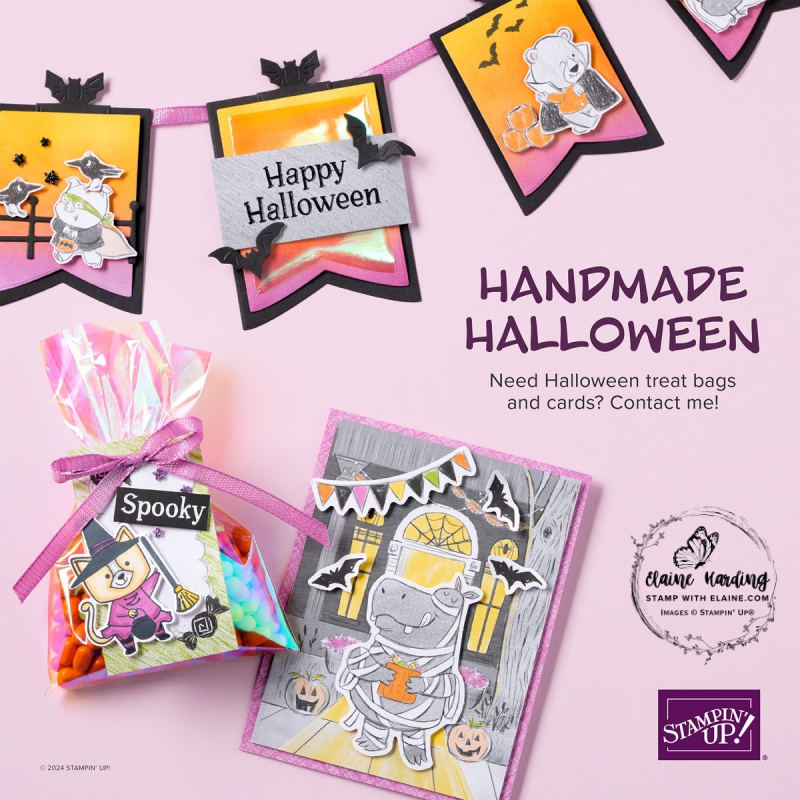
Sneak peek – new online exclusives. Exciting news! New online exclusives coming soon in July 2025. There are 3 new suites to choose from, new seasonal stamps so you can prep early for Christmas, as well as stamps or bundles for the fall. Of course, a suite for Halloween too, if that’s your jam!
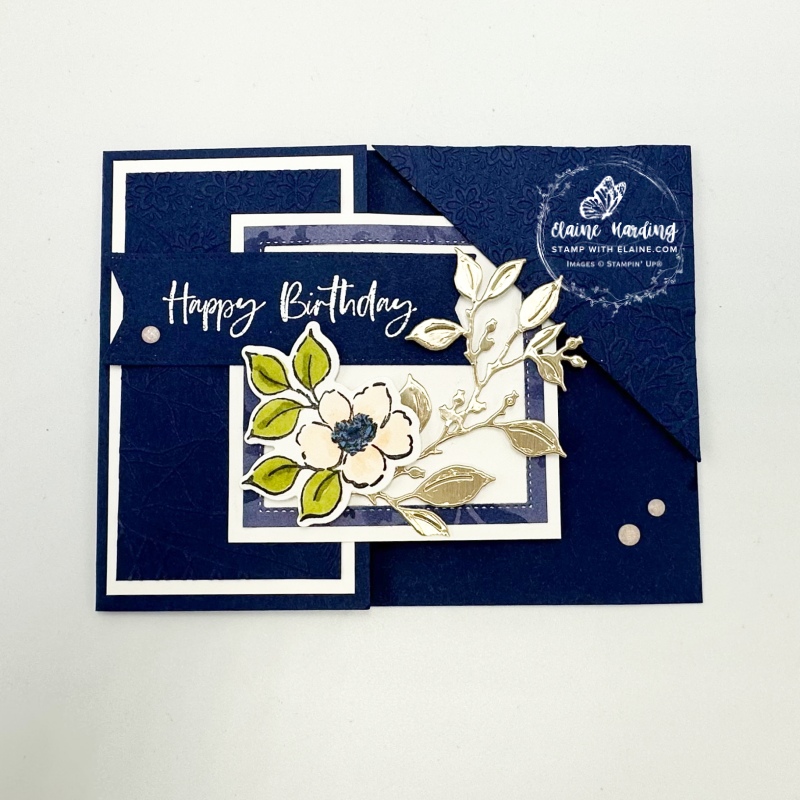
Here’s a sneak peek at a card I made with the Charming Day bundle from the Floral Charm Suite Collection. The Basic White square on the front of the card tucks into the corner.

Cutting guide

Card front
- Card base : Night of Navy cut at 8″ x 4 ¼” (20.3 cm x 10.8 cm). On the long side, score at 2 ½” (6.3 cm). Incidentally, the picture above has been flipped over to the reverse to show where to apply adhesive.
- Basic White mat layer cut at 2 ¼” x 4″ (5.7 cm x 10.2 cm)
- Night of Navy layer (adhered on top of Basic White layer ) measures 2″ x 3 ¾” (5 cm x 9.5 cm). Emboss this with the Joined Together 3D embossing folder.
- Front panel – Cut Basic White square 3″x 3″ (7.5 x 7.5 cm)
- Cut DSP 2 ¾” x 2 ¾” (7 cm x 7 cm).
- Lay 2nd largest square Stylish Frames die on top and cut a frame. Set aside remnant for another project.
- Adhere DSP frame to Basic White square.
Floral elements
- Stamp, colour and die cut floral element on a scrap of Basic White card stock. Colour leaves with Stampin’ Blends in Old Olive, Petal Pink, Night of Navy. Use Wink of Stella to highlight flower centre. Adhere to bottom left of Basic White layer.
- Die cut leaf sprig from Charming Day Dies with gold foil and arrange adhere with dimensionals as pictured.
Label
- Use the embossing buddy to rub over scrap of Night of Navy.
- Stamp “happy birthday” in Versamark and sprinkle with Basics Wow! embossing powder and heat set.
- Die cut with flag end Stylish Shapes die.
- Adhere to card front. Make sure it is free from corner opening.
- Attach small Charming Shimmer Faceted Dot in bottom left corner of label.
Inside card
Corner Tuck
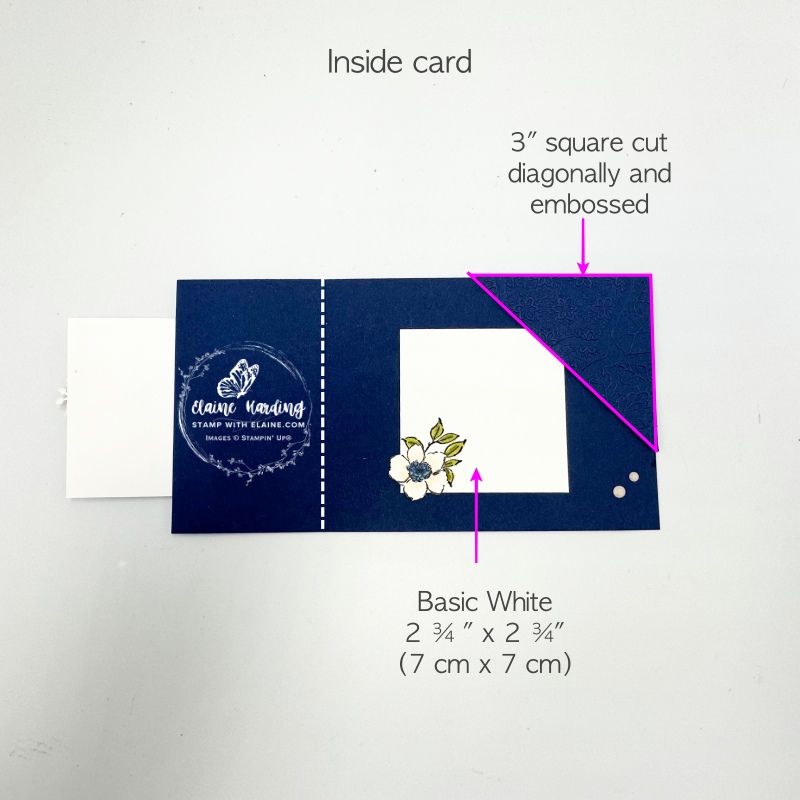
- Cut Night of Navy square 3″ x 3″ (7.5 x 7.5 cm).
- Place opposite corners point to point in cutting groove of trimmer and cut. This will cut diagonally into two equal triangles.
- Emboss the triangle in the Joined Together 3D embossing folder.
- Place dimensionals in right angle corner and the tips only.
- Align on the upper right corner of card base and adhere.
Basic White layer inside card
- Basic White layer 2 ¾” x 2 ¾” (7 x 7 cm)
- Stamp the leaf image in the bottom left corner and colour with Old Olive Stampin’ Blend.
- On a scrap of Basic White, stamp floral image and fussy cut just the flower. Colour with Petal Pink and Night of Navy Stampin’ Blends. Adhere to bottom left corner of Basic White square.
- Attach a large and small Charming Shimmer Faceted Dot in the bottom right corner as pictured.
More sneak peeks from Stampin’ Up!

View July Online Exclusive pdf HERE
Supply list
Listed below is the supply list. Just click on the picture to take you directly to the item in my online store.
Product List![Floral Charm Suite Collection (English) [ 166141 ]](https://assets1.tamsnetwork.com/images/EC042017NF/166141s.jpg "Floral Charm Suite Collection (English) [ 166141 ]")
![Charming Day Bundle (English) [ 166136 ]](https://assets1.tamsnetwork.com/images/EC042017NF/166136s.jpg "Charming Day Bundle (English) [ 166136 ]")
![Joined Together 3 D Embossing Folder [ 165170 ]](https://assets1.tamsnetwork.com/images/EC042017NF/165170s.jpg "Joined Together 3 D Embossing Folder [ 165170 ]")
![Stylish Shapes Dies [ 159183 ]](https://assets1.tamsnetwork.com/images/EC042017NF/159183s.jpg "Stylish Shapes Dies [ 159183 ]")
![Floral Charm 12" X 12" (30.5 X 30.5 Cm) Designer Series Paper [ 166125 ]](https://assets1.tamsnetwork.com/images/EC042017NF/166125s.jpg "Floral Charm 12\" X 12\" (30.5 X 30.5 Cm) Designer Series Paper [ 166125 ]")
![Gold Foil Sheets [ 132622 ]](https://assets1.tamsnetwork.com/images/EC042017NF/132622s.jpg "Gold Foil Sheets [ 132622 ]")
![Night Of Navy A4 Card Stock [ 106577 ]](https://assets1.tamsnetwork.com/images/EC042017NF/106577s.jpg "Night Of Navy A4 Card Stock [ 106577 ]")
![Basic White A4 Cardstock [ 166781 ]](https://assets1.tamsnetwork.com/images/EC042017NF/166781s.jpg "Basic White A4 Cardstock [ 166781 ]")
![Embossing Additions Tool Kit [ 159971 ]](https://assets1.tamsnetwork.com/images/EC042017NF/159971s.jpg "Embossing Additions Tool Kit [ 159971 ]")
![Basics Wow! Embossing Powder [ 165679 ]](https://assets1.tamsnetwork.com/images/EC042017NF/165679s.jpg "Basics Wow! Embossing Powder [ 165679 ]")
![Versamark Pad [ 102283 ]](https://assets1.tamsnetwork.com/images/EC042017NF/102283s.jpg "Versamark Pad [ 102283 ]")
![Tuxedo Black Memento Ink Pad [ 132708 ]](https://assets1.tamsnetwork.com/images/EC042017NF/132708s.jpg "Tuxedo Black Memento Ink Pad [ 132708 ]")
![Old Olive Stampin' Blends Combo Pack [ 154892 ]](https://assets1.tamsnetwork.com/images/EC042017NF/154892s.jpg "Old Olive Stampin' Blends Combo Pack [ 154892 ]")
![Petal Pink Stampin' Blends Combo Pack [ 154893 ]](https://assets1.tamsnetwork.com/images/EC042017NF/154893s.jpg "Petal Pink Stampin' Blends Combo Pack [ 154893 ]")
![Night Of Navy Stampin' Blends Combo Pack [ 154891 ]](https://assets1.tamsnetwork.com/images/EC042017NF/154891s.jpg "Night Of Navy Stampin' Blends Combo Pack [ 154891 ]")
![Clear Wink Of Stella Glitter Brush [ 141897 ]](https://assets1.tamsnetwork.com/images/EC042017NF/141897s.jpg "Clear Wink Of Stella Glitter Brush [ 141897 ]")

- SHOP ONLINE – EARN 10% REWARDS ON ALL PURCHASES OVER £20
- PURCHASE A STARTER KIT : Get £155 worth of products for only £99. Choose from current catalogues and any specials available. Free Shipping. Read more
- Subscribe to my Video Tutorials – click here