
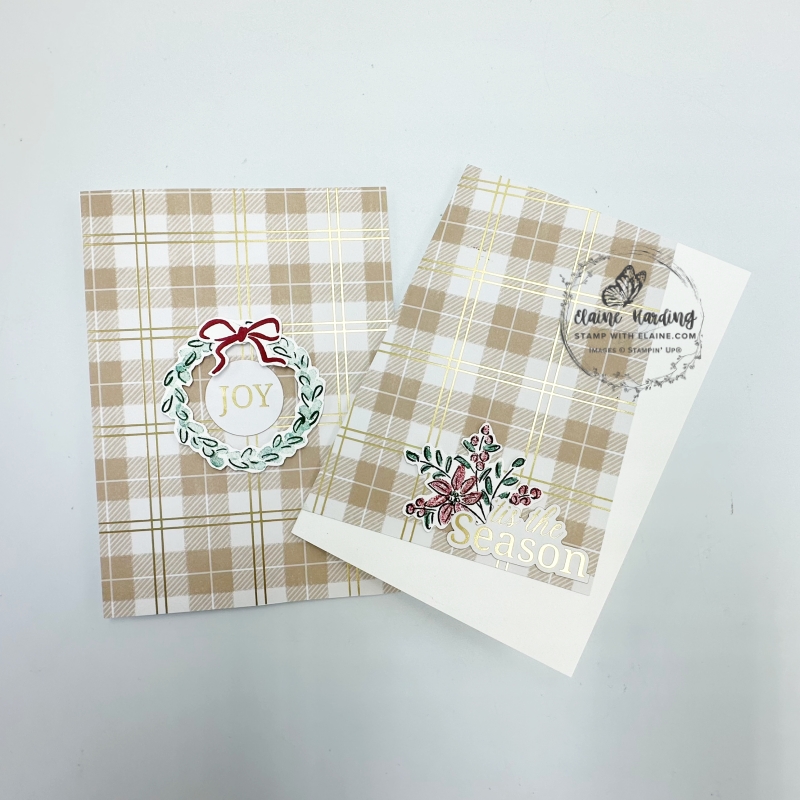
Gift of Joy cards. We’re in week 8 of 12 in my 12 week Christmas Countdown Series. I decided not to do an Advent Calendar this year because we are relocating and moving up north to West Yorkshire to be closer to family. In fact I’ve had to work 3 months (at time of writing, it’s September!) in advance to cover the time when we moved and not knowing when we would be able to have internet connected at our new home.
Christmas Greetings Mix & Match Specialty Cards & Envelopes
This week, I chose to work with the Christmas Greetings Mix & Match Specialty Cards & Envelopes. These are on page 15 of the September to December mini. There are 10 cards and matching envelops, but you can stretch these supplies to make 20 cards simply by cutting the cards on the fold and use them to cover the front of your own card bases. Five cards with a green plaid pattern, and the other 5 are in Crumb Cake.
Additional items
The stamp set I used is Gift of Joy which is a stand alone stamp set on page 55 of the Sep-Dec Mini catalogue and I also used the Greetings for You Mix & Match Ephemera pack on page 15.
First card cutting guide
- Cut card Basic White thick base at 5 ¾” x 8 ¼” (14.5 cm x 21 cm) and fold in half.
- Select the Crumb Cake card from the Christmas Mix & Match pack and cut it in half along the score line. Reserve the other half for the second card.
- To decorate the plaid piece on the inside you’ll need to wait till after you’ve finished creating card 2.
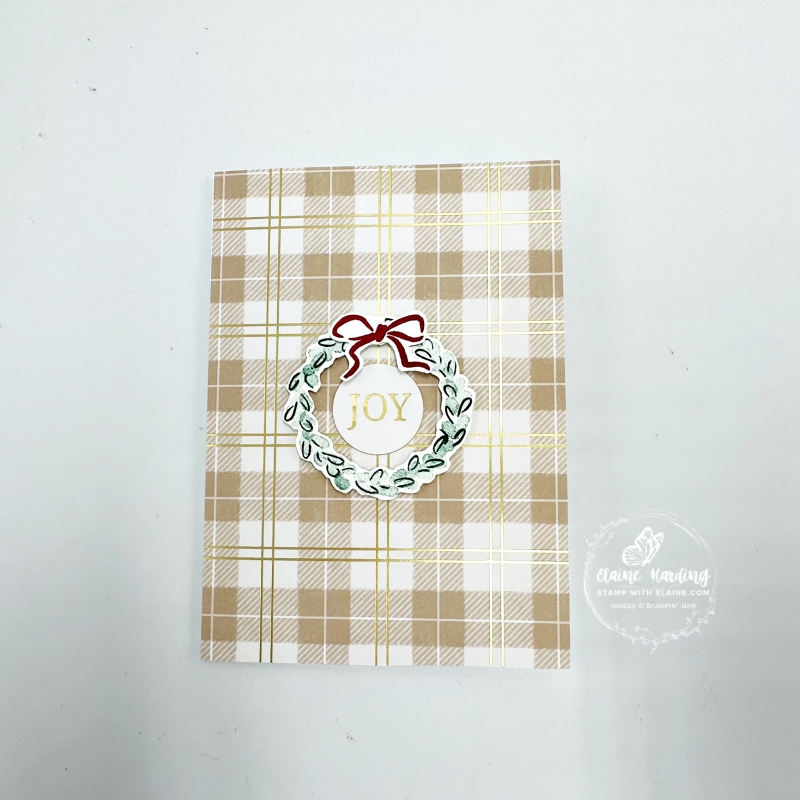
Assembly Card front
- Apply adhesive to the Basic White card front. Offer up the plaid piece and align with card front then adhere. Trim off excess.
- On a scrap of Basic White, stamp wreath with 2 step stamping method with Shaded Spruce ink. Stamp linear image in first generation ink. Fill in with the 2nd stamp – use second generation Shaded Spruce, i.e., stamp off first on a piece of scrap before stamping on your project. Fussy cut wreath. Apply mini dimensionals on the back and adhere to centre of card.
- Do the same with the bow stamped in Real Red and adhere to centre of wreath with glue dot as pictured.
- Select circle “joy” from Greetings for You Mix & Match Ephemera pack.
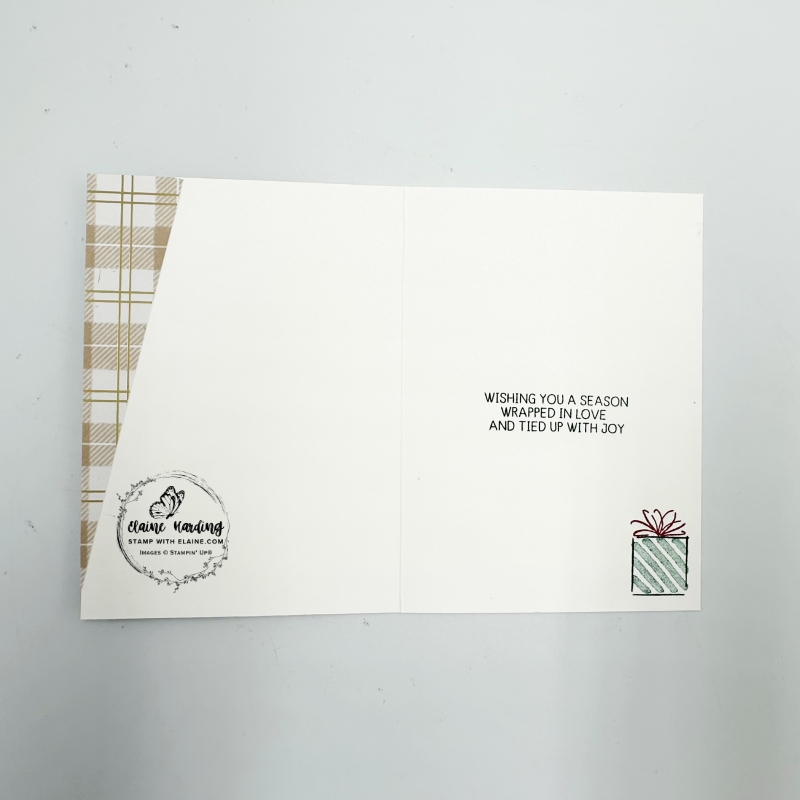
Inside first card
- Stamp directly in the centre of the inside of card.
- In bottom right corner stamp the box outline in Shaded Spruce first generation ink.
- Stamp second generation Shaded Spruce to fill in stripes on box.
- Ink up stamp in Cherry Cobbler and stamp the bow on top of present.
- Take the remnant of the plaid left over from creating Card 2 and adhere to inside left of card base as pictured and trim off any excess.
Second card cutting guide
- Cut card Basic White thick base at 5 ¾” x 8 ¼” (14.5 cm x 21 cm) and fold in half.
- Angle remaining half of plaid card as pictured. Secure with low tack tape. Flip it over on the reverse and trim off excess.
- Reserve one angled side for decorating inside of card and use the other remnant to decorate the inside of the first card.
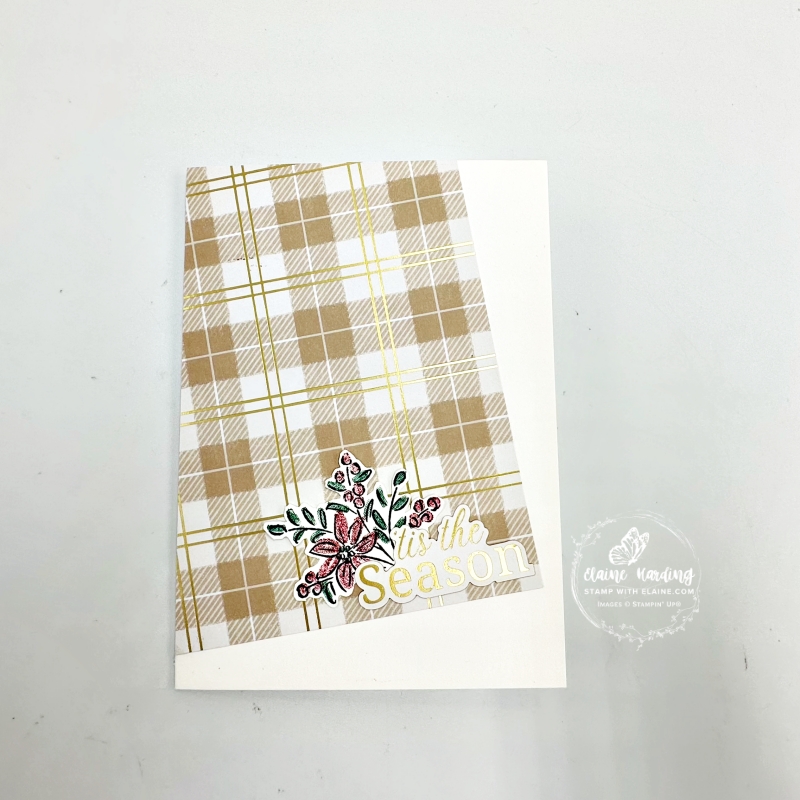
Assembling card front
- Stamp the floral sprig with Tuxedo Black Memento ink on a scrap of Basic White.
- Ink up the floral stamp filler with Cherry Cobbler ink, stamp off before stamping over the floral elements of sprig.
- Take the leaf filler stamp and ink up with Shaded Spruce ink, stamp off before stamp the leaf elements of sprig.
- Fussy cut sprig and tuck behind the ” ’tis the Season ” sentiment adhere parallel to the bottom of the plaid piece on card front.
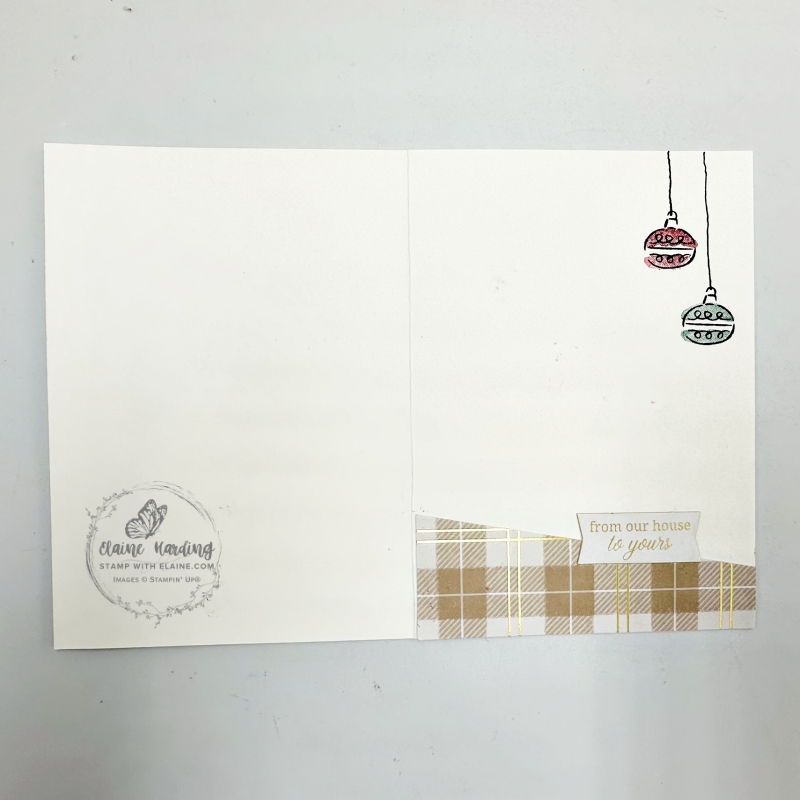
Inside second card
- Adhere bottom plaid piece to inside card. Trim off any excess.
- Stamp two baubles staggered as shown in the top right of inside of card.
- Fill in second generation Cherry Cobbler on the shorter hung bauble.
- Clean stamp and ink up with Shaded Spruce and stamp second generation on the longer hung bauble.
- Take a Basic Black Stampin’ Write marker pen and draw a line free hand from each of the baubles.
Supply list
Listed below is the supply list. Just click on the picture to take you directly to the item in my online store.
Product List![Gift Of Joy Photopolymer Stamp Set (English) [ 165964 ]](https://assets1.tamsnetwork.com/images/EC042017NF/165964s.jpg "Gift Of Joy Photopolymer Stamp Set (English) [ 165964 ]")
![Christmas Greetings Mix & Match Specialty Cards & Envelopes [ 165908 ]](https://assets1.tamsnetwork.com/images/EC042017NF/165908s.jpg "Christmas Greetings Mix & Match Specialty Cards & Envelopes [ 165908 ]")
![Greetings For You Mix & Match Ephemera Pack (English) [ 166208 ]](https://assets1.tamsnetwork.com/images/EC042017NF/166208s.jpg "Greetings For You Mix & Match Ephemera Pack (English) [ 166208 ]")
![Basic White A4 Thick Cardstock [ 159230 ]](https://assets1.tamsnetwork.com/images/EC042017NF/159230s.jpg "Basic White A4 Thick Cardstock [ 159230 ]")
![Tuxedo Black Memento Ink Pad [ 132708 ]](https://assets1.tamsnetwork.com/images/EC042017NF/132708s.jpg "Tuxedo Black Memento Ink Pad [ 132708 ]")
![Shaded Spruce Classic Stampin' Pad [ 147088 ]](https://assets1.tamsnetwork.com/images/EC042017NF/147088s.jpg "Shaded Spruce Classic Stampin' Pad [ 147088 ]")
![Cherry Cobbler Classic Stampin' Pad [ 147083 ]](https://assets1.tamsnetwork.com/images/EC042017NF/147083s.jpg "Cherry Cobbler Classic Stampin' Pad [ 147083 ]")
![Basic Black Stampin' Write Marker [ 162481 ]](https://assets1.tamsnetwork.com/images/EC042017NF/162481s.jpg "Basic Black Stampin' Write Marker [ 162481 ]")

- SHOP ONLINE – EARN 10% REWARDS ON ALL PURCHASES OVER £20
- PURCHASE A STARTER KIT : Get £155 worth of products for only £99. Choose from current catalogues and any specials available. Free Shipping. Read more
- Subscribe to my Video Tutorials – click here