
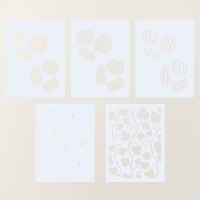
Painted Pumpkin Decorative Masks. The masks are designed to layer and build rich detail as you blend different ink shades. Alternatively, you can swipe on Embossing Paste for added texture and depth. Use all four together, or try different combinations to create pumpkins that look custom every time. There is a fifth mask which features a coordinating image that works beautifully on its own and is perfect for adding a background layer to your card or project.
These decorative masks can be purchased separately, but there is a saving with purchasing the Painted Pumpkin Bundle because it will include not only the stamps and coordinating dies but these masks as well.
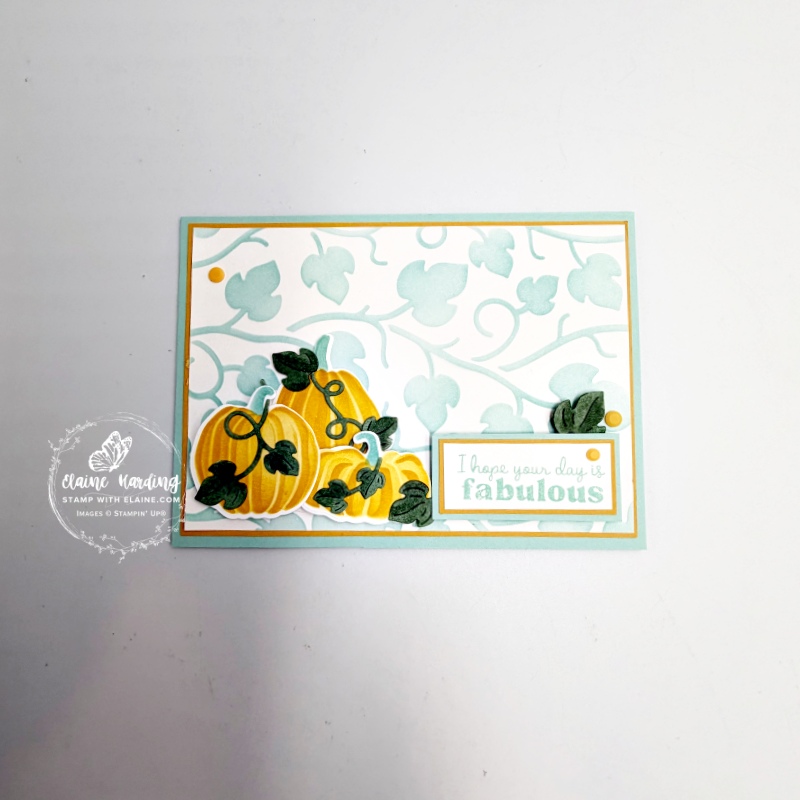
Landscape card with Painted Pumpkin Decorative masks and dies
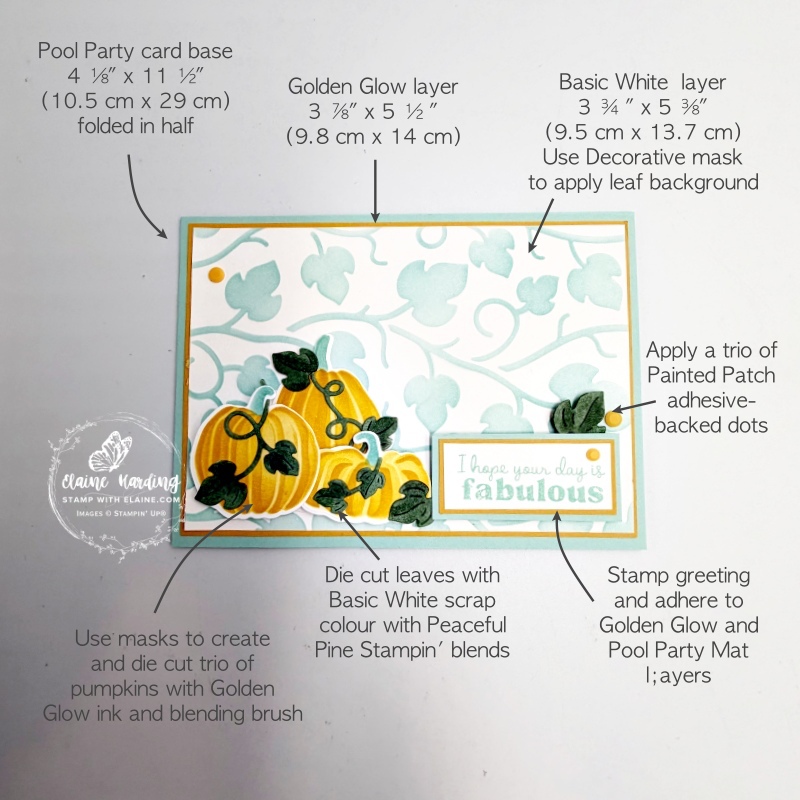
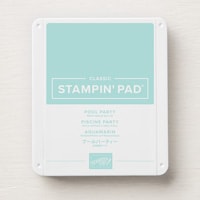
Autumnal card using the decorative masks to create the Pool Party leaf background. The remaining masks creates two sets of a trio of pumpkins which can be die cut with the Painted Pumpkin Dies. The dies also die cut the leaf elements too. I die cut those in Basic White and simply used Peaceful Pine Stampin’ Blends to colour them.
Cutting guide
Card front
- Card base : 4 ⅛” x 11 ½” (10.5 cm x 29 cm) folded in half.
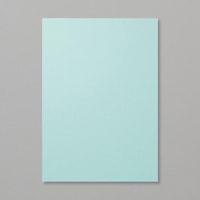
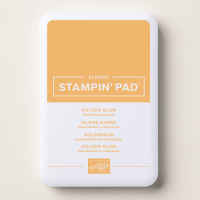
- Golden Glow layer : 3 ⅞” x 5 ½” (9.8 cm x 14 cm). Adhere on front of card leaving an even border on all 4 sides.
Decorative masks
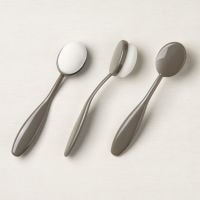
- Secure ½ a sheet of Basic White card stock, secure on grid paper, place leaf Decorative mask on top. Use blending brush to apply ink over mask to create leaf background with Pool Party ink. Trim Basic White layer : 3 ¾” x 5 ⅜” (9.5 cm x 13.7 cm) and adhere on top of Golden Glow layer leaving an even border on all 4 sides.
- Use other ½ sheet of Basic White, secure on grid paper, use the 4 Decorative masks in consecutive order- use Golden Glow for the pumpkins, and Pool Party for the stalk of the pumpkins. Die cut with corresponding dies from Painted Pumpkins dies.
- Die cut leaf elements with Basic White scraps and colour with Peaceful Pine Stampin’ Blends. Arrange as shown in picture to left of card front.
Label for front of card and finishing elements
- Stamp greeting on scrap of Basic White – ⅞” x 2″ (2.2 cm x 5 cm)
- Cut a Golden Glow mat layer 1″ x 2 ⅛” (2.5 cm x 5.2 cm) and Pool Party 1 ⅛” x 2 ¼” (3 cm x 5.7 cm)
- Adhere Basic White greeting on top of Golden Glow layer with an even border on all 4 sides, and then adhere this on top of the Pool Party layer also leaving an even border on all 4 sides.
- Apply dimensionals on the back and adhere to the bottom right corner as shown.
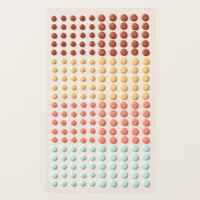
- Add the Painted Patch Adhesisve-backed dots as shown.
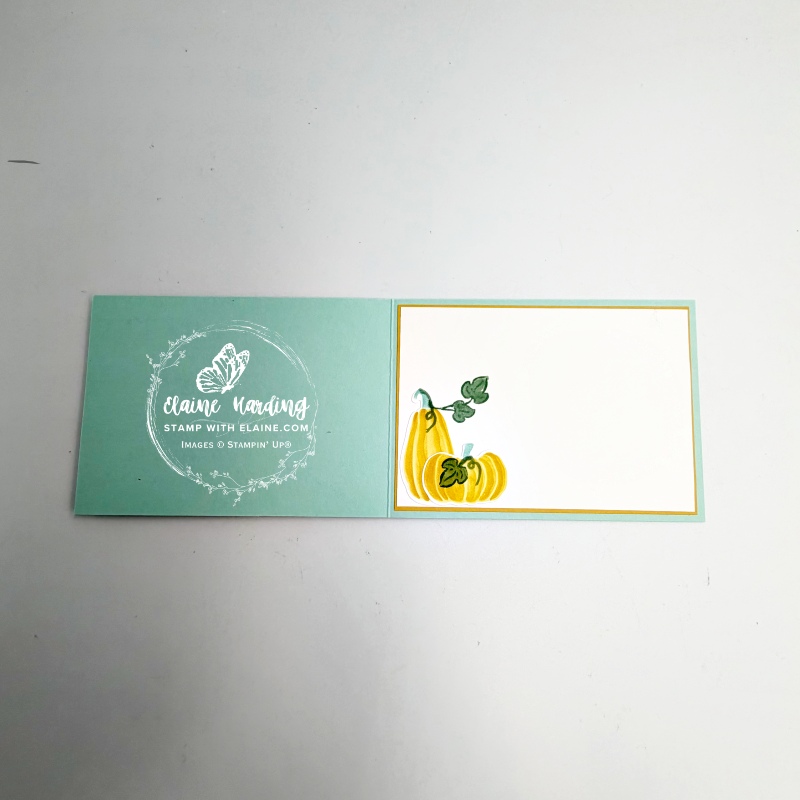
Inside card
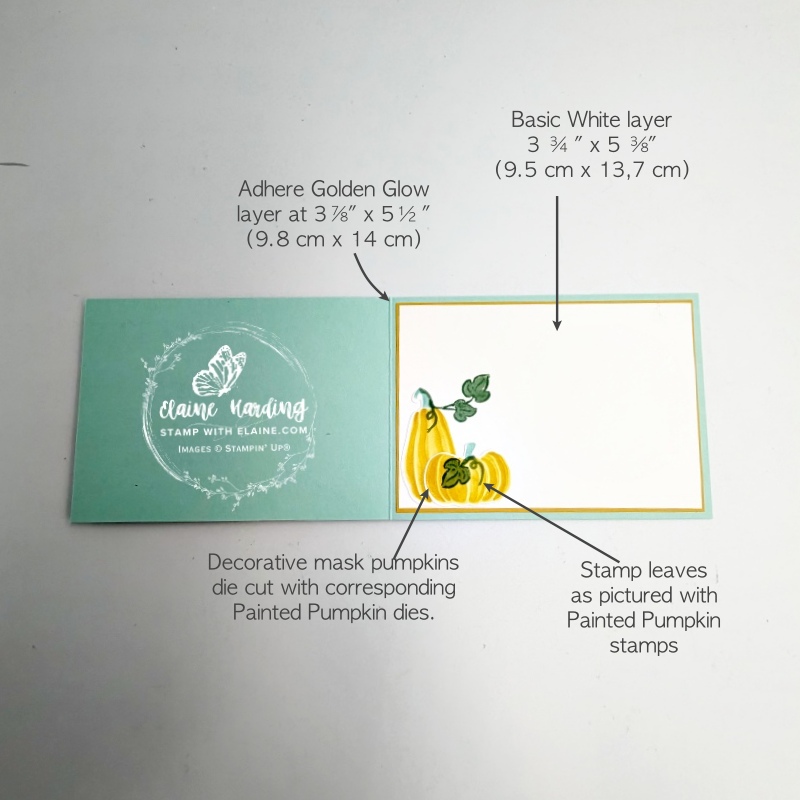
- Golden Glow layer cut at 3 ⅞” x 5 ½” (9.8 cm x 14 cm). Adhere inside card leaving an even border on all 4 sides.
- Adhere Basic White layer 3 ¾” x 5 ⅜” (9.5 cm x 13.7 cm) on top of Golden Glow layer leaving an even border on all 4 sides.
- Arrange a couple of the remaining die cut Decorative Mask pumpkins in bottom left corner as pictured and stamp vine leaves – colour with Stampin blends to complete card.
Supply list
Listed below is the supply list. Just click on the picture to take you directly to the item in my online store.
Product List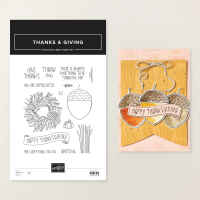
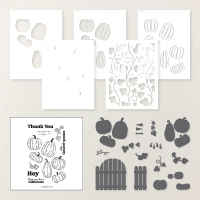




- SHOP ONLINE – EARN 10% REWARDS ON ALL PURCHASES OVER £20
- PURCHASE A STARTER KIT : Get £155 worth of products for only £99. Choose from current catalogues and any specials available. Free Shipping. Read more
- Subscribe to my Video Tutorials – click here
