
Christmas Countdown Series 11 of 12 – All Wrapped Up. This is the penultimate episode in my 12 week Countdown to Christmas series and I’m using the All Wrapped Up Suite Collection goodies. It’s a mega suite because it contains two bundles.
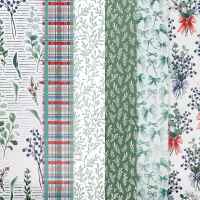
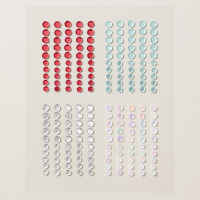
This curated set includes patterned paper with bows, greenery, and plaid designs in soft seasonal colours with silver foil accents; coordinating bow stamps and dies; sprig and berry stamps with matching dies; adhesive-backed sequins; and red-and-white striped grosgrain ribbon. Perfect for card making, scrapbooking, gift packaging, and Christmas paper crafts, this collection makes it easy to add polished finishing touches to every seasonal project. Add ink, cardstock, and adhesive to complete your projects.
This suite collection includes Impressions dies that can cut shapes AND emboss textural details. Use with the Impressions Plate and Stampin’ Cut & Emboss Machine (sold separately).
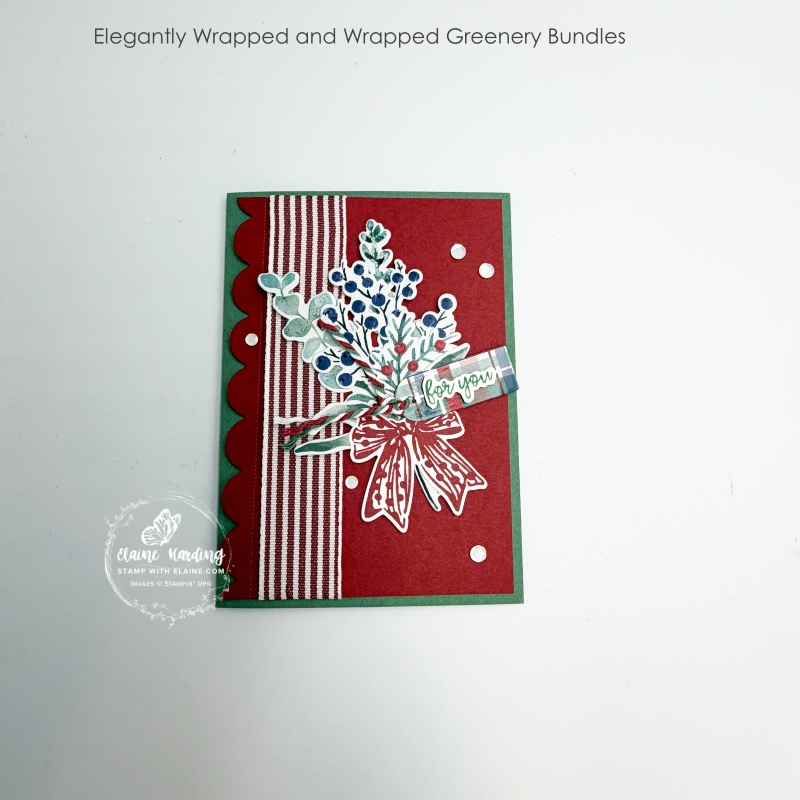
Simple Christmas card using both bundles in the Suite
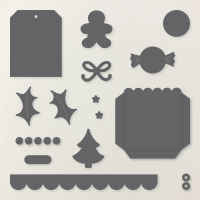
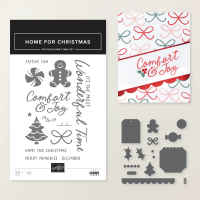
To make this card I used both bundles in this All Wrapped Up mega Suite and also Home for Christmas dies to incorporate the scalloped edge.
Cutting Guide
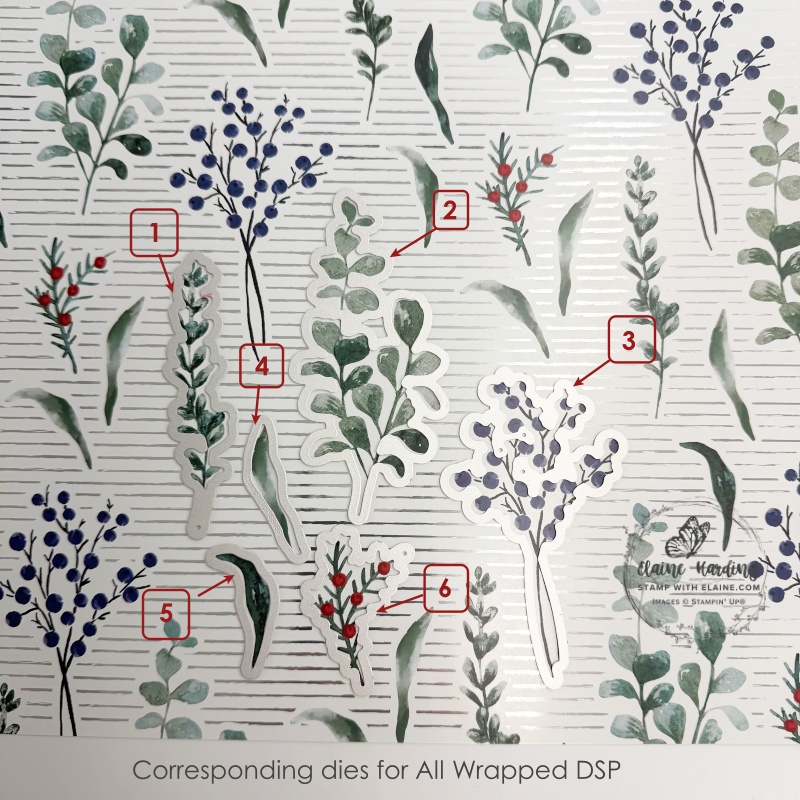
I’ve included a picture of the sheet of DSP from All Wrapped Up Specialty DSP pack to show you which dies from Greenery Wrapped dies correspond with the images on the sheet.
Card Front
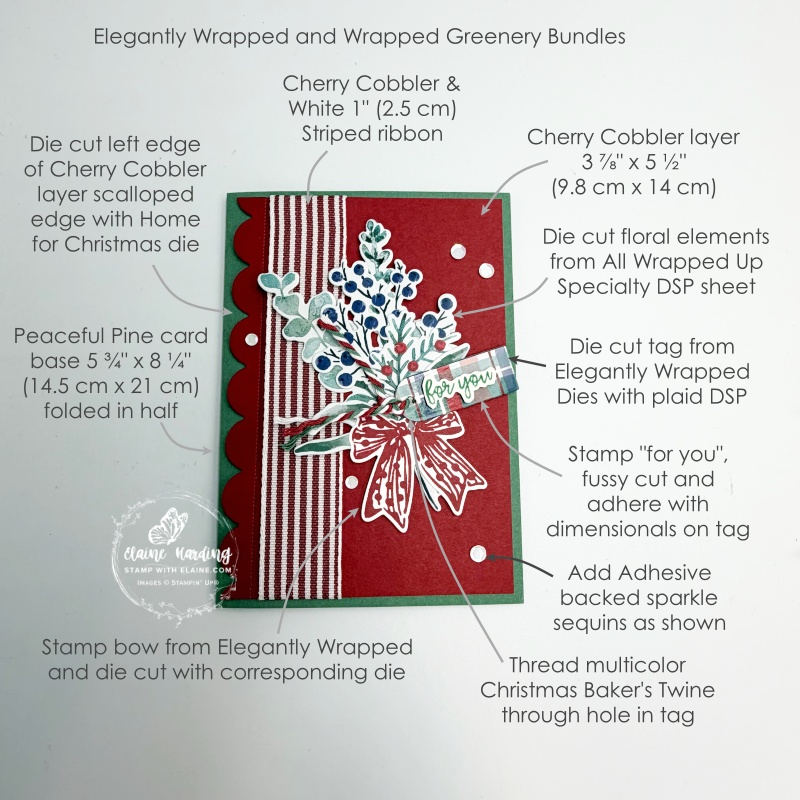
- Card base Peaceful Pine : 5 ¾” x 8 ¼” (14.5 cm x 21 cm) folded in half.
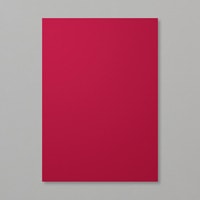
- Cherry Cobbler layer : 3 ⅞” x 5 ½” (9.8 cm x 14 cm). Align edge of scallop die from Home for Christmas scallop die to left edge and use low tack tape to secure it before die cutting.
- Wrap length of Cherry Cobbler & White 1″ (2.5 cm) striped ribbon shy of the perforated detail before adhering to front of card leaving an even border on all 4 sides.
Die Cutting elements
- Refer to picture on right – die cut the 6 images on the All Wrapped DSP sheet with corresponding dies from Wrapped Greenery Dies. Arrange in a “bouquet” and adhere as shown.
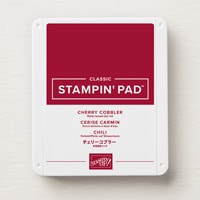
- Stamp bow with Cherry Cobbler ink on scrap of Basic White card stock and die cut with corresponding die from Elegantly Wrapped die and adhere bow to bouquet as pictured.
- Stamp “for you” on scrap of Basic White card stock and fussy cut.
- Die cut arched tag from the tartan sheet of DSP. Adhere the fussy cut sentiment with dimensionals on top. Apply dimensionals on the back.
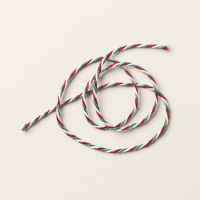
- Thread multi-color Christmas Baker’s Twine through hole in tag and adhere as pictured.
Inside card
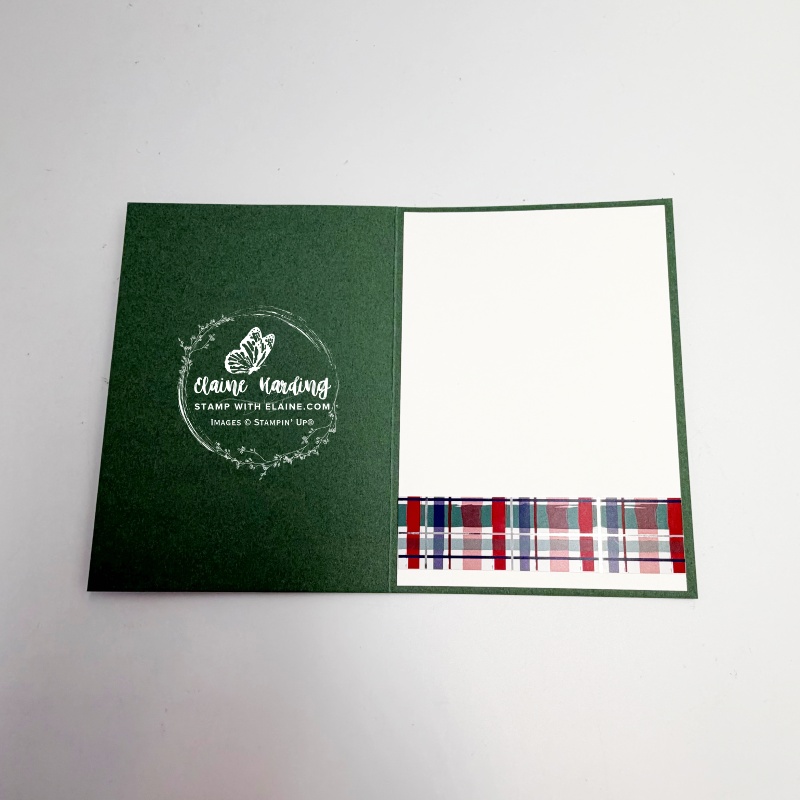
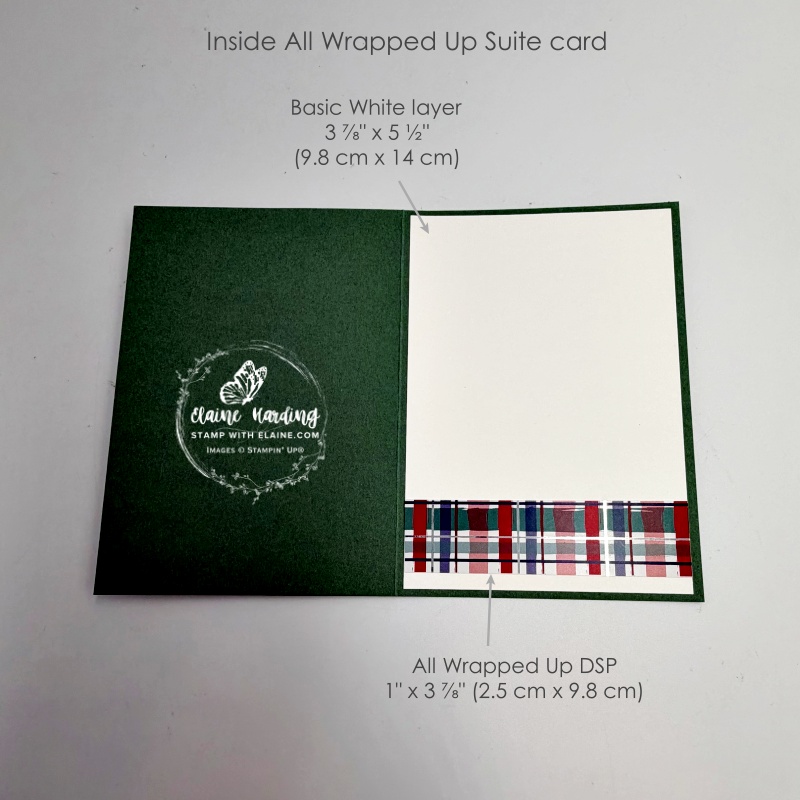
- Basic White layer – 3 ⅞” x 5 ½” (9.8 cm x 14 cm) – adhere to inside of card leaving an even border on all 4 sides.
- Cut a strip of tartan/plaid 1″ x 3 ⅞” (2.5 cm x 9.8 cm) and adhere as shown on Basic White layer.
Supply list
Listed below is the supply list. Just click on the picture to take you directly to the item in my online store.
Product List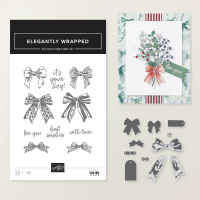
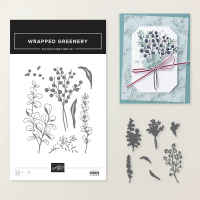





- SHOP ONLINE – EARN 10% REWARDS ON ALL PURCHASES OVER £20
- PURCHASE A STARTER KIT : Get £155 worth of products for only £99. Choose from current catalogues and any specials available. Free Shipping. Read more
- Subscribe to my Video Tutorials – click here
