
Welcome to today’s hidden magnetic closure card. I’m continuing where I left off last Sunday. It occurred to me late in the day that I had not used the pack of papers nor the Host stamp set I had earned during Sale-a-bration and that it finishes on Thursday, 30 September! So I made a variety of cards using these papers and stamp set which you can see HERE if you missed it, or are visiting for the first time.
Special birthday card
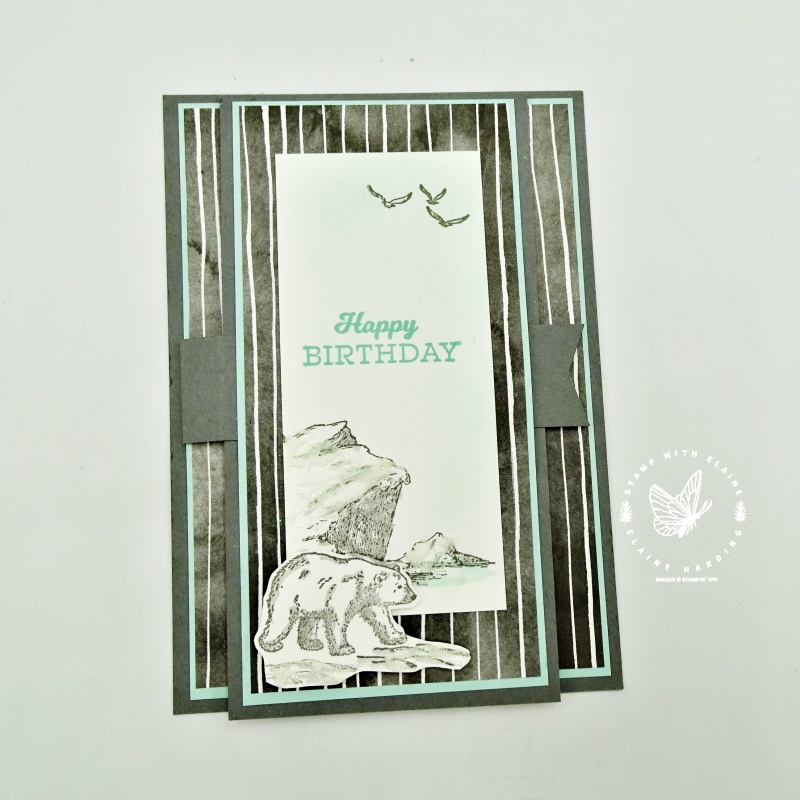

This is the card I made for my hubby’s birthday. He’s very much into archery and the 3D targets they use are all kinds of big animals. I guess a polar bear would come into that category. I wanted to show you how to use the Arctic Bears bundle in a non-festive context.
The card is in two separate pieces i.e., the base is larger and measures 5-7/8″ x 4-1/8″ and the front panel measures 3″ x 5-7/8″. As the front and back of the card is in two separate pieces, I felt that it needed a hidden magnetic closure.
I joined the front and back panel with a strip of Basic Gray card stock cut at 1″ x 7-1/2″. On the long side, I scored at 3-1/2″ and attached one of the magnets to the end of the shorter side. The shorter end of the strip is adhered to the base underneath the pool party mat layer. The other magnet is attached to the longer side of the strip and marries up with the one on the base. It is adhered beneath the Pool Party mat layer also. It’s too difficult to explain in words, so I plan on making a similar card at some future date with a video tutorial.
The Basic White pieces on the front and back of the card front allowed me to stamp images and a greeting and gives me somewhere to address the recipient. I used a blending brush to add a touch of colour to depict the sky and sea. I loved how this turned out and hope you do too.
Final card – a Christmas one!
One of the designs in the Beautifully Penned 12″x 12″ DSP has this hand-drawn scallop pattern. It’s easy to work with stripes or florals, but the scallops made me scratch my head. I eventually settled on this design and hope I did it justice. As it’s the end of September and my 12-week Countdown to Christmas series has begun, I sneaked this card in with a festive theme using the Beautifully Penned papers whilst it’s still “legal”! After 30 September, as a Demonstrator, I won’t be able to as it won’t be current anymore.
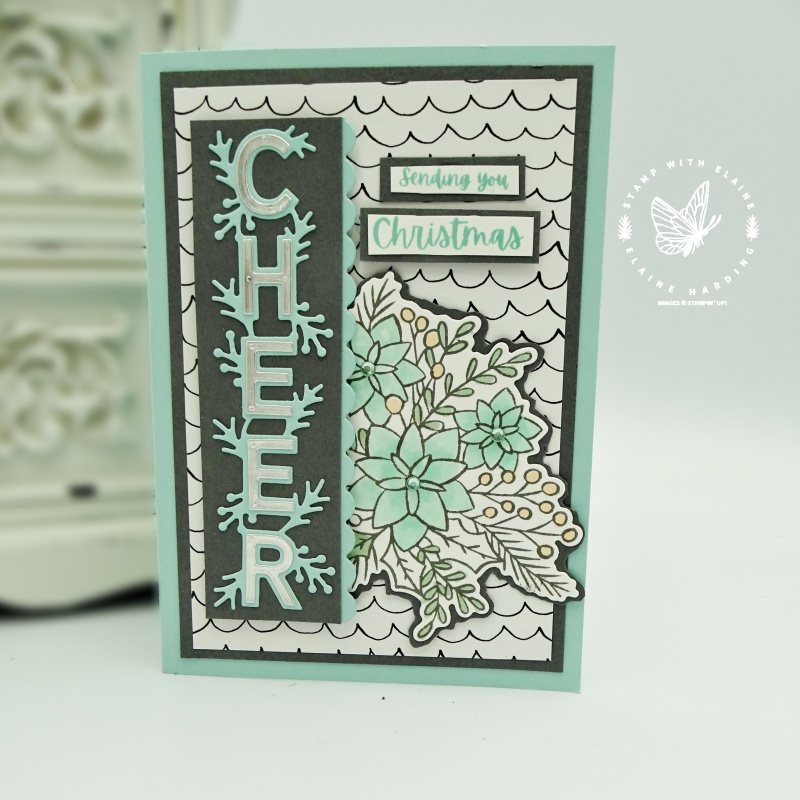
The Words of Cheer bundle orients the word “cheer” vertically and I loved how the “mat” layer for the words also had pine needles emanating from it. There is a separate die for die cutting the word “cheer” so that they would “sit” inside the fancy word mat layer. I die cut those in Silver foil which I backed with an adhesive sheet. Adhesive sheets are life savers! Not only do they protect you from sticky fingers, but it prevents glue getting on to the foil. Any residual glue on foil shows up and is really hard to get off. If you don’t use it in the first place, you won’t have this problem.
Floral accent piece
The floral piece which I’d stamped in Basic Gray does have a coordinating die. However it got lost on the white scalloped background paper. To make it “pop”, I adhered it to Basic Gray card stock and fussy cut a border around it.
Thank you so much for visiting. I hope you’re enjoying my Countdown Series for Halloween and Christmas! The Halloween runs for 6 weeks until end October, and the Christmas one for 12 weeks until the second week of December. Happy stampin’
Product List")
 Designer Series Paper")
")


- SHOP ONLINE – EARN 10% REWARDS ON ALL PURCHASES OVER £20
- PURCHASE A STARTER KIT : Get £155 worth of products for only £99. Choose from current catalogues and any specials available. Free Shipping. Read more
- Subscribe to my Video Tutorials – click here