
A birthday infinity box for this month’s Tech 4 Stampers Blog Hop because the theme was all about birthdays.
My infinity box is basically three and a half explosion boxes joined together and which decreases in size so that they can fit into each other rather like Russian dolls! It’s not difficult, but time consuming and it does use a lot of card stock! It looks like an ordinary box, until you open it.
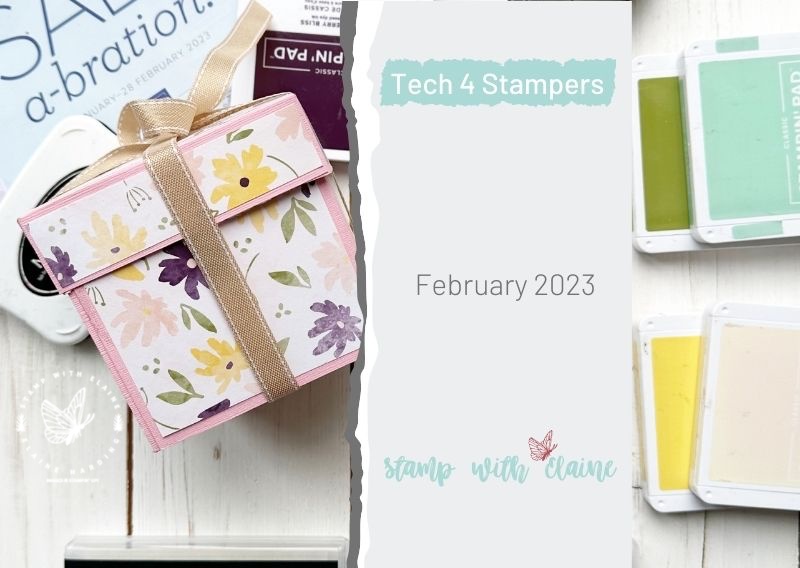
This month’s blog hop happens to fall on Valentine’s Day, so may I take the opportunity to wish everyone a Happy Valentine’s Day.

The Build & Bloom Stampers Blog hop (formerly Tech 4 Stampers)is a monthly subscription group run by Louise Sims. She mentors and enables members to understand IT jargon and equips them with a fountain of Technical knowledge to build or manage their own websites. It takes the mystery out of “tech” and I’ve certainly grown in confidence thanks to her expertise, patience and guidance. Not only that, I’ve met and made new friends with my fellow “Techs” and love the camaraderie within the group.
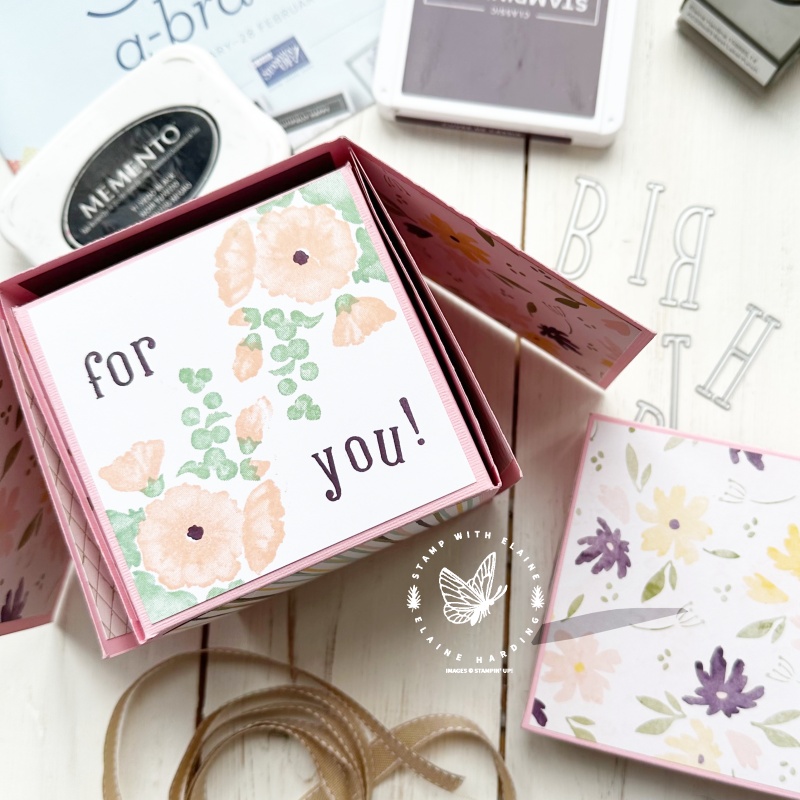
The Designer Series Papers I used are the Host Papers in the Annual Catalogue. I cut a 4″ x 4″ Basic White and stamped on this at the start of the reveal, so that you know which way round it should go!
This infinity box was so long, I couldn’t photograph it, so instead I’ve just photographed it section by section. I’ve deliberately made each box smaller than the previous one so that it would fit together nicely and you can add more layers like photos to make it into an album.
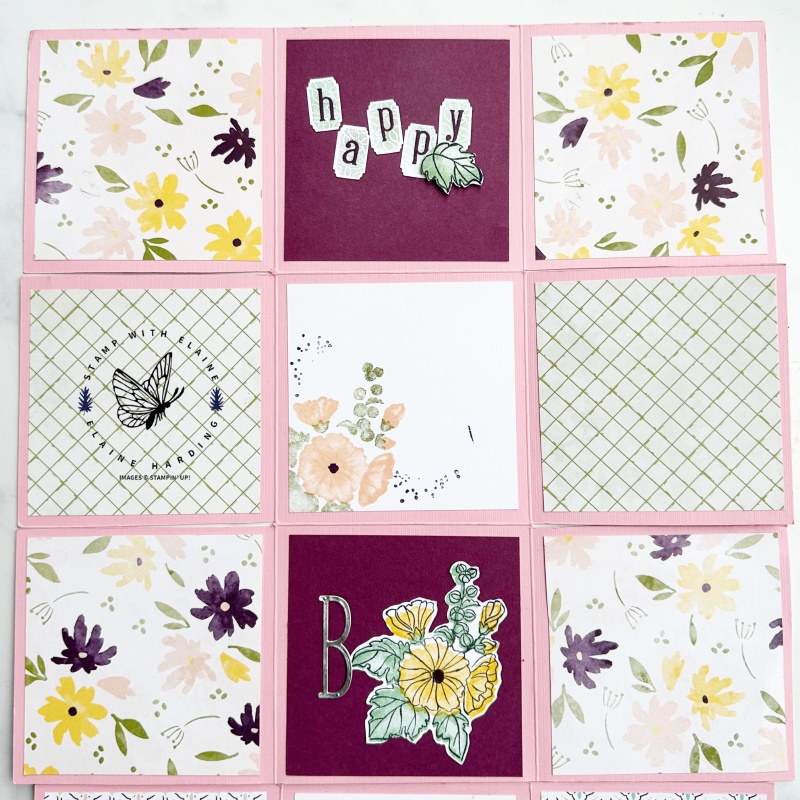
Box 1 – referred to as “A”
I’m afraid I’ve only got it in Metric measurements at the moment. There will be an Imperial version with a video tutorial which has been scheduled for Friday, 17 February later in the week so if you’d like to see how it was constructed, do pop back.
Cut paper 30 x 30 cm, and score at 10 cm, 20 cm. Rotate card stock quarter turn and score at 10 cm, 20 cm.
To create the box, cut on the 10 cm and 20 cm score line from bottom edge of paper to 1st score line. Turn c/s 180 degrees and repeat for opposite side.
DSP and mat layers were cut at 9 cm x 9 cm.
Box 2 – referred to as “B”
Cut paper at 28.5 x 30 cm. Long side score at 9.5 cm, 19 cm. Rotate card stock so short side is at the top and score at 9.5, 19 cm.
On the 1.5 cm panel cut away the two outer rectangles, leaving only the middle rectangle. This is the tab you apply adhesive to and adhere to Box “A”. The score lines on Box “B” will not match up to Box “A” because the box is smaller, but you can centre the tab to the middle panel where the letter “B” is.
To create the box, ensure the tab is on your right, then cut on the 9.5 cm and 19 cm score line from bottom edge of paper to 1st score line. Turn c/s 180 degrees and repeat for opposite side.
DSP and mat layers are 8.5 x 8.5 cm.

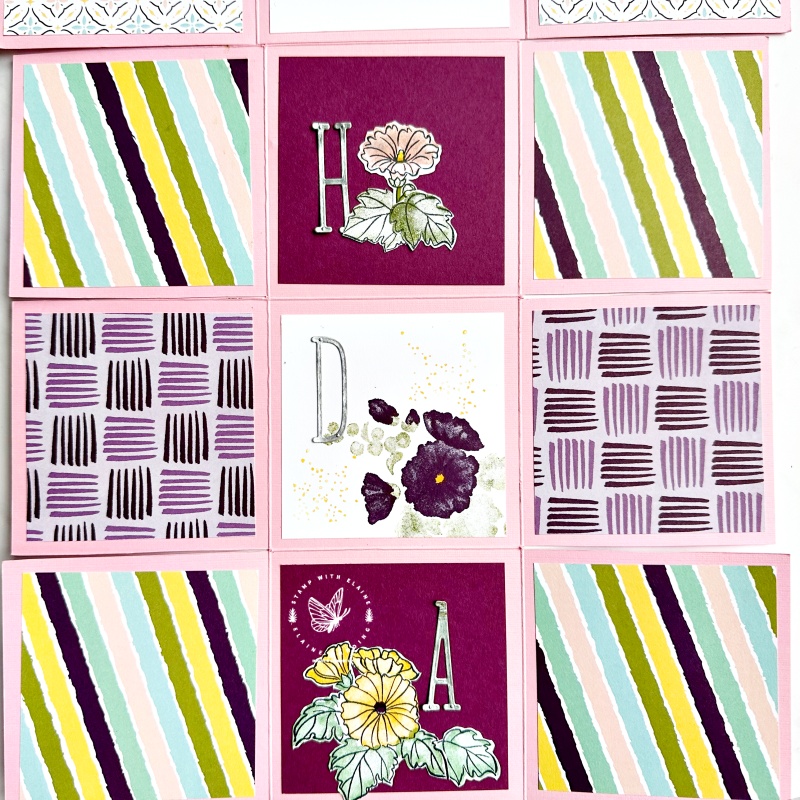
Box 3 – referred to as Box “C”
Cut card stock at 27 cm x 29 cm. Long side on top, score at 9 cm, 18 cm. Narrow tab at end is 2 cm. Rotate card stock quarter turn, short side at the top and score at 9 cm, 18 cm.
On the 2 cm panel cut away the two outer rectangles, leaving only the middle rectangle. This is the tab you apply adhesive to and adhere to Box “B”. The score lines on Box “C” will not match up to Box “B” because the box is smaller, but you can centre the tab to the middle panel where the letter “T” is.
To create the box, ensure the tab is on your right, then cut on the 9 cm and 18 cm score line from bottom edge of paper to 1st score line. Turn c/s 180 degrees and repeat for opposite side.
Cut DSP and Mat layers 8 cm x 8 cm.
Box 4 – referred to as Box “D”
This is the smallest of the boxes and there are only 2 rows of 3 panels. Cut card stock 19 cm x 25.5 cm. On the short side score at 8.5 cm, 17 cm leaving 2 cm for the tab. Long side score at 8.5 cm, 17 cm.
On the 2 cm panel cut away the two outer rectangles, leaving only the middle rectangle. This is the tab you apply adhesive to and adhere to Box “C”. The score lines on Box “D” will not match up to Box “C” because the box is smaller, but you can centre the tab to the middle panel where the letter “A” is.
To create the box, ensure the tab is on your right, then cut on the 8.5 cm and 17 cm score line from bottom edge of paper to 1st score line. Turn c/s 180 degrees and repeat for opposite side.
Cut DSP and Mat layers 7.5 x 7.5 cm.

Lid
You need a lid to keep the box closed once it’s folded.
Cut 16.5 x 16.5 cm. Score all 4 sides at 3 cm. Cut at 3 cm up to the score line at each corner. Apply adhesive on the flaps and adhere to its adjacent sides to create lid.
Cut DSP for 4 sides 2.5 cm x 10.2 cm. DSP for top is 10.2 x 10.2 cm.
Video view
Supply list
Listed below is the supply list. Just click on the picture to take you directly to the item in my online store.
Product List")

 Host Designer Series Paper")
 Specialty Pack")
 Cardstock")


Thanks for visiting. I would love to know what you think of my project and would appreciate it if you could leave a comment. To visit the next person on the list and see their fabulous creations, simply click on the link below or before my name depending who you visited initially. Happy hopping!
For some reason my blog link at no. 2 is not working so please use no. 7 on the list. My apologies.

- SHOP ONLINE – EARN 10% REWARDS ON ALL PURCHASES OVER £20
- PURCHASE A STARTER KIT : Get £155 worth of products for only £99. Choose from current catalogues and any specials available. Free Shipping. Read more
- Subscribe to my Video Tutorials – click here
WOW! Great project!
Thanks Diane. Labour of love!
Wow, fabulous. I haven’t made an infinity box for ages, now I have to make one!
It’s a great. way to use up DSP! Glad it’s re-kindled your interest in making one! Thank you.