
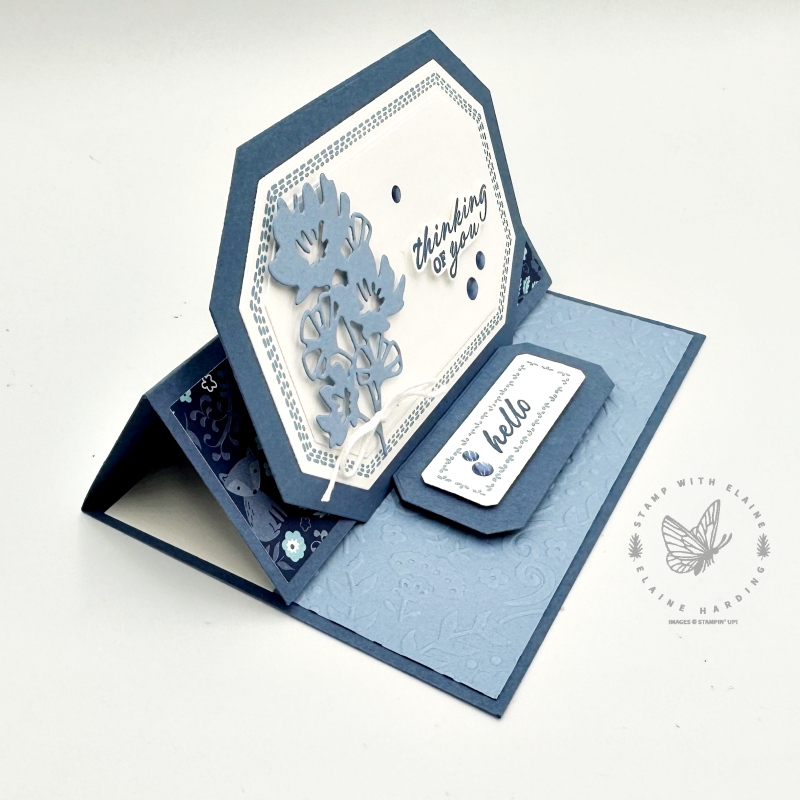
This is a floating easel card using the Countryside Corners bundle. I made one in portrait orientation which you can see HERE and wondered if I could apply it to an easel card. This time of year and especially with a colour refresh, I had tons of retiring card stock which I could happily use to make my prototype.
It began with wondering how I could make use of the Countryside Corners dies a little more interesting, apart from stamping and simply die cutting the frames.

Easel cards, whether in portrait or landscape orientation are pretty easy to make. The only difference is that instead of using a ¼ sheet of an A4 piece, I used the largest Countryside Corners for my easel front. Add a floating “mechanism” and you have a floating easel card.
Cutting guide
Here are the card details and a cutting guide. Please watch the video for assembly instructions.
Card base
- Misty Moonlight card base ½ A4 sheet, in Europe UK and Ireland this measures 5 ⅞” x 8 ¼” (14.5 cm x 21 cm)
- Inside card : 1 piece : Boho Blue piece 2” x 5 ⅝ “ (5 cm x 14 cm) and 1 piece – Basic White measuring : 1 ⅞” x 5 ⅝” (4.5 cm x 14 cm).
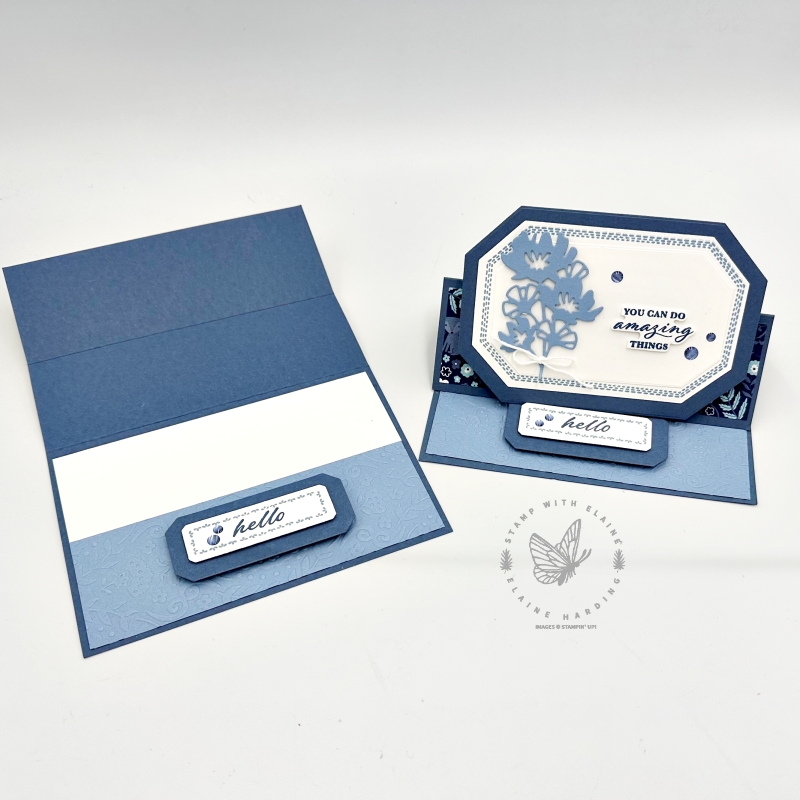
- Emboss Misty Moonlight piece with Countryside Blossoms Embossing Folder.
- Adhere to inside of card leaving an even border at the bottom and 2 sides.
- Butt up the Basic White piece to Boho Blue embossed piece and adhere inside card.
Card front and easel piece
- Cut 1 piece of Country Inn 12″ x 12″ Designer Series Paper : 1 ¾” x 5 ⅝ ” (4.5 cm x 14 cm)
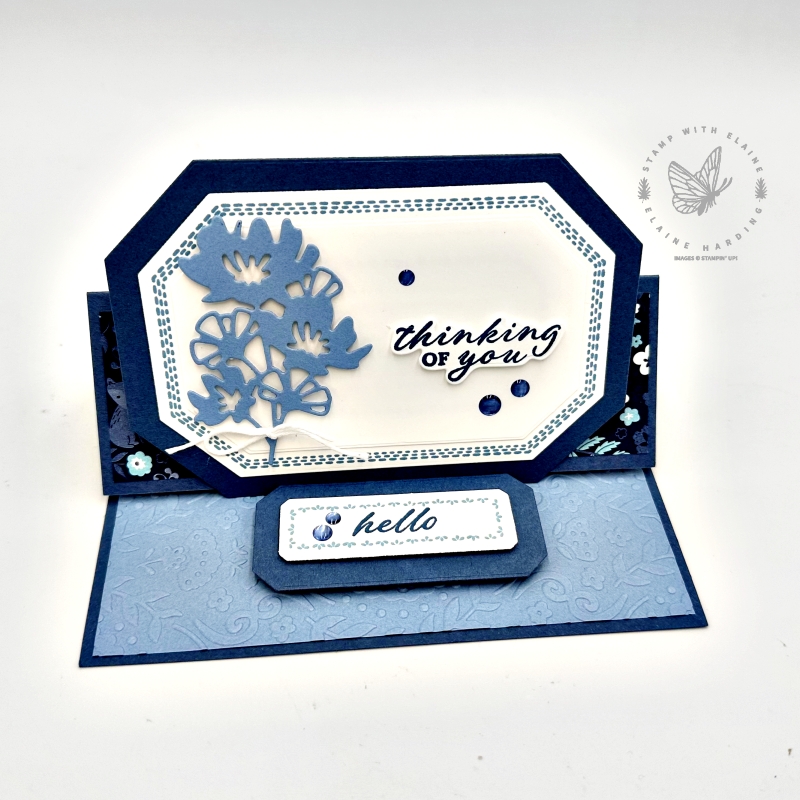
- Easel Front – Largest Countryside Corner die to cut the easel front in Misty Moonlight card stock.
- Stamp Countryside Corners stamp on Basic White card stock in Boho Blue then die cut with 5th largest Countryside Corners Dies.
- Cut the smallest Countryside Corners rectangle with the smallest Countryside Corners Die.
- With the 4th largest Countryside Corners die to die cut a plain Basic White piece.
- Adhere on top this piece on top of the stamped triple piece.
- Floating mechanism – Cut a piece of Misty Moonlight card stock 1” x 3 ½” (2.5 cm x 7.5 cm). Orient card stock with short side on top and score at ⅜”, ¾” (1 cm, 2cm).
Easel Stopper
- Die cut Misty Moonlight card stock with the 2nd smallest Countryside Corners Die
- Adhere a double stack of dimensionals on this piece.
- Stamp “hello” on the smallest Countryside Corners stamped piece die cut earlier.
- Adhere a single stack of dimensionals to Misty Moonlight Countryside Corners piece.
Video Tutorial
I’ve created this video as a visual aid to better understand the instructions. There is a special tip on step 7 regarding the Floating mechanism piece, so do watch.
Supply list
Listed below is the supply list. Just click on the picture to take you directly to the item in my online store.
Product List
")
")
")
")

 Designer Series Paper")


- SHOP ONLINE – EARN 10% REWARDS ON ALL PURCHASES OVER £20
- PURCHASE A STARTER KIT : Get £155 worth of products for only £99. Choose from current catalogues and any specials available. Free Shipping. Read more
- Subscribe to my Video Tutorials – click here